Additional Functionality for UMA End Users
The AM end user pages let resource owners manage their resources.
The functionality covered is described in the following procedures:
Log in to AM. Your user profile page appears.
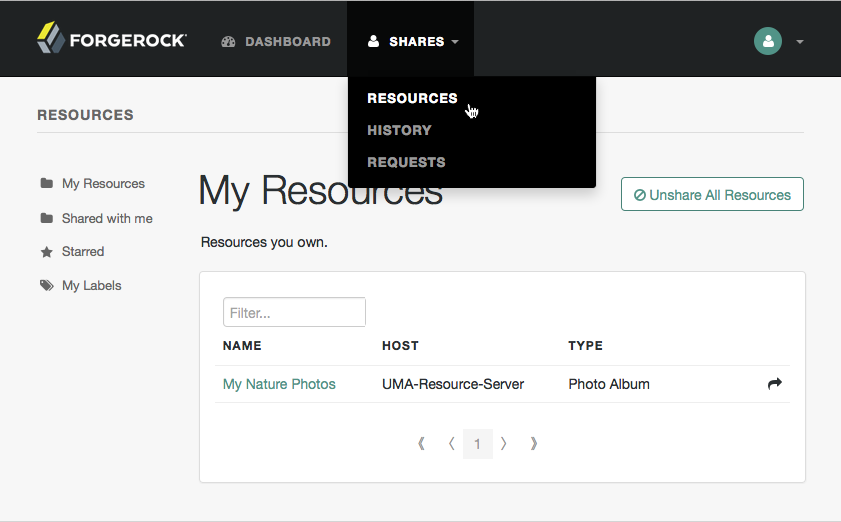
On the Shares menu, click Resources. A list of the resources you own appears.
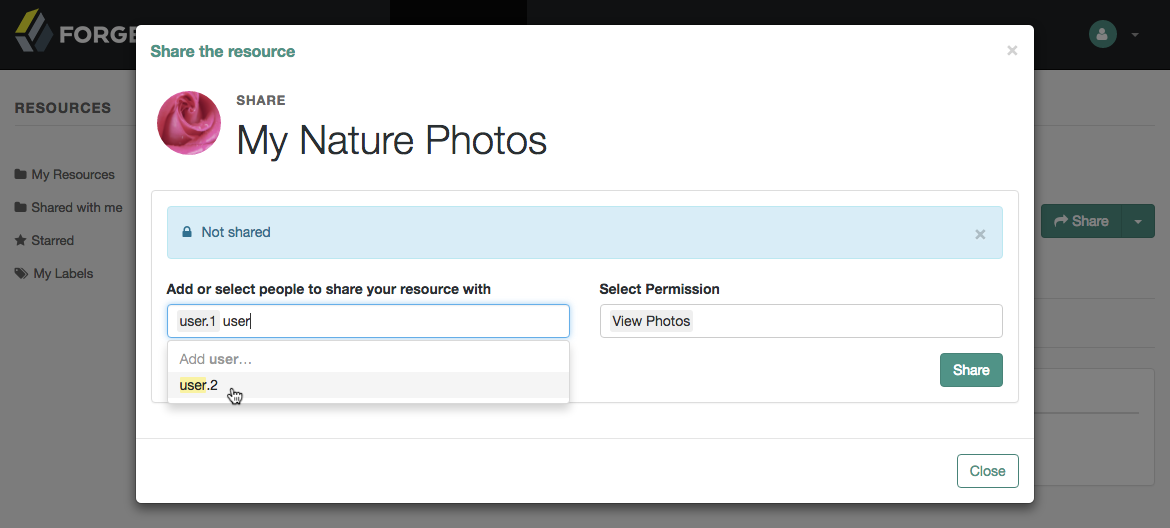
To share a resource, click the name of the resource to open the resource details page, and then click the Share button.
On the Share the resource form:
Enter the username of the user with whom to share the resource.
From the Select Permission drop-down list, choose the permissions to assign to the user for the selected resource.
Click Share.
Repeat these steps to share the resources with additional users.
Note
AM creates a policy set containing a policy representing the resources and identities specified by the resource owner sharing their resources.
These policies appear in the AM administration console as read-only, and cannot be edited by administrative users such as
amAdmin. They can however be viewed, and deleted.
When finished, click Close.
To apply labels to a resource:
Log in to AM as a user. The profile page is displayed.
Go to Shares > Resources > My Resources, and then click the name of the resource to add labels to.
On the resource details page, click Edit Labels.
In the edit box that appears, you can:
Enter the label you want to add to the resource, and then press Enter.
If you enter a label containing forward slash (/) characters, a hierarchy of each component of the label is created. The resource only appears in the last component of the hierarchy.
For example, the screenshot below shows the result of the label:
2015/October/Bristol: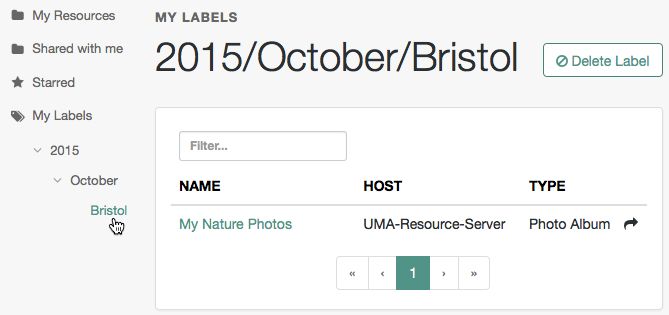
Click an existing label, and then press Delete or Backspace to delete the label from the resource.
When you have finished editing labels you can:
Click the checkmark button to save any changes made.
Click the X button to cancel any changes made.

Mark resources as favorites to have them appear on the Starred page.
Log in to AM as a user. The profile page is displayed.
Go to Shares > Resources > My Resources, and then click the name of the resource to add to the list of favorites.
On the resource details page, click the star icon, as shown below:
To view the list of favorite resources, click Starred.

AM supports an UMA workflow in which a user can request access to a resource that has not been explicitly shared with them. The resource owner receives a notification of the request and can choose to allow or deny access.
Manage pending requests for access to resources by using the steps below:
Log in to AM as the resource owner, and then go to Shares > Requests.
The Requests page is displayed:
Review the pending request, and take one of the following actions:
Click Allow to approve the request.
Tip
You can remove permissions from the request by clicking the permission, and then press either Delete or Backspace. Select the permission from the drop-down list to return it to the permissions granted to the resource owner.
The required UMA policy will be created, and optionally the requesting party will be notified that they can now access the resource.
The requesting party can view a list of resources to which they have access by navigating to Shares > Resources > Shared with me.
Click Deny to prevent the requesting party from accessing the resource. The pending request is removed, and the requesting party will not be notified.
After allowing or denying access to a resource, an entry is created in the History page.
To view a list of actions that have occurred, go to Shares > History.
