Deploying AM
After you have downloaded AM software, deploy it to your installed application container.
Deploying AM only extracts the files into the application container, prior to installation and configuration. Deploying AM also makes LDIF files available, which can be used to prepare external data stores for use with AM.
Important
After deploying AM, but before installation, your application container serves AM's installer (or upgrader, if performing an upgrade) user interfaces.
We recommend that any external network access to the application container is suspended until the install, or upgrade, is complete. When complete, AM prevents access to the installer, or upgrader UI itself.
The AM-7.1.4.war file contains the AM server. How you deploy the .war file depends on your web application container.
Deploy the
.warfile on your container.For example, copy the file to deploy on Apache Tomcat.
$
cp AM-7.1.4.war /path/to/tomcat/webapps/openam.warIn development or demonstration deployments, change the WAR file name to
openam.warwhen deploying in Tomcat, so that the deployment URI is/openam.Note
Change the file name to something other than
openam.warwhen deploying so that the deployment URI is not/openam. In a production environment, your deployment URI should not disclose the kind of software it is hosting.Important
AM requires a deployment URI with a non-empty string after
/. Do not deploy AM in the root context. Do not rename the.warfile toROOT.warbefore deploying on Tomcat, for example.It can take several seconds for AM to be deployed in your container.
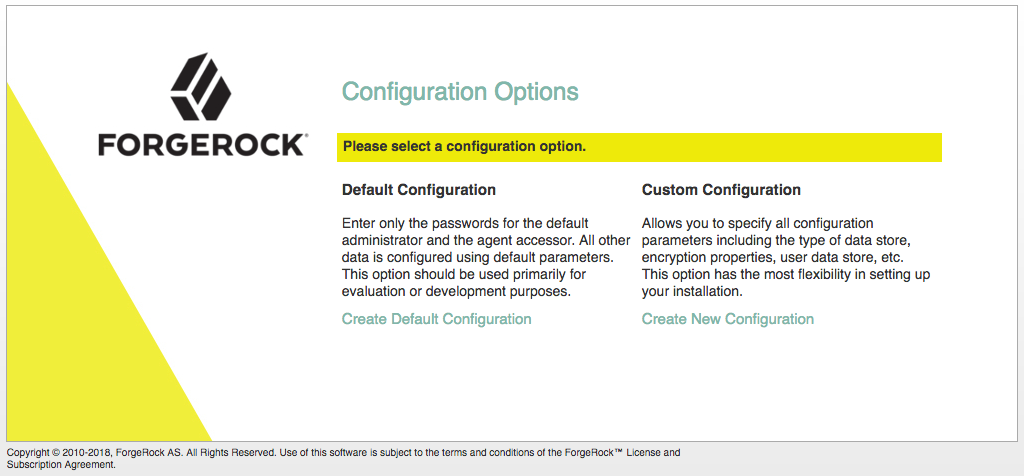
Navigate to the initial configuration screen. For example,
https://openam.example.com:8443/openam.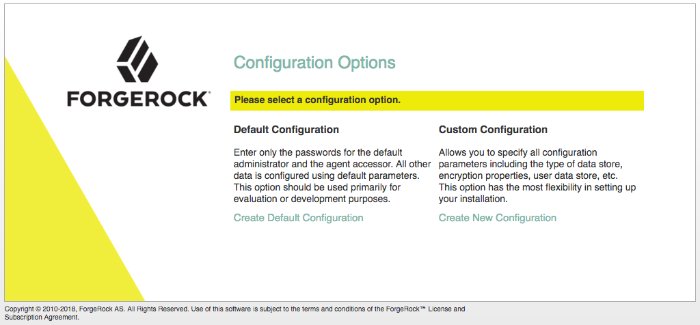
AM is now ready for installation.
Proceed to configuring external data stores using the files created during deployment. See Preparing External Stores.