Set Data Sources
After defining any new attributes, you must set your data sources for your CSV files, so that $Autonomous Identity can import your data. Currently, you can only specify CSV flat files. Future releases will introduce additional file types. This functionality is only available to administrators.
-
Log in to the Autonomous Identity UI as an administrator.
-
On the Autonomous Identity UI, click the Administration icon.
-
Click Data Sources.
-
Click the Add data sources button.
-
In the Add Data Source dialog box, click CSV, and then click Next.
-
In the CSV Details dialog box, enter a human-readable name for your CSV file.
-
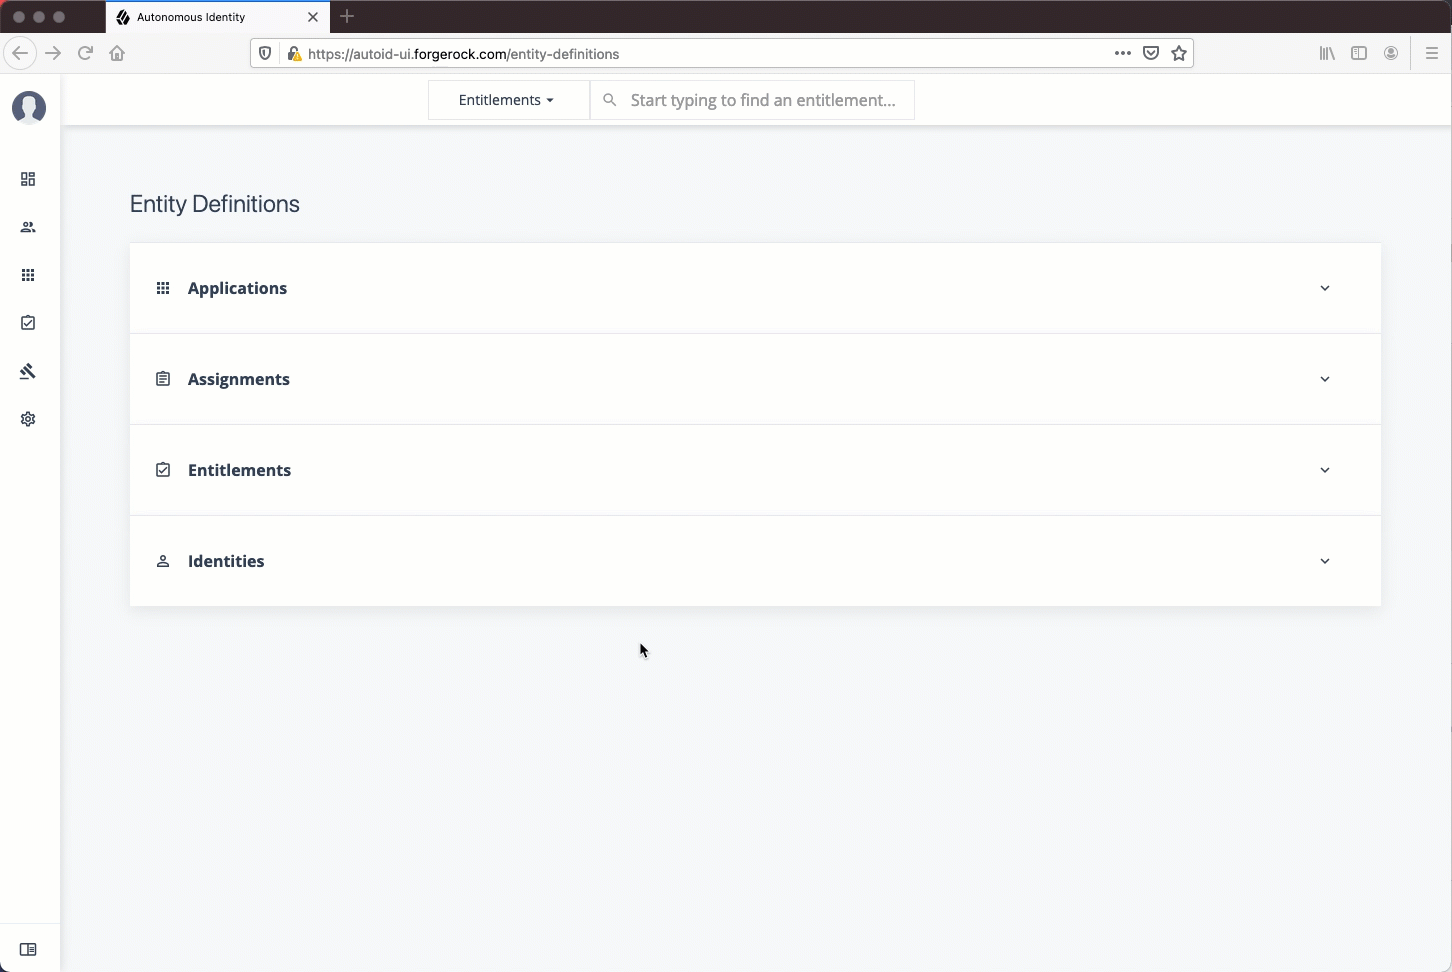
In the Applications field, enter the path to the
application.csvfile. For example,/data/input/applications.csv. -
In the Assignments field, enter the path to the
assignments.csvfile. For example,/data/input/assignments.csv. -
In the Entitlements field, enter the path to the
entitlements.csvfile. For example,/data/input/entitlements.csv. -
In the Identities field, enter the path to the
identities.csvfile. For example,/data/input/identities.csv. -
Click Save.
-
Click Activate to apply your changes.
-
Repeat the previous steps to add more CSV data source files.
See it in action
-
-
Next, you must set the attribute mappings. This is a critical step to ensure a successful analytics run. See Set Attribute Mappings.