About the Autonomous Identity API
Autonomous Identity provides a RESTful application programming interface (API) that lets you use HTTP request methods (GET, PUT, and POST) to interact with the system and its components. The API lets a developer make requests to send or receive data to an Autonomous Identity endpoint, a point where the API communicates with the system. The data that is sent or returned is in JavaScript Object Notation (JSON) format.
Autonomous Identity provides a Swagger client that you can access on the console.
Swagger
The Autonomous Identity installs with a Swagger client that lets you interact with the Autonomous Identity API and the configuration service API. Swagger is a popular software that provides design, build, test, and documentation tools for RESTful APIs.
-
Open a browser, and point it to
https://autoid-ui.forgerock.com/. Log in to the Autonomous Identity console. -
Open a browser, and point it to
https://autoid-api.forgerock.com/endpoints/.
See it in action
-
Open a browser, and point it to
https://autoid-ui.forgerock.com/. Log in to the Autonomous Identity console. -
Open another browser tab, and point to
https://autoid-ui.forgerock.com/swagger/. You should see a default Swagger API page. -
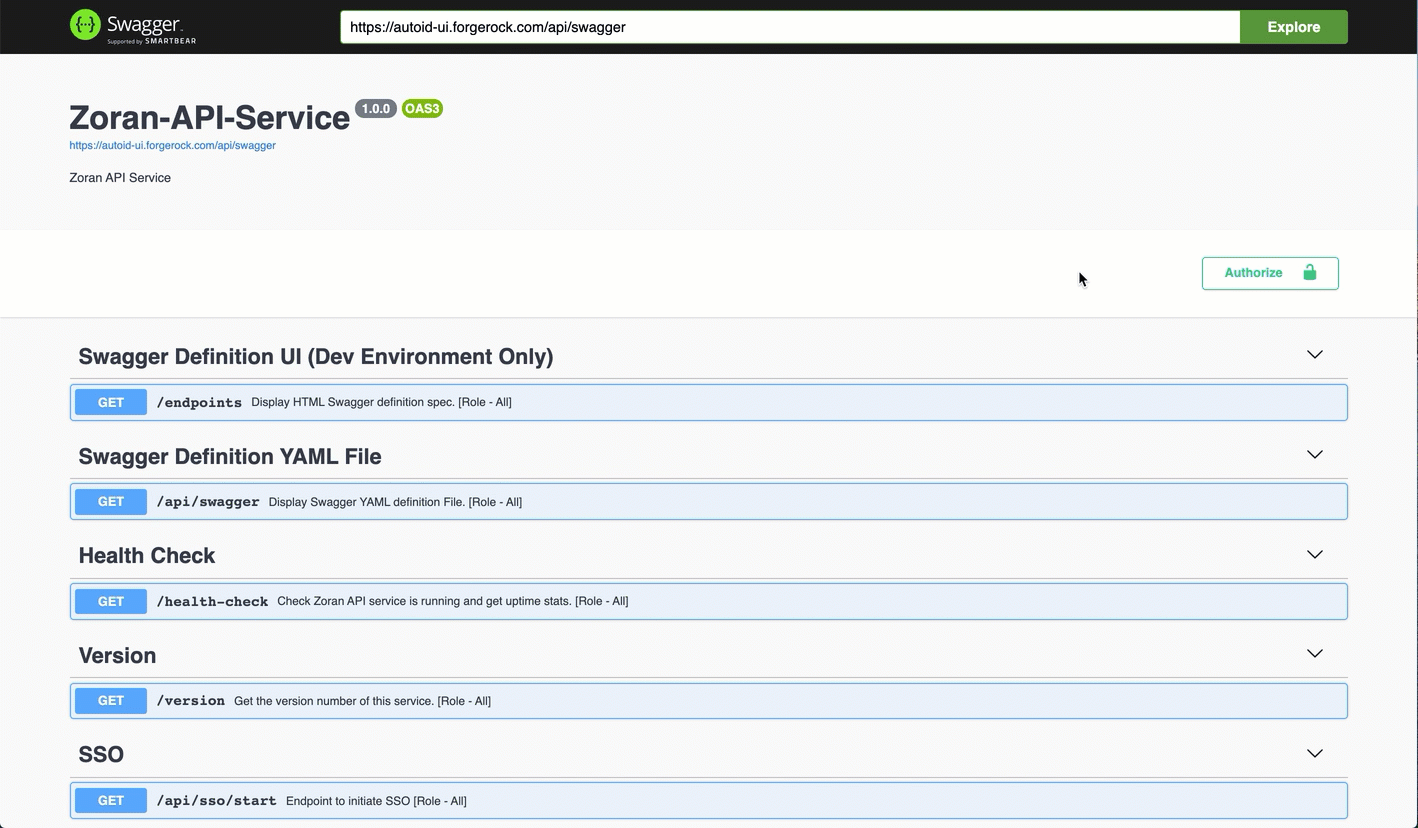
Open another browser tab, and point to
https://autoid-ui.forgerock.com/api/swagger. You should see a raw text version of the API. -
Go back to the Swagger page in step 2, and enter
https://autoid-ui.forgerock.com/api/swaggerin the field, and click Explore. You will see the Autonomous Identity API service.
See it in action
-
On the Swagger page, scroll down to the Login API.
-
In the Login API section, click POST, and then click Try it out.
-
In the request body, enter the username and password of a user. Click Execute.
-
Scroll down to Response Body, and highlight the returned Bearer Token value.
-
Scroll back to the top of the page, and click Authorize. Enter
Bearer <Token Value>by pasting in the value of the Bearer Token. Click Authorize. You can close the panel.You can now access the Autonomous Identity API endpoints in Swagger.
See it in action
-
Access the Swagger page as presented in Access the Autonomous Identity API on Swagger.
-
Open another browser tab, and point to
https://autoid-ui.forgerock.com/conf/swagger. You should see a raw test version of the API. -
Go back to the Swagger page in step 1, and enter
https://autoid-ui.forgerock.com/conf/swaggerin the field, and click Explore. You will see the Configuration Service API. -
At the top of the page, click Authorize. Enter
configadminand password. The password was set in the~/autoid-config/vault.ymlduring install. Click Authorize, and then close the dialog.You can now access the Configuration Service API endpoints in Swagger.
See it in action
