Build and install nodes
This section explains how to build and install authentication nodes for use in authentication trees.
Build and install a custom authentication node
-
Change to the root directory of the Maven project of the custom nodes.
For example:
$ cd /Users/Forgerock/Repositories/am-external/openam-auth-trees/auth-nodes -
Run the
mvn clean packagecommand.The project will generate a
.jarfile containing your custom nodes. For example,auth-nodes-version.jar. -
Include the custom
.jarfile in the AM.warfile, as described in Customize the AM WAR file.Delete or overwrite older versions of the nodes
.jarfile from theWEB-INF/lib/folder, to avoid clashes.If you are using custom nodes with version 0.0.0in trees, you must remove them from the trees before restarting AM and reinsert them after the restart. If you do not do this, the entire tree cannot be viewed in the UI after the restart. -
Restart AM for the new nodes to become available.
The custom authentication node is now available in the tree designer to add to authentication trees:
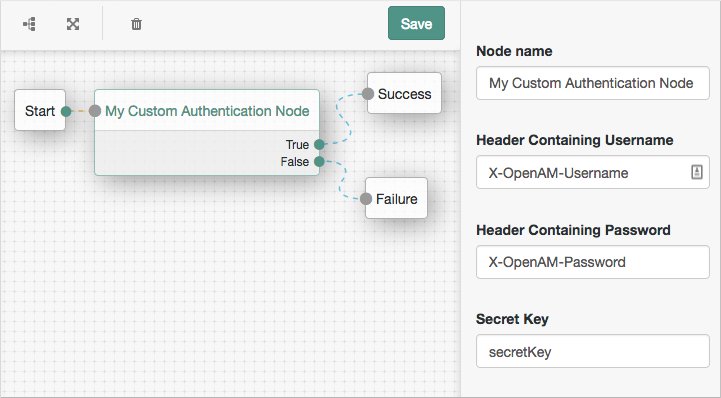 Figure 1. Custom node in a tree
For more information on using the tree designer to manage authentication trees, refer to Configure authentication trees.
For information on upgrading custom nodes, refer to Upgrade nodes and change node configuration.