Step 4. Create a status view
In this step, you create a layout and add buttons to log in and log out your user, as well as a text view field to show their current authentication status.
You also add the code to update the value displayed in the text view.
Create a layout for the status view
-
Navigate to and open
activity_main.xml. -
Select and delete the existing "Hello World!"
TextViewelement. -
From the Palette pane, drag a new
TextViewelement to the canvas:-
id:
textViewUserStatus -
text:
User status
-
-
From the Palette pane, drag a new
Buttonelement to the canvas:-
id:
buttonLogin -
text:
Log in
-
-
From the Palette pane, drag a second new
Buttonelement to the canvas:-
id:
buttonLogout -
text:
Log out
-
-
Layout the elements on the canvas to your liking.
The following screenshot shows one possibility:

Show activity_main.xml source
<?xml version="1.0" encoding="utf-8"?>
<androidx.constraintlayout.widget.ConstraintLayout xmlns:android="+http://schemas.android.com/apk/res/android+"
    xmlns:app="+http://schemas.android.com/apk/res-auto+"
    xmlns:tools="+http://schemas.android.com/tools+"
    android:layout_width="match_parent"
    android:layout_height="match_parent"
    tools:context=".MainActivity">

    <TextView
        android:id="@+id/textViewUserStatus"
        android:layout_width="fill_parent"
        android:layout_height="wrap_content"
        android:layout_marginStart="16dp"
        android:layout_marginTop="16dp"
        android:layout_marginEnd="16dp"
        android:text="User status"
        app:layout_constraintEnd_toEndOf="parent"
        app:layout_constraintStart_toStartOf="parent"
        app:layout_constraintTop_toTopOf="parent" />

    <Button
        android:id="@+id/buttonLogout"
        android:layout_width="0dp"
        android:layout_height="wrap_content"
        android:layout_marginStart="8dp"
        android:layout_marginTop="16dp"
        android:layout_marginEnd="16dp"
        android:text="Log out"
        app:layout_constraintEnd_toEndOf="parent"
        app:layout_constraintStart_toEndOf="@+id/buttonLogin"
        app:layout_constraintTop_toBottomOf="@+id/textViewUserStatus" />

    <Button
        android:id="@+id/buttonLogin"
        android:layout_width="0dp"
        android:layout_height="wrap_content"
        android:layout_marginStart="16dp"
        android:layout_marginTop="16dp"
        android:layout_marginEnd="8dp"
        android:text="Log in"
        app:layout_constraintEnd_toStartOf="@+id/buttonLogout"
        app:layout_constraintStart_toStartOf="parent"
        app:layout_constraintTop_toBottomOf="@+id/textViewUserStatus" />
</androidx.constraintlayout.widget.ConstraintLayout>
Add a function to update the status view
-
Open the project’s
MainActivityclass file.For example, .
-
Add the following statements before the definition of the
onCreate()function:private TextView status; private Button loginButton; private Button logoutButton; -
Add import statements for
android.widget.Buttonandandroid.widget.TextView.import android.widget.Button; import android.widget.TextView; -
In the
onCreate()function, after the call toFRAuth.start(), add references to the elements on the status view layout:// Add references to status view elements status = findViewById(R.id.textViewUserStatus); loginButton = findViewById(R.id.buttonLogin); logoutButton = findViewById(R.id.buttonLogout); updateStatus(); -
Add the following function after the existing
onCreate()function:private void updateStatus() { runOnUiThread(() -> { if (FRUser.getCurrentUser() == null) { status.setText("User is not authenticated."); loginButton.setEnabled(true); logoutButton.setEnabled(false); } else { status.setText("User is authenticated."); loginButton.setEnabled(false); logoutButton.setEnabled(true); } }); }
Check point
In Android Studio, select .
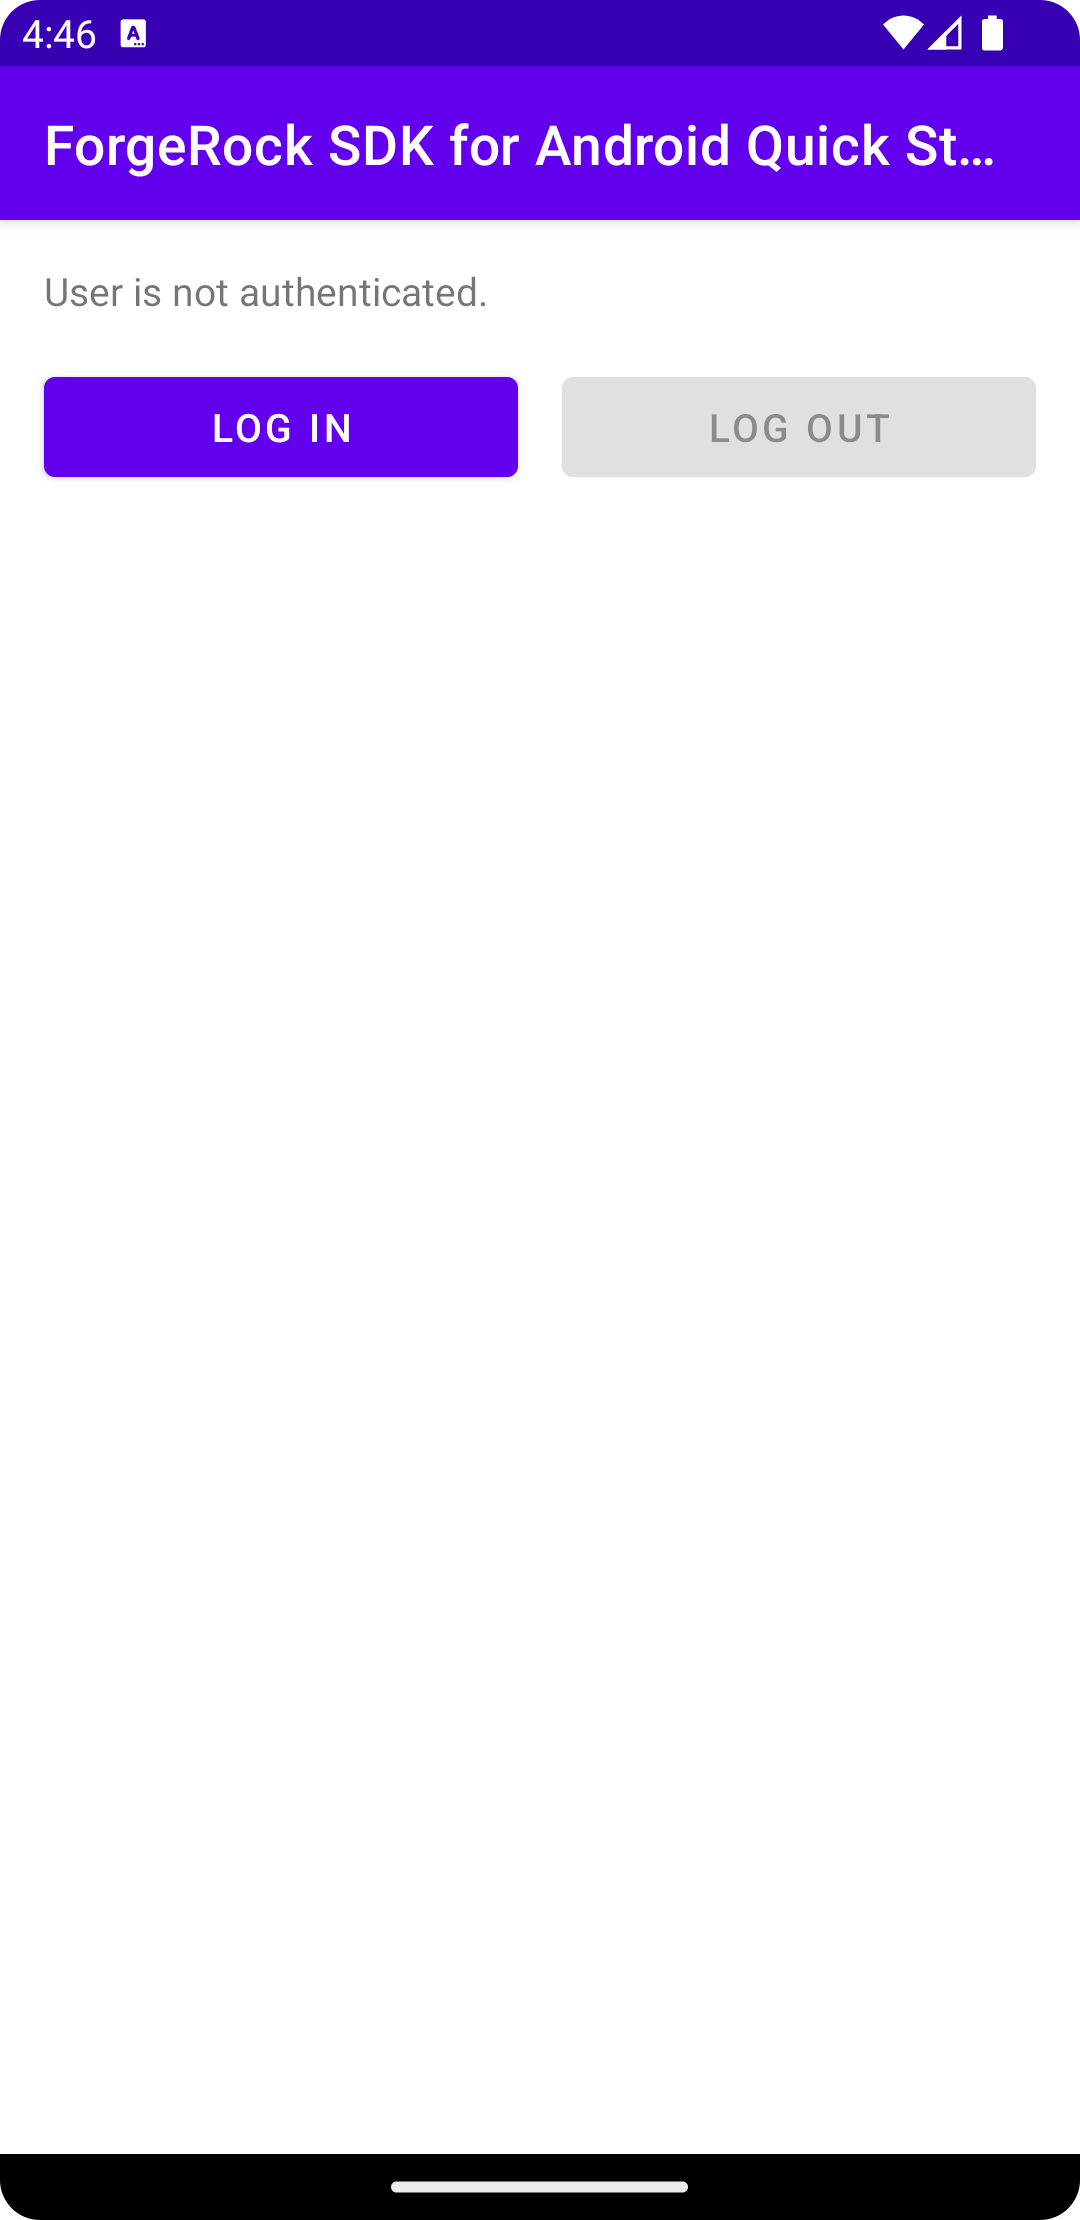
If everything is configured correctly, the app builds, and the default emulator will run the application.
The app shows the Log in and Log out buttons, as well as a text view element that displays "User is not authenticated":
In the next step, you create and attach functions to the buttons to start the authentication journey, or begin the logout process.