Build a protected web app with Angular
Development tutorial with a sample Angular SPA and Node.js REST API.
What is a protected web app?
A protected app (client or server) is simply an app that uses some type of access artifact to ensure a user’s identity and permissions prior to giving access to a resource. This “access artifact” can be a session cookie, an access token, or an assertion. The system entities share the artifact.
Additionally, a protected web app (client) is responsible for providing a user a method of acquiring, using, and removing this access artifact upon request. This responsibility of managing the artifact is the focus of this guide.
What you will learn
Angular is a popular JavaScript web application framework created by Google. As with most libraries and frameworks, Angular requires particular patterns and conventions for development. Since ForgeRock doesn’t (as of this writing) provide an Angular SDK, we provide this how-to as a guide. The guide focuses on a basic implementation of our core JavaScript SDK using the Angular patterns and conventions commonly prescribed by the community.
This guide uses the ForgeRock JavaScript SDK to implement the following application features:
-
Dynamic authentication form for login.
-
OAuth/OIDC token acquisition through the Authorization Code Flow with PKCE.
-
Protected client-side routing.
-
Resource requests to a protected REST API.
-
Log out - revoke tokens and end session.
This is not a guide on how to build an Angular app
How to architect or construct an Angular app is outside the scope of this guide. We use a simplified, non-production-ready, Todo app to demonstrate the ForgeRock JavaScript SDK. This Todo app represents a Single Page Application (SPA) created using the Angular CLI. The app includes a single module and Angular Router added for routing and redirection, respectively.
Use this guide
This is a “hands on” guide. We are providing the web app and resource server for you. You can find the samples repo on GitHub to follow along. All you’ll need is your own ForgeRock® Identity Cloud or Access Management (AM) instance. If you don’t have access to either, and you are interested in the ForgeRock® Identity Platform, reach out to a representative today, and we’ll be happy to get you started.
Two ways of using this guide
-
Follow along by building portions of the app yourself ensuring you can meet the requirements below.
-
Just curious about the Angular implementation details? Skip to Implement the ForgeRock SDK.
Requirements
Knowledge requirements
-
JavaScript, TypeScript, and the npm ecosystem of modules.
-
A command line interface (for example, Terminal, Shell or Bash).
-
Core Git commands (for example,
clone,checkout). -
Angular Modules and Components: we use standard Angular concepts consistent with the angular.io tutorials and the CLI.
-
Angular Services: we use this concept of managing and sharing local state between Components.
-
Angular Router and Auth Guards: we structure our app using “pages”, redirection, and protected pages using these patterns.
Technical requirements
-
Admin access to an instance of Identity Cloud or AM.
-
Node.js >= 18 & npm >= 7 (check your versions with
node -vandnpm -v). -
A tool or service to generate a security certificate and key (self-signed is fine).
Prerequisites
You need to set up your ForgeRock Identity Cloud or AM instance with an authentication journey, and a demo user. To obtain access tokens, you must create a public OAuth 2.0 client.
You also need to edit the CORS configuration on your server.
Set up the sample project
Step 1. Set up the sample repo
First, clone the JavaScript SDK Samples project to your local computer, cd (change directory) into the project folder, and install the needed dependencies:
git clone https://github.com/ForgeRock/sdk-sample-apps.git
cd sdk-sample-apps
npm install
Step 2. Configure the .env files
There are two projects in this tutorial that require configuration:
- Client Angular app
-
The front-end client app, written in Angular, that handles the UI and authentication journeys.
- Backend API server
-
A backend REST API server that uses a confidential OAuth 2.0 client to contact the authorization server. The API server handles storage and retrieval of your personal "Todo" items.
Configure the Angular client app
Copy the .env.example file in the sdk-sample-apps/angular-todo folder and save it with the name .env within this same directory.
Add your relevant values to this new file because it provides all the important configuration settings to your applications.
Here’s an example; your values may vary:
AM_URL=https://openam-forgerock-sdks.forgeblocks.com/am
APP_URL=https://localhost:8443
API_URL=http://localhost:9443
DEBUGGER_OFF=true
JOURNEY_LOGIN=sdkUsernamePasswordJourney
JOURNEY_REGISTER=Registration
REALM_PATH=alpha
WEB_OAUTH_CLIENT=sdkPublicClient
PORT=9443
REST_OAUTH_CLIENT=sdkConfidentialClient
REST_OAUTH_SECRET=ch4ng3it!
Here are descriptions for some of the values:
-
DEBUGGER_OFF: set totrue, to disabledebugstatements in the app.These statements are for learning the integration points at runtime in your browser.
When you open the browser’s developer tools, the app pauses at each integration point. Code comments are placed above each one explaining their use.
-
JOURNEY_LOGIN: The simple login journey or tree you created earlier, for examplesdkUsernamePasswordJourney. -
JOURNEY_REGISTER: The registration journey or tree.You can use the default built-in
Registrationjourney. -
REALM_PATH: The realm of your ForgeRock server.Usually,
rootfor AM andalphaorbetafor Identity Cloud.
Configure the API server app
Copy the .env.example file in the sdk-sample-apps/todo-api folder and save it with the name .env within this same directory.
Add your relevant values to this new file as it will provide all the important configuration settings to your applications.
Here’s an example; your values may vary:
AM_URL=https://openam-forgerock-sdks.forgeblocks.com/am
DEVELOPMENT=true
PORT=9443
REALM_PATH=alpha
REST_OAUTH_CLIENT=sdkConfidentialClient
REST_OAUTH_SECRET=ch4ng3it!
Build and run the projects
Now that everything is set up, build and run the API backend, and the "Todo" client app project.
Open a terminal window at the root directory of the SDK samples repo, and then run the following command to start both the API backend server and the "Todo" client:
npm run start:angular-todo
View the app in browser
In a different browser than the one you are using to administer the ForgeRock server, visit the following URL: https://localhost:8443.
The app renders a home page explaining the purpose of the project:
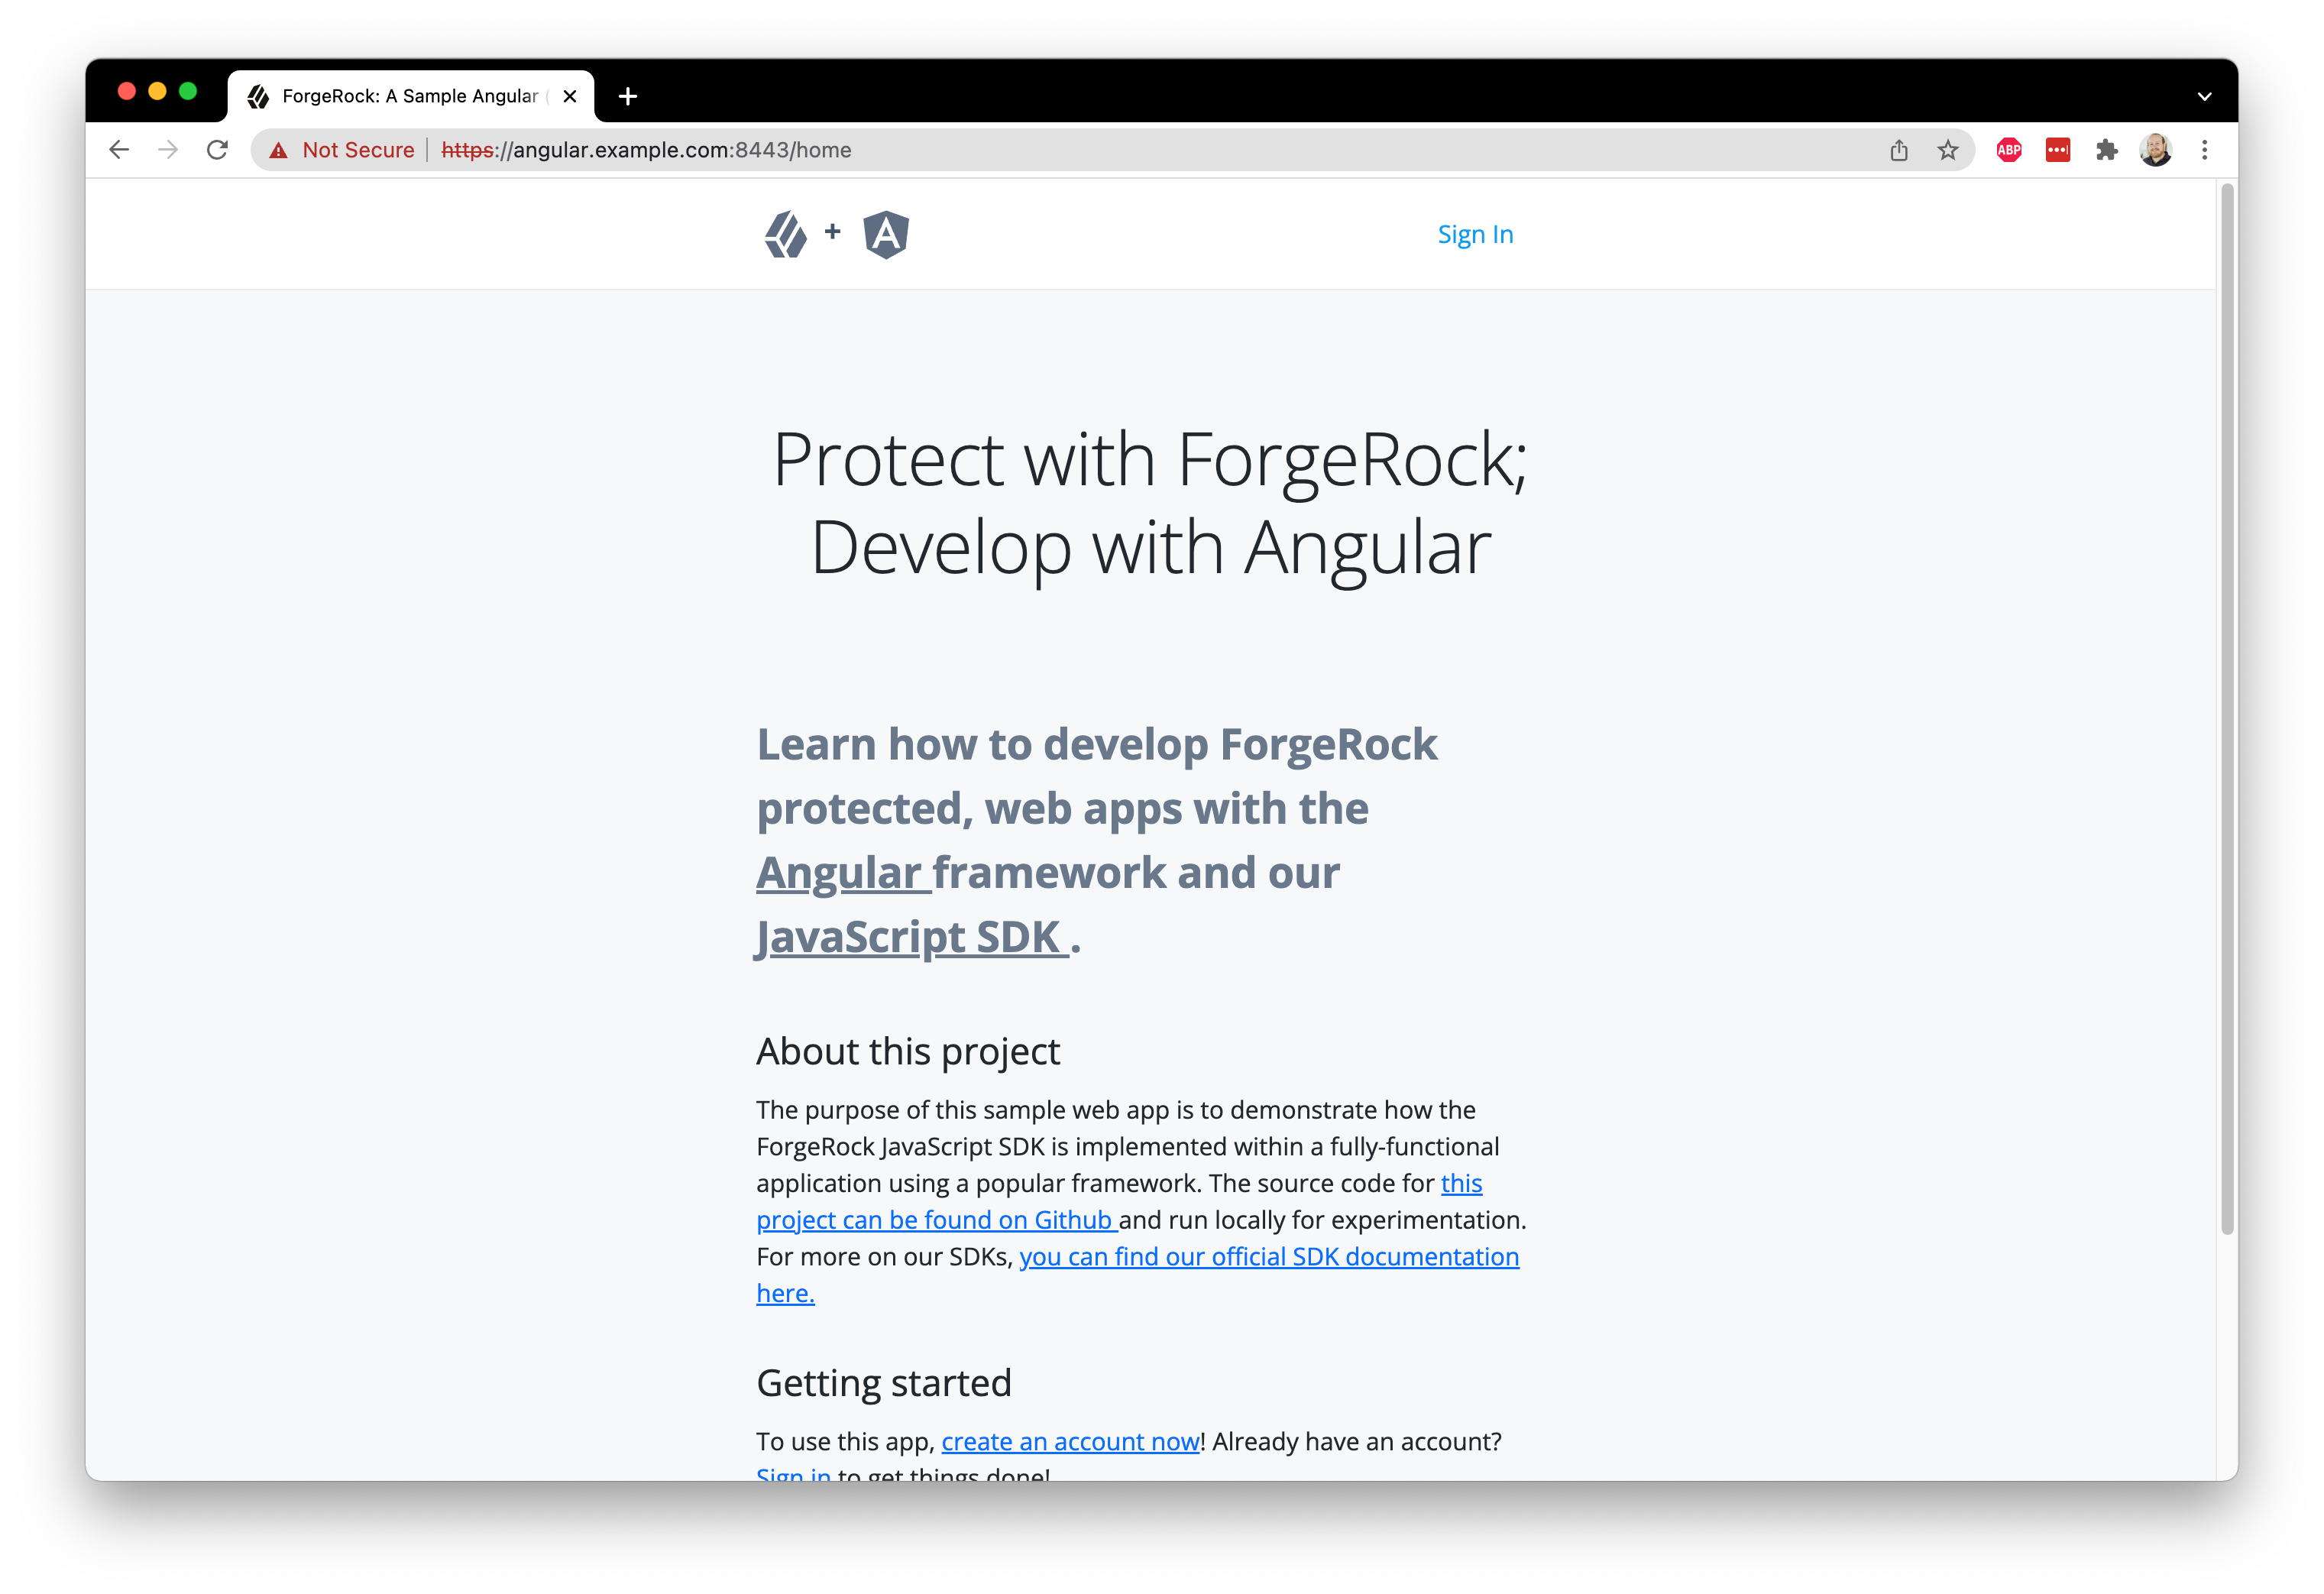
| Only the home page renders successfully. The login page functionality is not yet functional. You will develop this functionality later in this tutorial. |
If the home page doesn’t render due to errors, here are a few tips:
-
Visit
http://localhost:9443/healthcheckin the same browser you use for the Angular app; ensure it responds with "OK". -
Ensure your
hostsfile has the correct aliases. -
Look for error output in the terminal that is running the
startcommand. -
Ensure you are not logged into the ForgeRock server within the same browser as the sample app; logout from ForgeRock if you are and use a different browser.
Implement the ForgeRock SDK
Step 1. Configure the SDK to your ForgeRock server
Now that we have our environment and servers setup, let’s jump into the application!
Within your IDE of choice, navigate to the angular-todo directory.
This directory is where you will spend the rest of your time.
First, open up the src/app/app.component.ts file, import the Config object from the JavaScript SDK and call the set function on this object.
To import the Config object, add the following code to the file imports:
  import { Component, OnInit } from '@angular/core';
  import { environment } from '../environments/environment';
  import { UserService } from './services/user.service';
+ import { Config, UserManager } from '@forgerock/javascript-sdk';

@@ collapsed @@
Now configure the SDK using the Set function by adding the following code to the ngOnInit function:
@@ collapsed @@
  async ngOnInit(): Promise<void> {
+   Config.set({
+     clientId: environment.WEB_OAUTH_CLIENT,
+     redirectUri: environment.APP_URL,
+     scope: 'openid profile email address',
+     serverConfig: {
+     baseUrl: environment.AM_URL,
+     timeout: 30000, // 90000 or less
+   },
+   realmPath: environment.REALM_PATH,
+   tree: environment.JOURNEY_LOGIN,
+ });
@@ collapsed @@
The use of set() should always be the first SDK method called and is frequently done at the application’s top-level file.
To configure the SDK to communicate with the journeys, OAuth clients, and realms of the appropriate ForgeRock server, pass a configuration object with the appropriate values.
The configuration object you are using in this instance pulls most of its values out of the .env variables you previously setup.
The variables map to constants within the environment.ts file generated when the project is built.
Go back to your browser and refresh the home page. There should be no change to what’s rendered, and no errors in the console. Now that the app is configured to your ForgeRock server, let’s wire up the simple login page!
Step 2. Build the login page
First, let’s review how the application renders the home page:
HomeComponent consists of src/app/views/home/home.component.html (HTML template with Angular directives), and src/app/views/home/home.component.ts (Angular component).
For the login page, the same pattern applies:
LoginComponent consists of src/app/views/login/login.component.html and src/app/views/login/login.component.ts.
This is a simple view component, which includes FormComponent which actually invokes the SDK - more on that shortly.
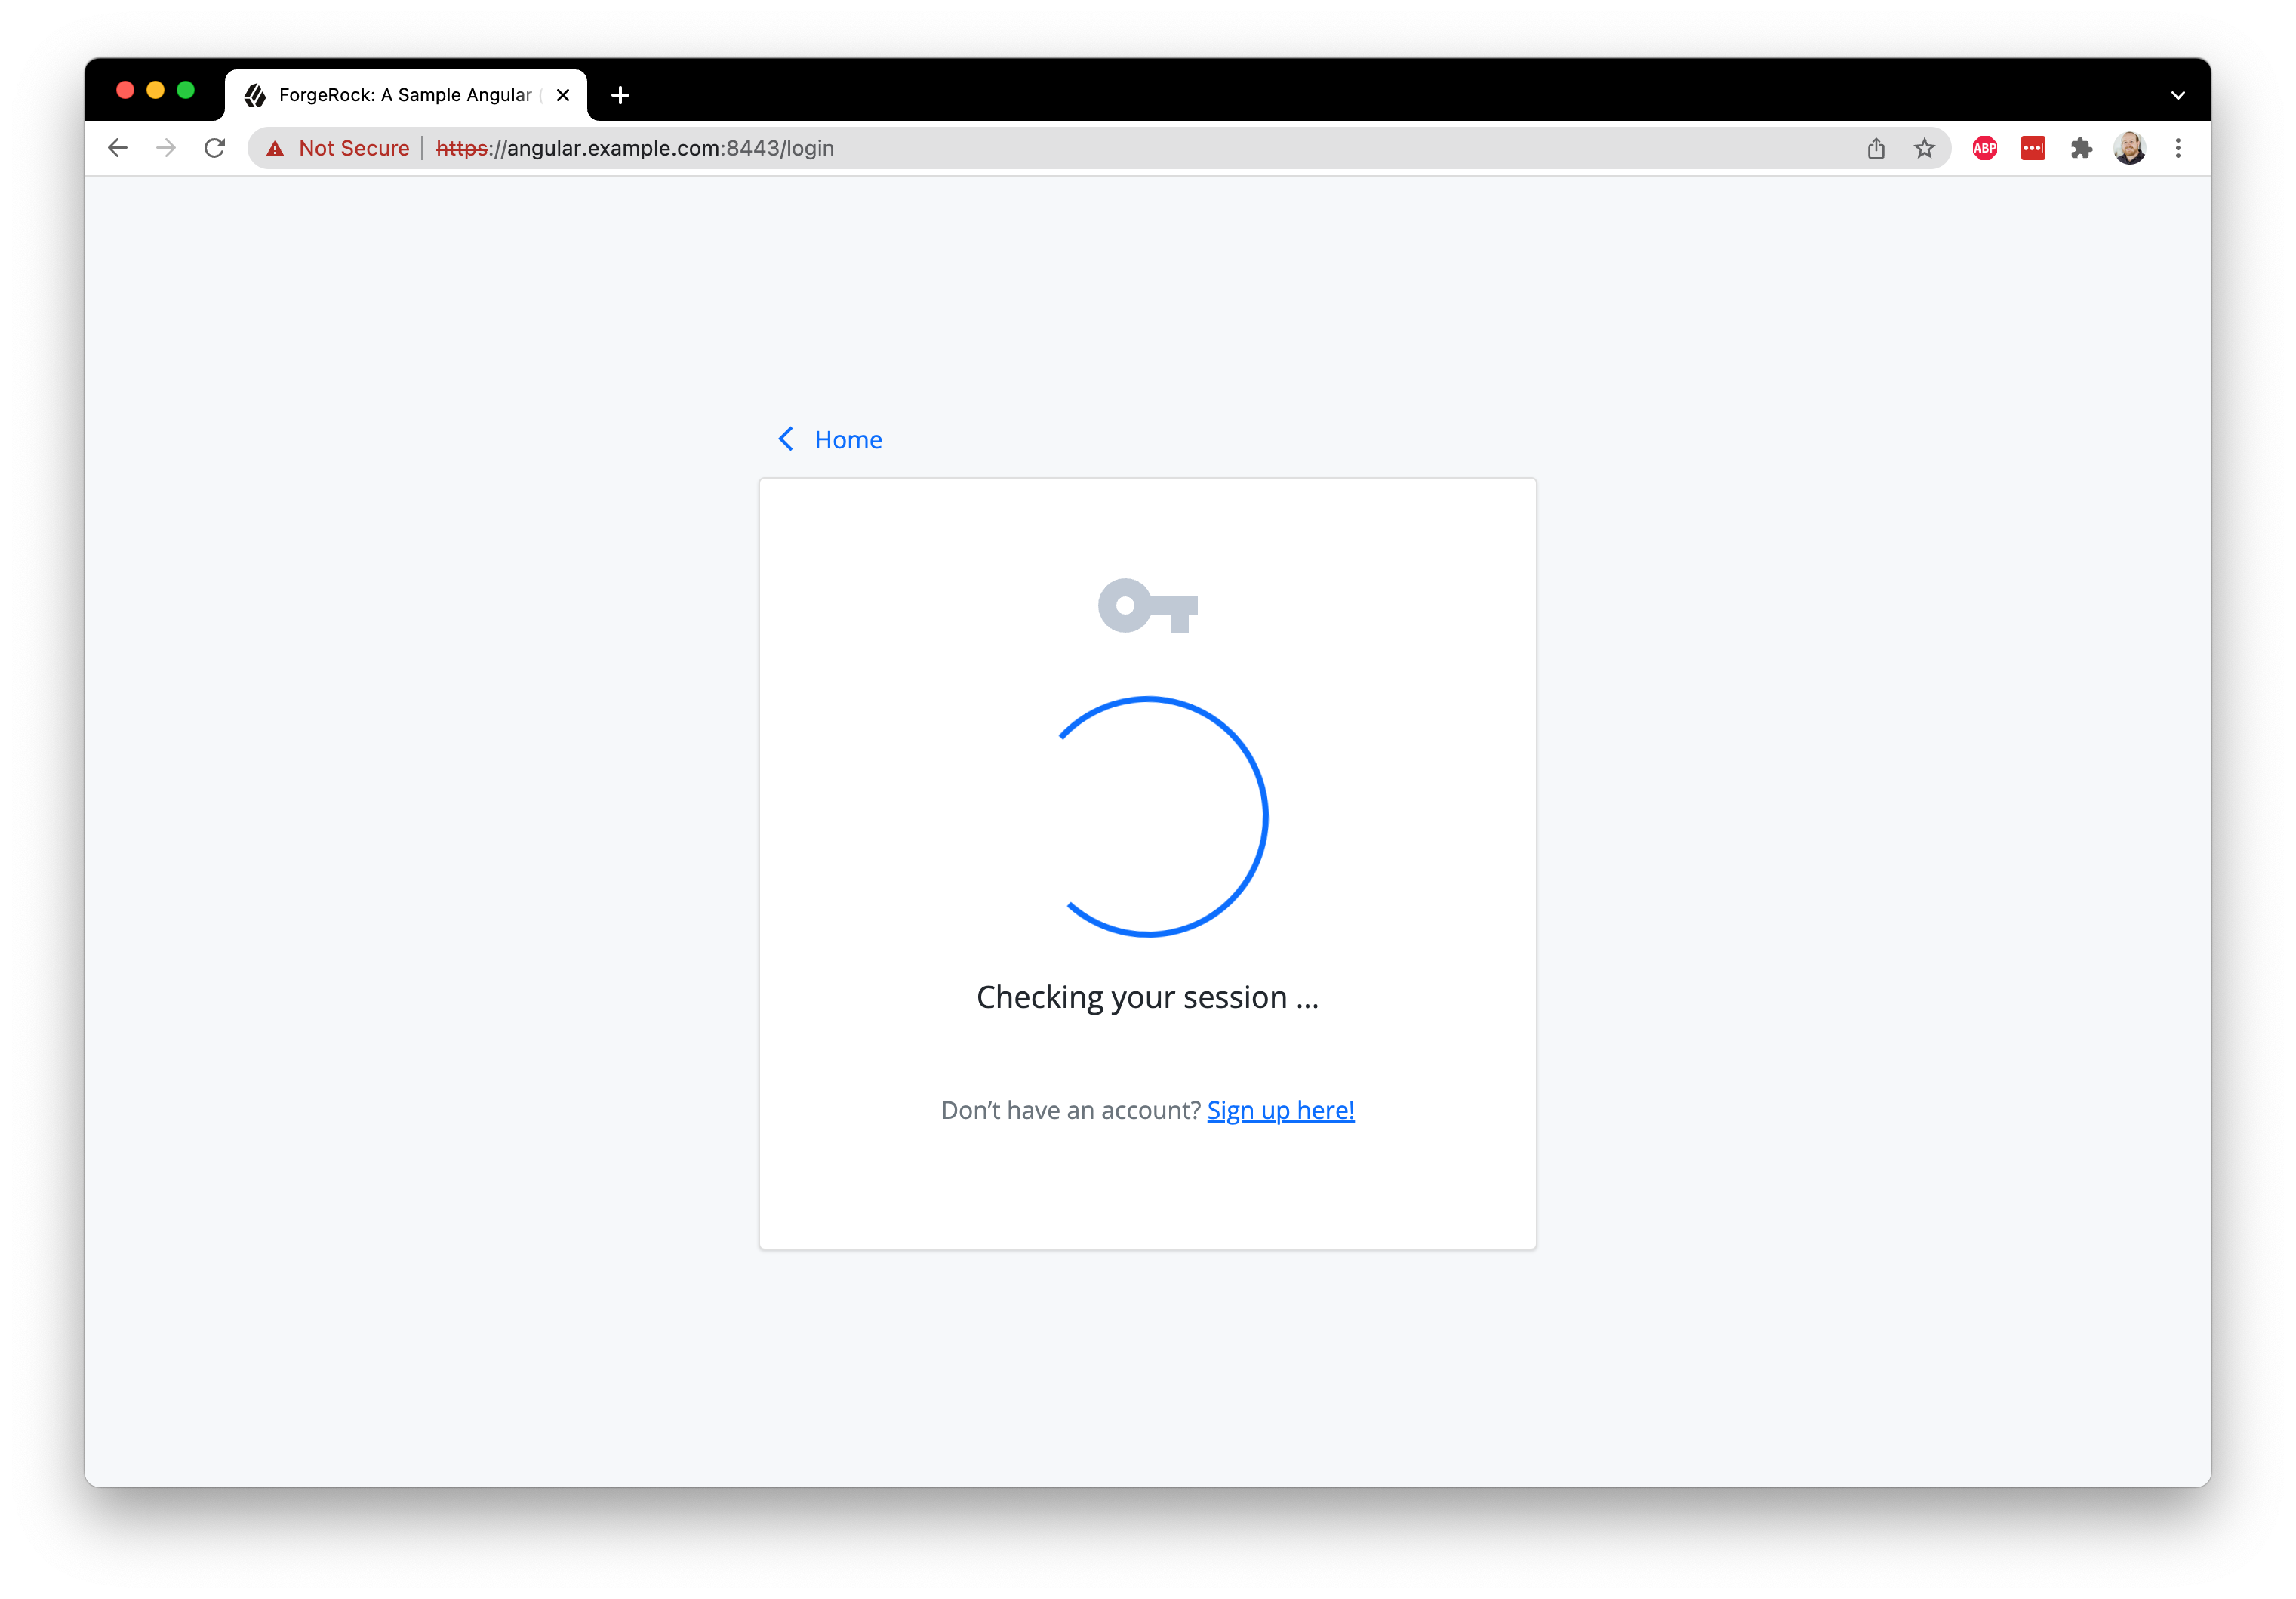
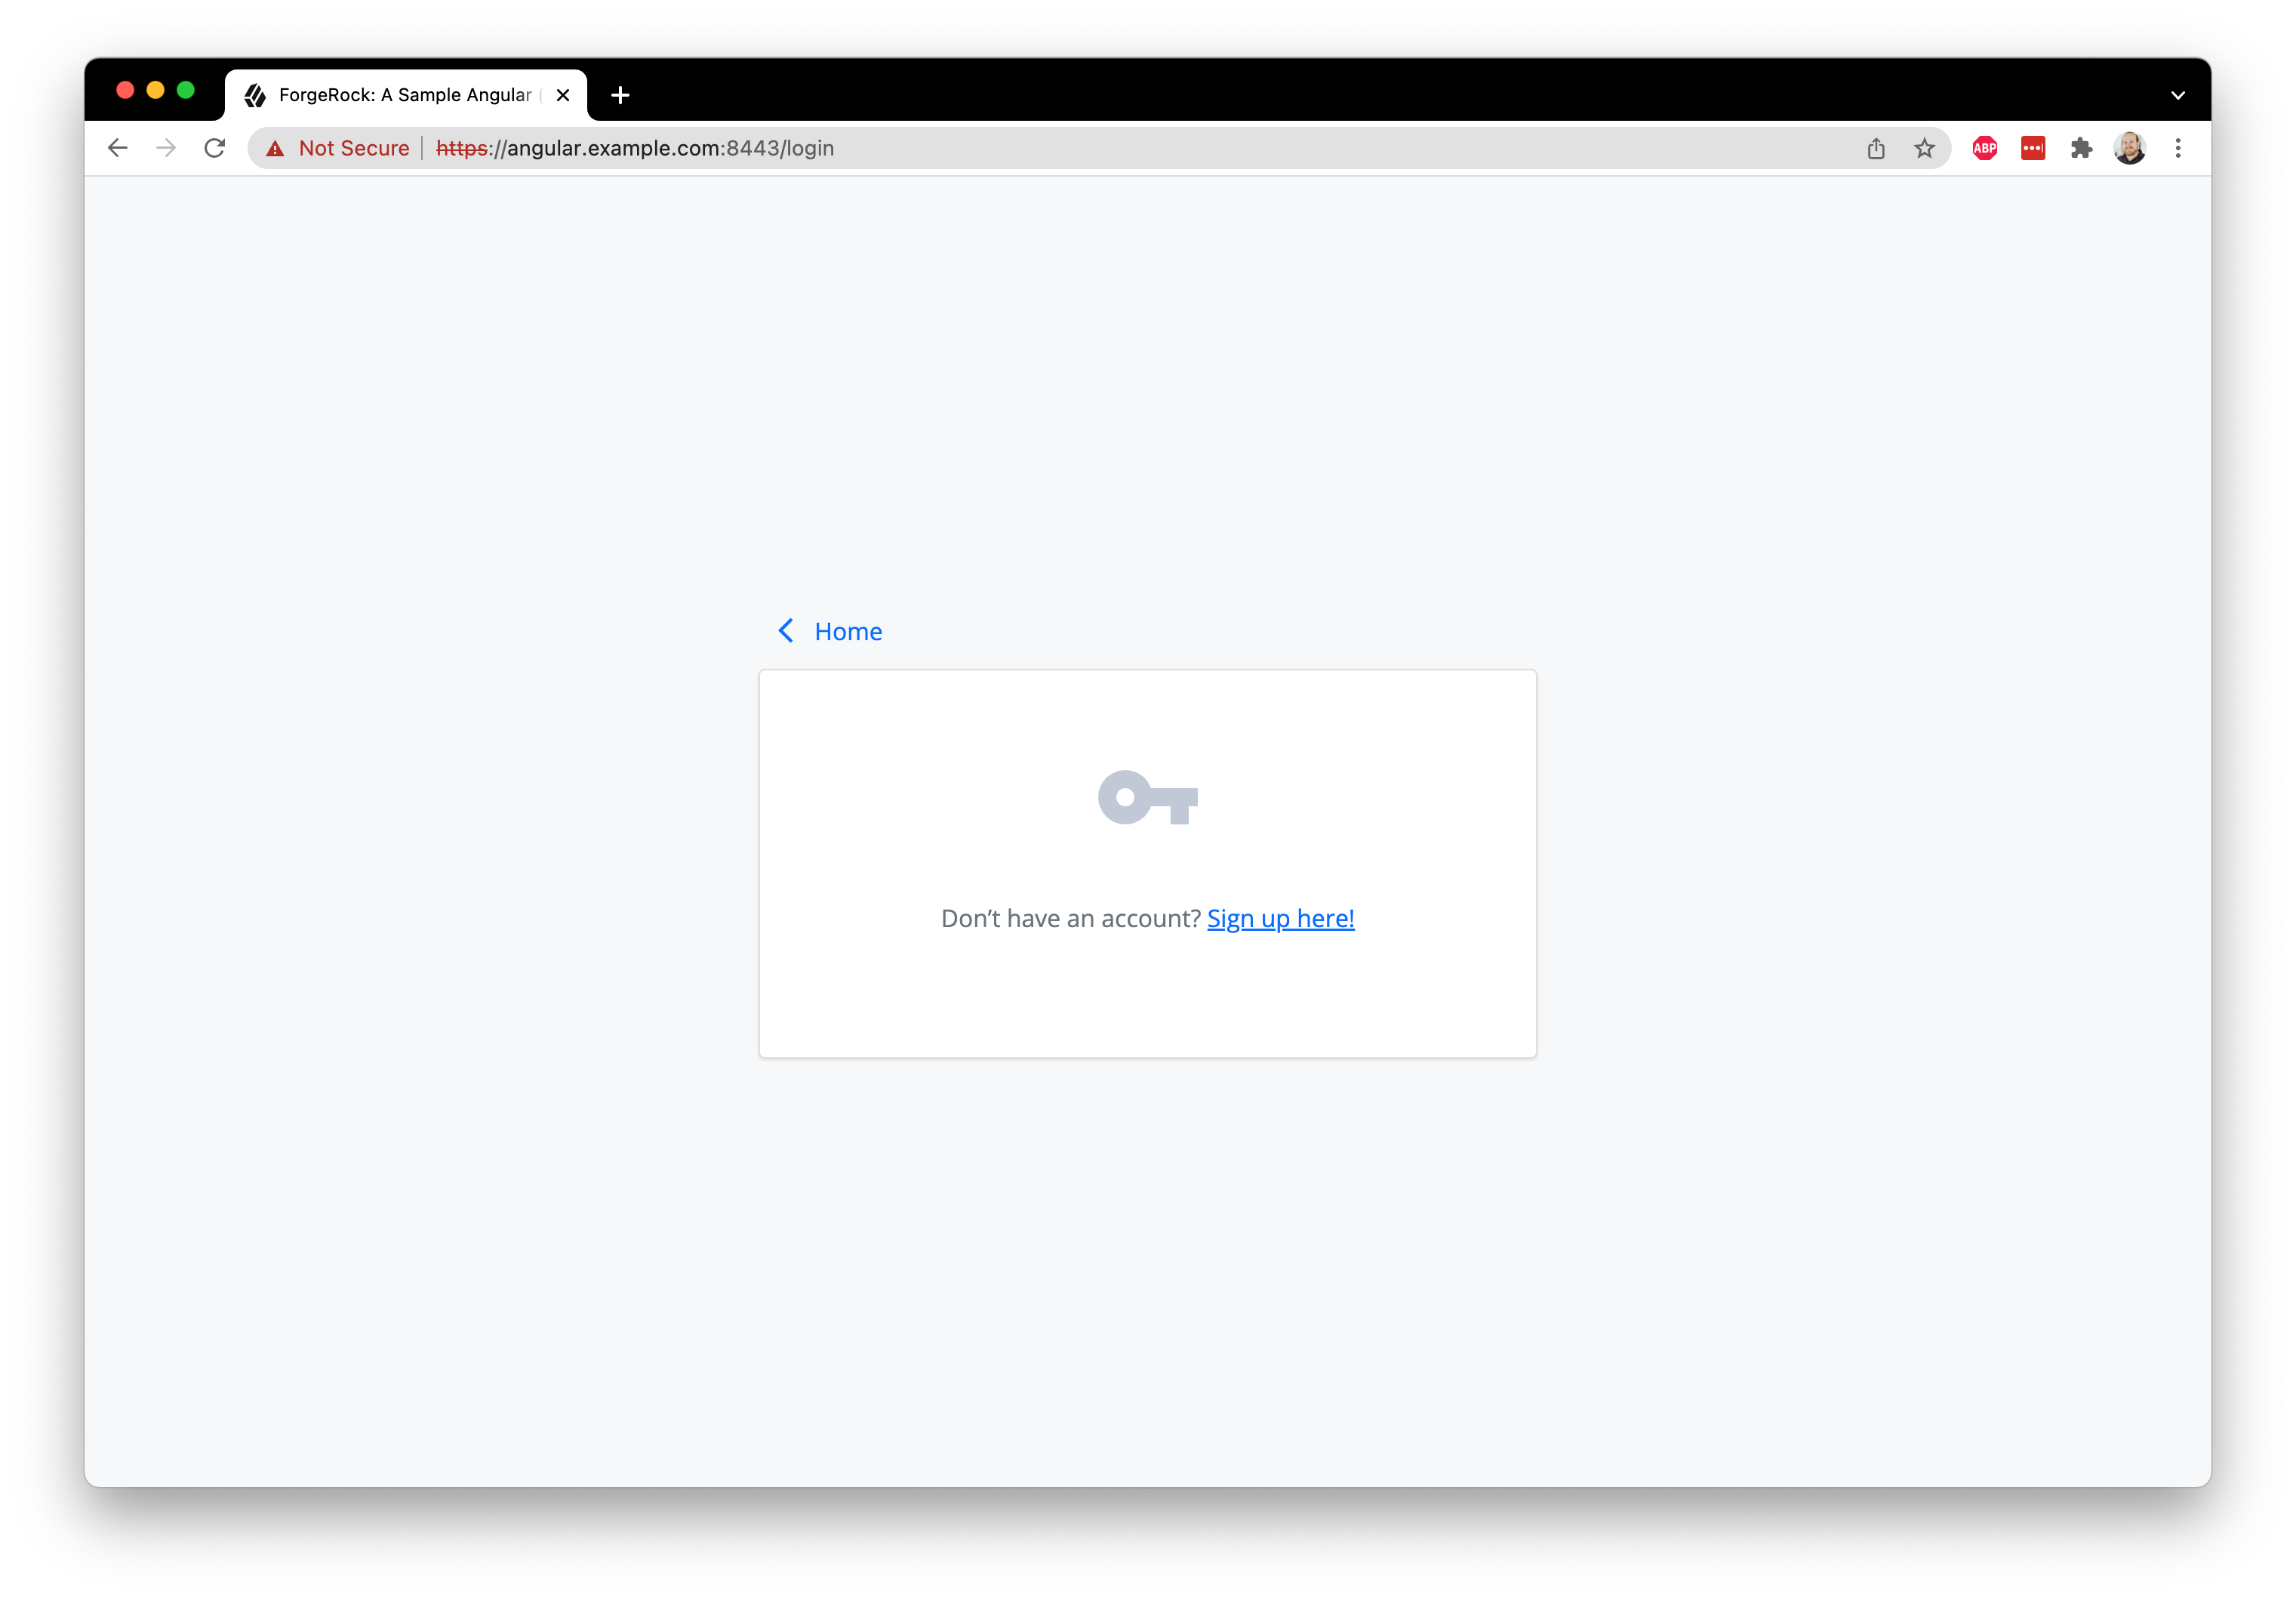
Navigate to the app’s login page within your browser. You should see a "loading" spinner and message that’s persistent since it doesn’t have the data needed to render the form. To ensure the correct form is rendered, the initial data needs to be retrieved from the ForgeRock server. That is the first task.
Since most of the action is taking place in src/app/features/journey/form/form.component.html and src/app/features/journey/form/form.component.ts, open both and add the SDK import to form.component.ts:
  import { Component, Input, OnInit } from '@angular/core';
  import { Router } from '@angular/router';
  import { environment } from '../../../../environments/environment';
  import { UserService } from 'src/app/services/user.service';
- import { FRLoginFailure, FRLoginSuccess, FRStep } from '@forgerock/javascript-sdk';
+ import { FRAuth, FRLoginFailure, FRLoginSuccess, FRStep } from '@forgerock/javascript-sdk';
@@ collapsed @@
FRAuth is the first object used as it provides the necessary methods for authenticating a user against the Login Journey/Tree.
Use the start() method of FRAuth as it returns data we need for rendering the form.
Add the following code to the nextStep function to call the start function, initiating the authentication attempt using the SDK:
@@ collapsed @@
  async nextStep(step?: FRStep): Promise<void> {
    this.submittingForm = true;
+   try {
+     let nextStep = await FRAuth.next(step, { tree: this.tree });
+   } catch (err) {
+       console.log(err);
+   } finally {
+       this.submittingForm = false;
+   }
  }
@@ collapsed @@
The result of this initial request is stored in a variable named nextStep.
We now need to work out whether this is a login failure, success, or step with instructions for what needs to be rendered to the user for input collection.
To handle these outcomes, add the following code after the code you added above:
@@ collapsed @@
  async nextStep(step?: FRStep): Promise<void> {
    this.submittingForm = true;

    try {
      let nextStep = await FRAuth.next(step, { tree: this.tree });

+     switch (nextStep.type) {
+       case 'LoginFailure':
+           this.handleFailure(nextStep);
+           break;
+         case 'LoginSuccess':
+           this.handleSuccess(nextStep);
+           break;
+         case 'Step':
+           this.handleStep(nextStep);
+           break;
+         default:
+           this.handleFailure();
+     }
    } catch (err) {
        console.log(err);
    } finally {
        this.submittingForm = false;
    }
  }
@@ collapsed @@
Since the nextStep type is likely a Step with instructions for rendering and collecting user input, we call the handleStep() function.
We also set the step variable on the component ready for the template to process.
To process the step, we build a form that uses the *ngFor and ngSwitch directives to iterate over the callbacks and switch based on the callback type.
This lets us use the appropriate component to render something to the user.
Once the user provides their input and submits the form, we catch the submission and invoke the nextStep function again.
So starting with the form submission, we add the following code inside the <div id="callbacks"> tag in the FormComponent template (src/app/features/journey/form/form.component.html)
@@ collapsed @@
  <div id="callbacks">
+   <form #callbackForm (ngSubmit)="nextStep(step)" ngNativeValidate class="cstm_form">
+     <app-button [buttonText]="buttonText" [submittingForm]="submittingForm">
+     </app-button>
+   </form>
  </div>
@@ collapsed @@
The form should now catch submissions.
To iterate through the callbacks, add the following code inside the <form> tag you just added, just before the <app-button> tag:
@@ collapsed @@
  <div id="callbacks">
    <form #callbackForm (ngSubmit)="nextStep(step)" ngNativeValidate class="cstm_form">
+     <div *ngFor="let callback of step?.callbacks" v-bind:key="callback.payload._id">
+     </div>
      <app-button [buttonText]="buttonText" [submittingForm]="submittingForm">
      </app-button>
    </form>
  </div>
@@ collapsed @@
To switch based on the type of the callback, add the following code within the <div> tag you just added:
@@ collapsed @@
  <div *ngFor="let callback of step?.callbacks" v-bind:key="callback.payload._id">
+   <container-element [ngSwitch]="callback.getType()">
+   </container-element>
  </div>
@@ collapsed @@
Finally, to render something appropriate to the user based on the callback type (and handle unknown callbacks), add the below code within the <container-element> tag you just added.
@@ collapsed @@
  <container-element [ngSwitch]="callback.getType()">
+   <app-text *ngSwitchCase="'NameCallback'" [callback]="$any(callback)" [name]="callback?.payload?.input?.[0]?.name" (updatedCallback)="$any(callback).setName($event)">
+   </app-text>

+   <app-password *ngSwitchCase="'PasswordCallback'" [callback]="$any(callback)" [name]="callback?.payload?.input?.[0]?.name" (updatedCallback)="$any(callback).setPassword($event)">
+   </app-password>

+   <app-unknown *ngSwitchDefault [callback]="callback"></app-unknown>
  </container-element>
@@ collapsed @@
Refresh the page, and you should now have a dynamic form that reacts to the callbacks returned from our initial call to AM or Identity Cloud.
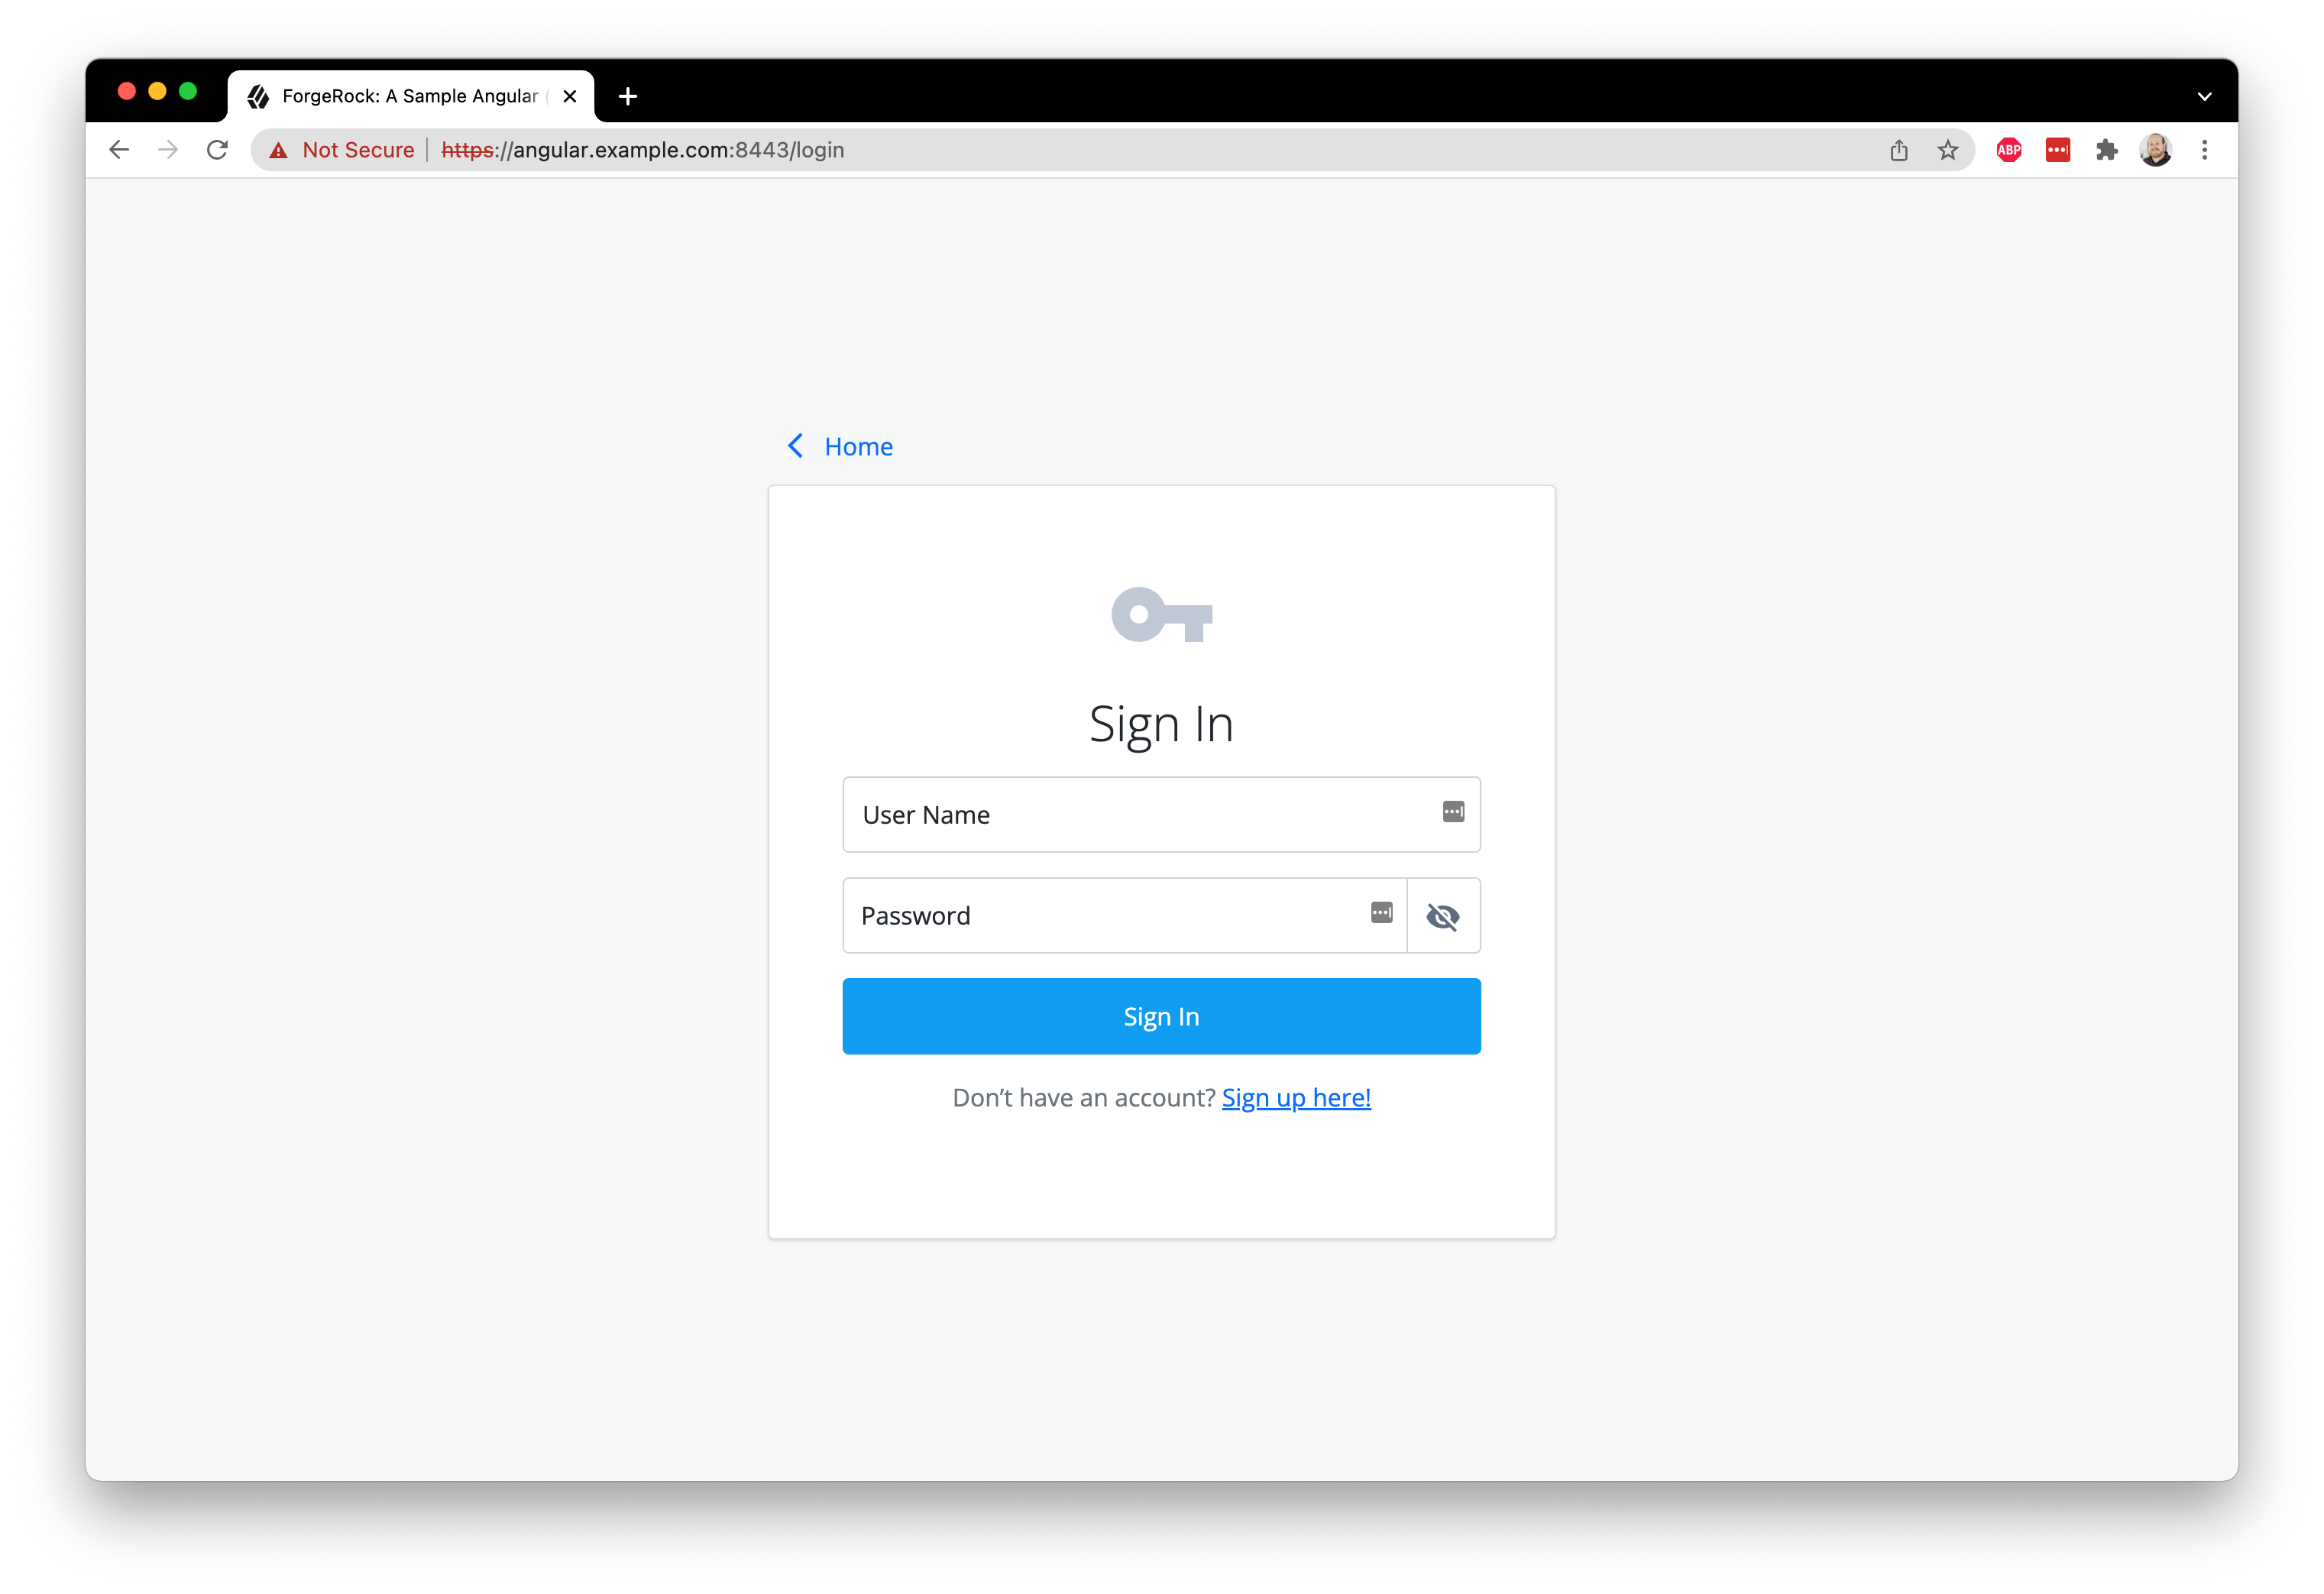
Refresh the login page and use the test user to login.
You should get a mostly blank login page if the user’s credentials are valid and the journey completes.
You can verify this by going to the Network panel within the developer tools and inspecting the last /authenticate request.
It should have a tokenId and successUrl property.
You may ask, “How are the user’s input values added to the step object?” Let’s take a look at the component for rendering the username input.
Open up the Text component: src/app/features/journey/text/text.component.ts and src/app/features/journey/text/text.component.html:
  <input
    @@ collapsed @@
    (input)="updateValue($event)"
    @@ collapsed @@
  />
When the user changes the value of the input, the (input) event fires and calls updateValue().
This in turn uses the EventEmitter defined in the @Output directive to emit the updated value to the parent component - in this case, the FormComponent.
From here, the FormComponent calls the appropriate convenience method in the SDK to set the value for the callback.
This final piece is shown below (this is already in your project so no need to copy it):
<app-text *ngSwitchCase="'NameCallback'" [callback]="$any(callback)" [name]="callback?.payload?.input?.[0]?.name" (updatedCallback)="$any(callback).setName($event)"
</app-text>
Each callback type has its own collection of methods for getting and setting data in addition to a base set of generic callback methods. The SDK automatically adds these methods to the callback prototype. For more information about these callback methods, see our API documentation^, or the source code in GitHub, for more details.
Now that the form is rendering and submitting, add conditions to the FormComponent template (src/app/features/journey/form/form.component.html), to handle the success and error response from AM or Identity Cloud.
This code should be inserted towards the top of the file, inside the <ng-container> tag:
<ng-container
[ngTemplateOutlet]="success ? successMessage : failure ? failureMessage : step ? callbacks : loading"
>
<ng-template #successMessage>
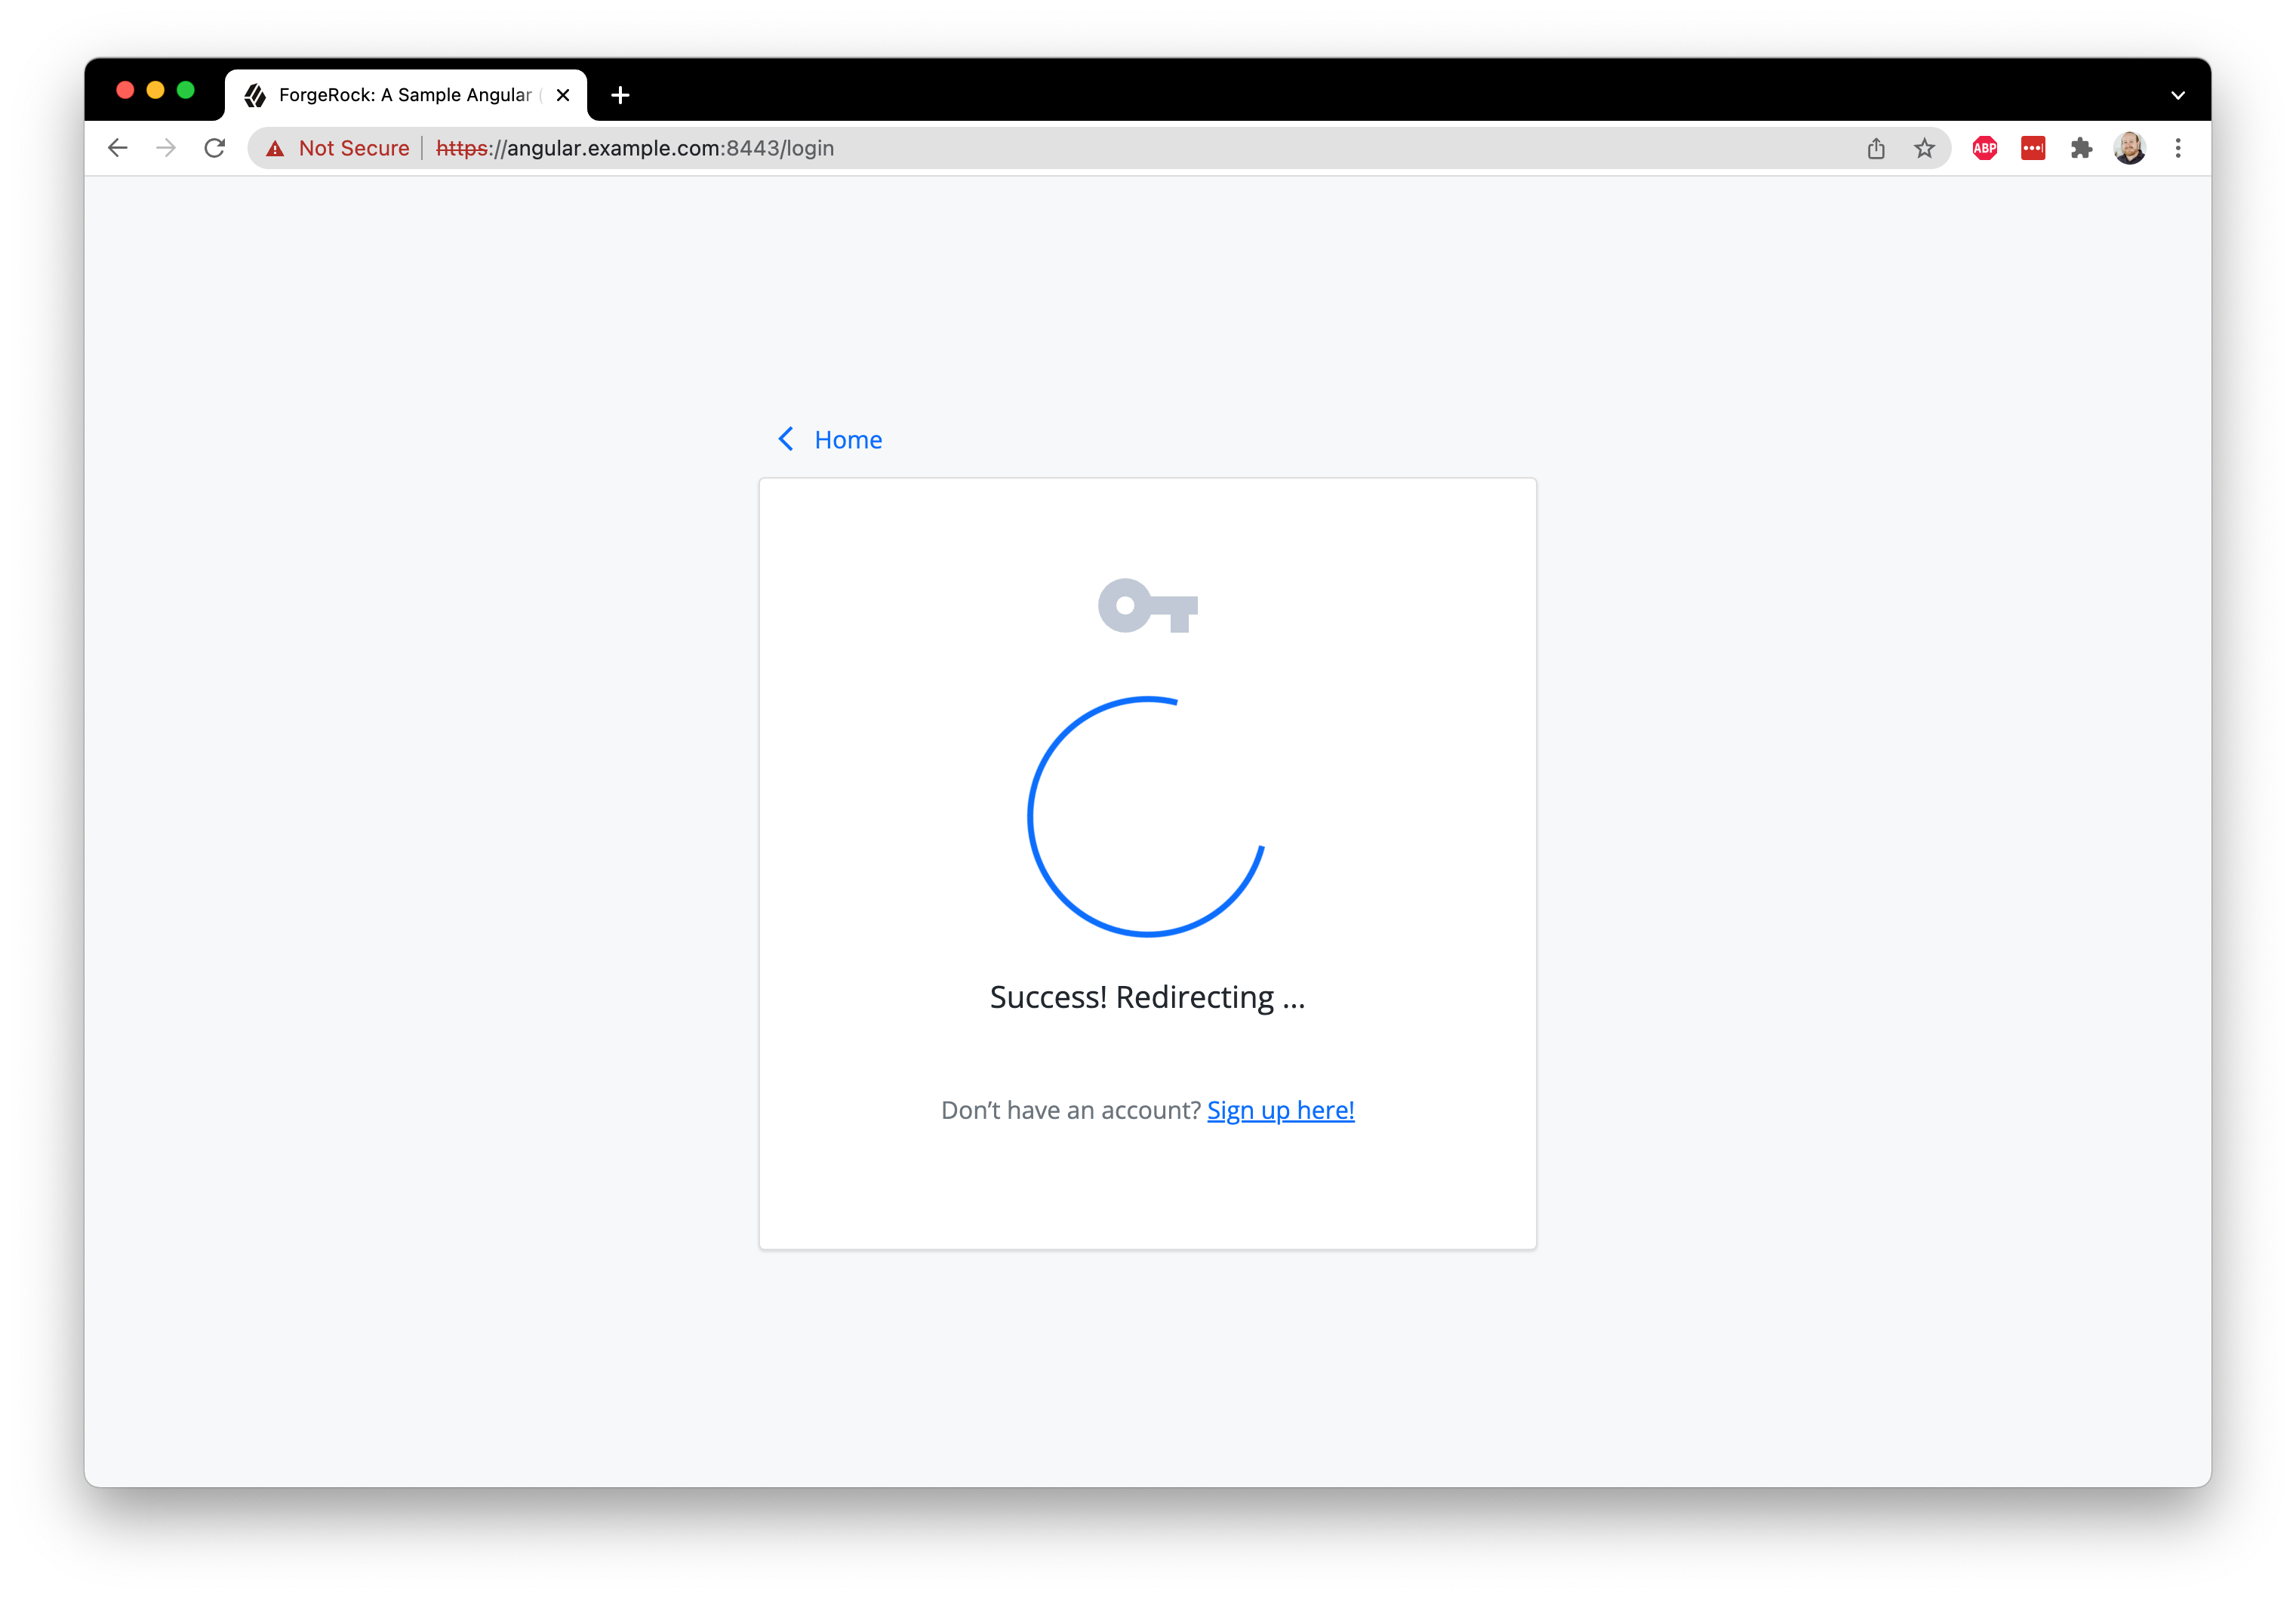
+ <app-loading [message]="'Success! Redirecting ...'"></app-loading>
</ng-template>
<ng-template #failureMessage>
+ <app-alert [message]="failure?.getMessage()" [type]="'error'"></app-alert>
</ng-template>
@@ collapsed @@Once you handle the success and error condition, return back to the browser and remove all cookies created from any previous logins. Refresh the page and login with your test user created in the Setup section above. You should see a “Success!” alert message. Congratulations, you are now able to authenticate users!
Step 3. Continue to the OAuth 2.0 flow
At this point, the user is authenticated. The session has been created and a session cookie has been written to the browser. This is "session-based authentication", and is viable when your system (apps and services) can rely on cookies as the access artifact. However, there are increasing limitations with the use of cookies. In response to this, and other reasons, it’s common to add an additional step to your authentication process: the “OAuth” or “OIDC flow”.
The goal of this flow is to attain a separate set of tokens, replacing the need for cookies as the shared access artifact. The two common tokens are the access token and the ID Token. We focus on the access token in this guide. The specific flow that the SDK uses to acquire these tokens is called the Authorization Code Flow with PKCE.
To start, import the TokenManager and UserManager objects from the ForgeRock SDK into the same src/app/features/journey/form.component.ts file - replace the import you added earlier with the following code:
  import { Component, Input, OnInit } from '@angular/core';
  import { Router } from '@angular/router';
  import { environment } from '../../../../environments/environment';
  import { UserService } from 'src/app/services/user.service';
- import { FRAuth, FRLoginFailure, FRLoginSuccess, FRStep } from '@forgerock/javascript-sdk';
+ import { FRAuth, FRLoginFailure, FRLoginSuccess, FRStep, TokenManager, UserManager, } from '@forgerock/javascript-sdk';
@@ collapsed @@
In addition to the components that we were already importing, we have now imported the TokenManager and UserManager from the SDK.
Only an authenticated user that has a valid session can successfully request OAuth/OIDC tokens.
We must therefore make sure we make this asynchronous token request after we get a 'LoginSuccess' back from the authentication journey.
In the code we wrote in the previous section, our processing of the response means that a 'LoginSuccess' results in a call to the currently-empty function handleSuccess.
Let’s invoke the OAuth 2.0 flow from here.
Note that since the getTokens request is asynchronous, handleSuccess has been marked async.
Add the following code to the try block within handleSuccess to start the flow:
@@ collapsed @@
  async handleSuccess(success?: FRLoginSuccess) {
    this.success = success;

+   try {
+     await TokenManager.getTokens({ forceRenew: true });
+   } catch (err) {
+     console.error(err);
+   }
  }
@@ collapsed @@
Once the changes are made, return back to your browser and remove all cookies created from any previous logins. Refresh the page and verify the login form is rendered. If the success message continues to display, make sure “third-party cookies” are also removed.
Login with your test user.
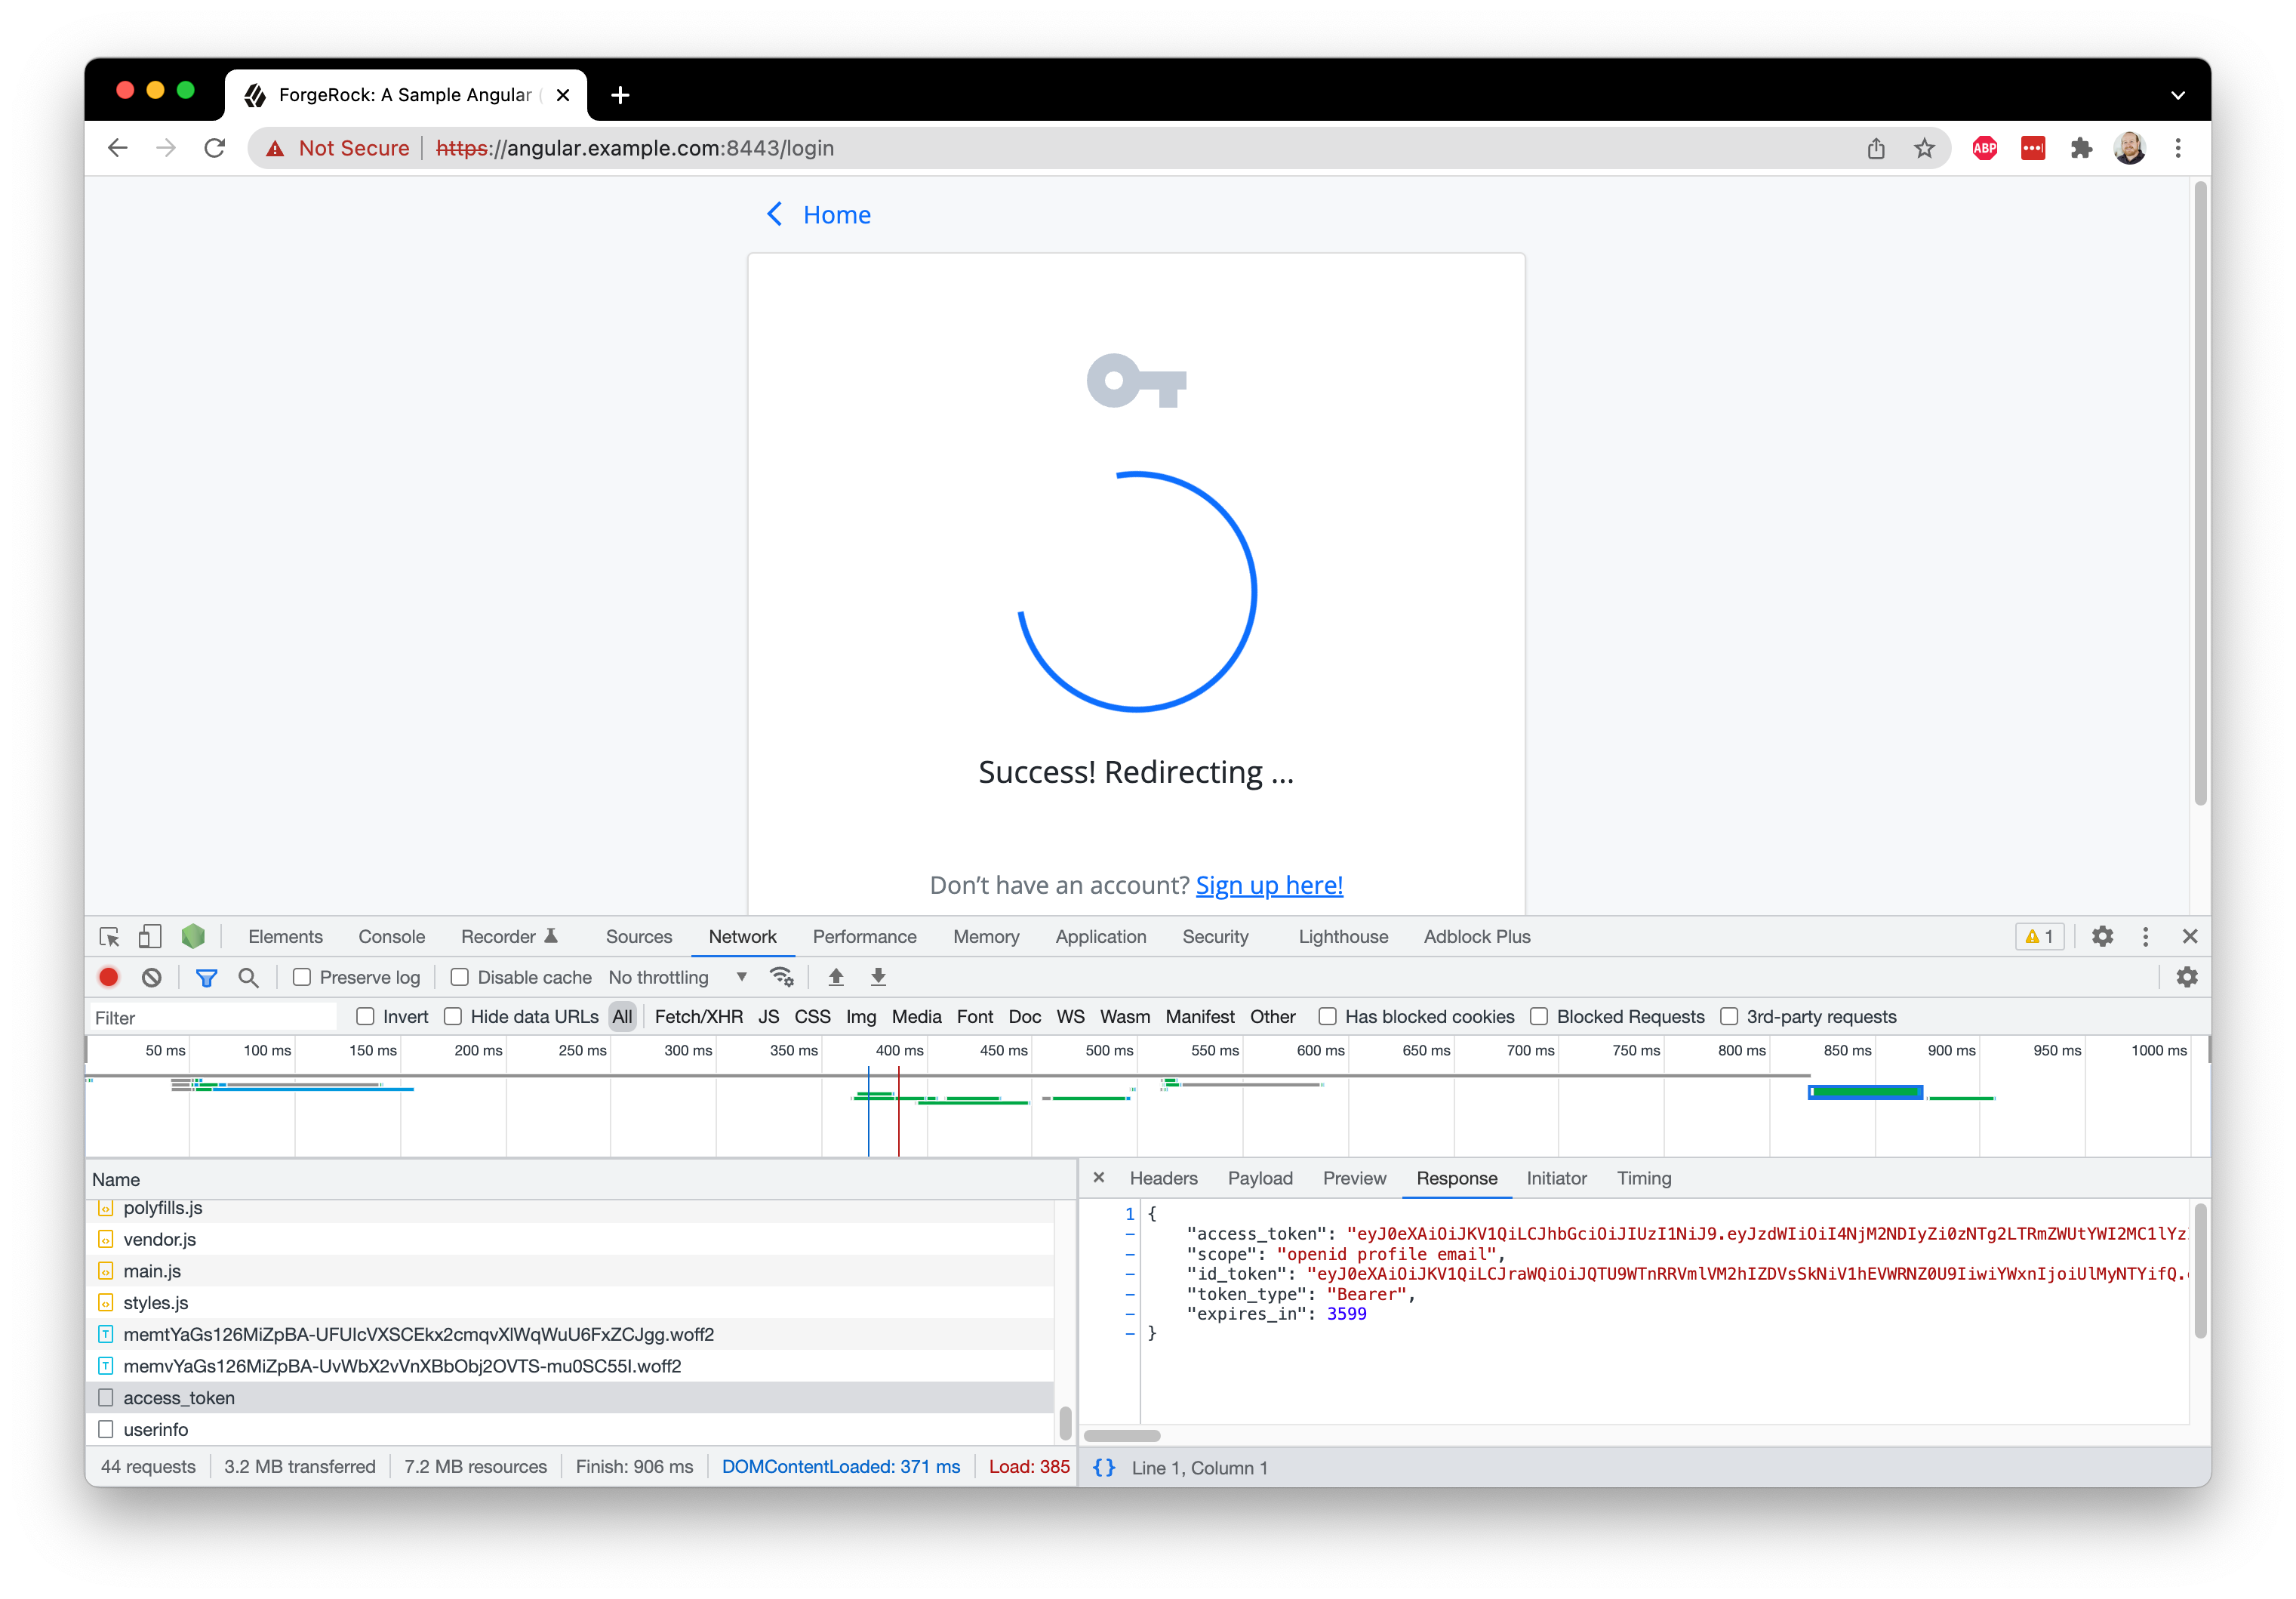
You should get a success message like you did before, but now check your browser’s console log.
You should see an additional entry of an object that contains your idToken and accessToken.
Since the SDK handles storing these tokens for you, which are in localStorage, you have completed a full login and OAuth/OIDC flow.
Step 4. Request user information
Now that the user is authenticated and an access token is attained, you can now make your first authenticated request!
The SDK provides a convenience method for calling the /userinfo endpoint, a standard OAuth endpoint for requesting details about the current user.
The data returned from this endpoint correlates with the "scopes" set within the SDK configuration.
The scopes profile and email allow the inclusion of user’s first and last name as well as their email address.
To retrieve user information, we add another single line of code to invoke the getCurrentUser() function of the SDK, underneath the getTokens() call:
@@ collapsed @@
  async handleSuccess(success?: FRLoginSuccess) {
    this.success = success;

    try {
      await TokenManager.getTokens({ forceRenew: true });

+     let info = await UserManager.getCurrentUser();
    } catch (err) {
      console.error(err);
    }
  }
@@ collapsed @@
We want to store the fact that the user is authenticated, together with the user information we retrieved, in a state that can be shared with other Angular components in our app.
To do this, we have injected the service UserService into FormComponent.
This service is also injected into other components that should need access to authentication status and user information.
To update the UserService and redirect the user to the home page, add the following code below the getCurrentUser() call:
@@ collapsed @@
async handleSuccess(success?: FRLoginSuccess) {
this.success = success;
try {
await TokenManager.getTokens({ forceRenew: true });
let info = await UserManager.getCurrentUser();
+ this.userService.info = info;
+ this.userService.isAuthenticated = true;
+ this.router.navigateByUrl('/');
} catch (err) {
console.error(err);
}
}
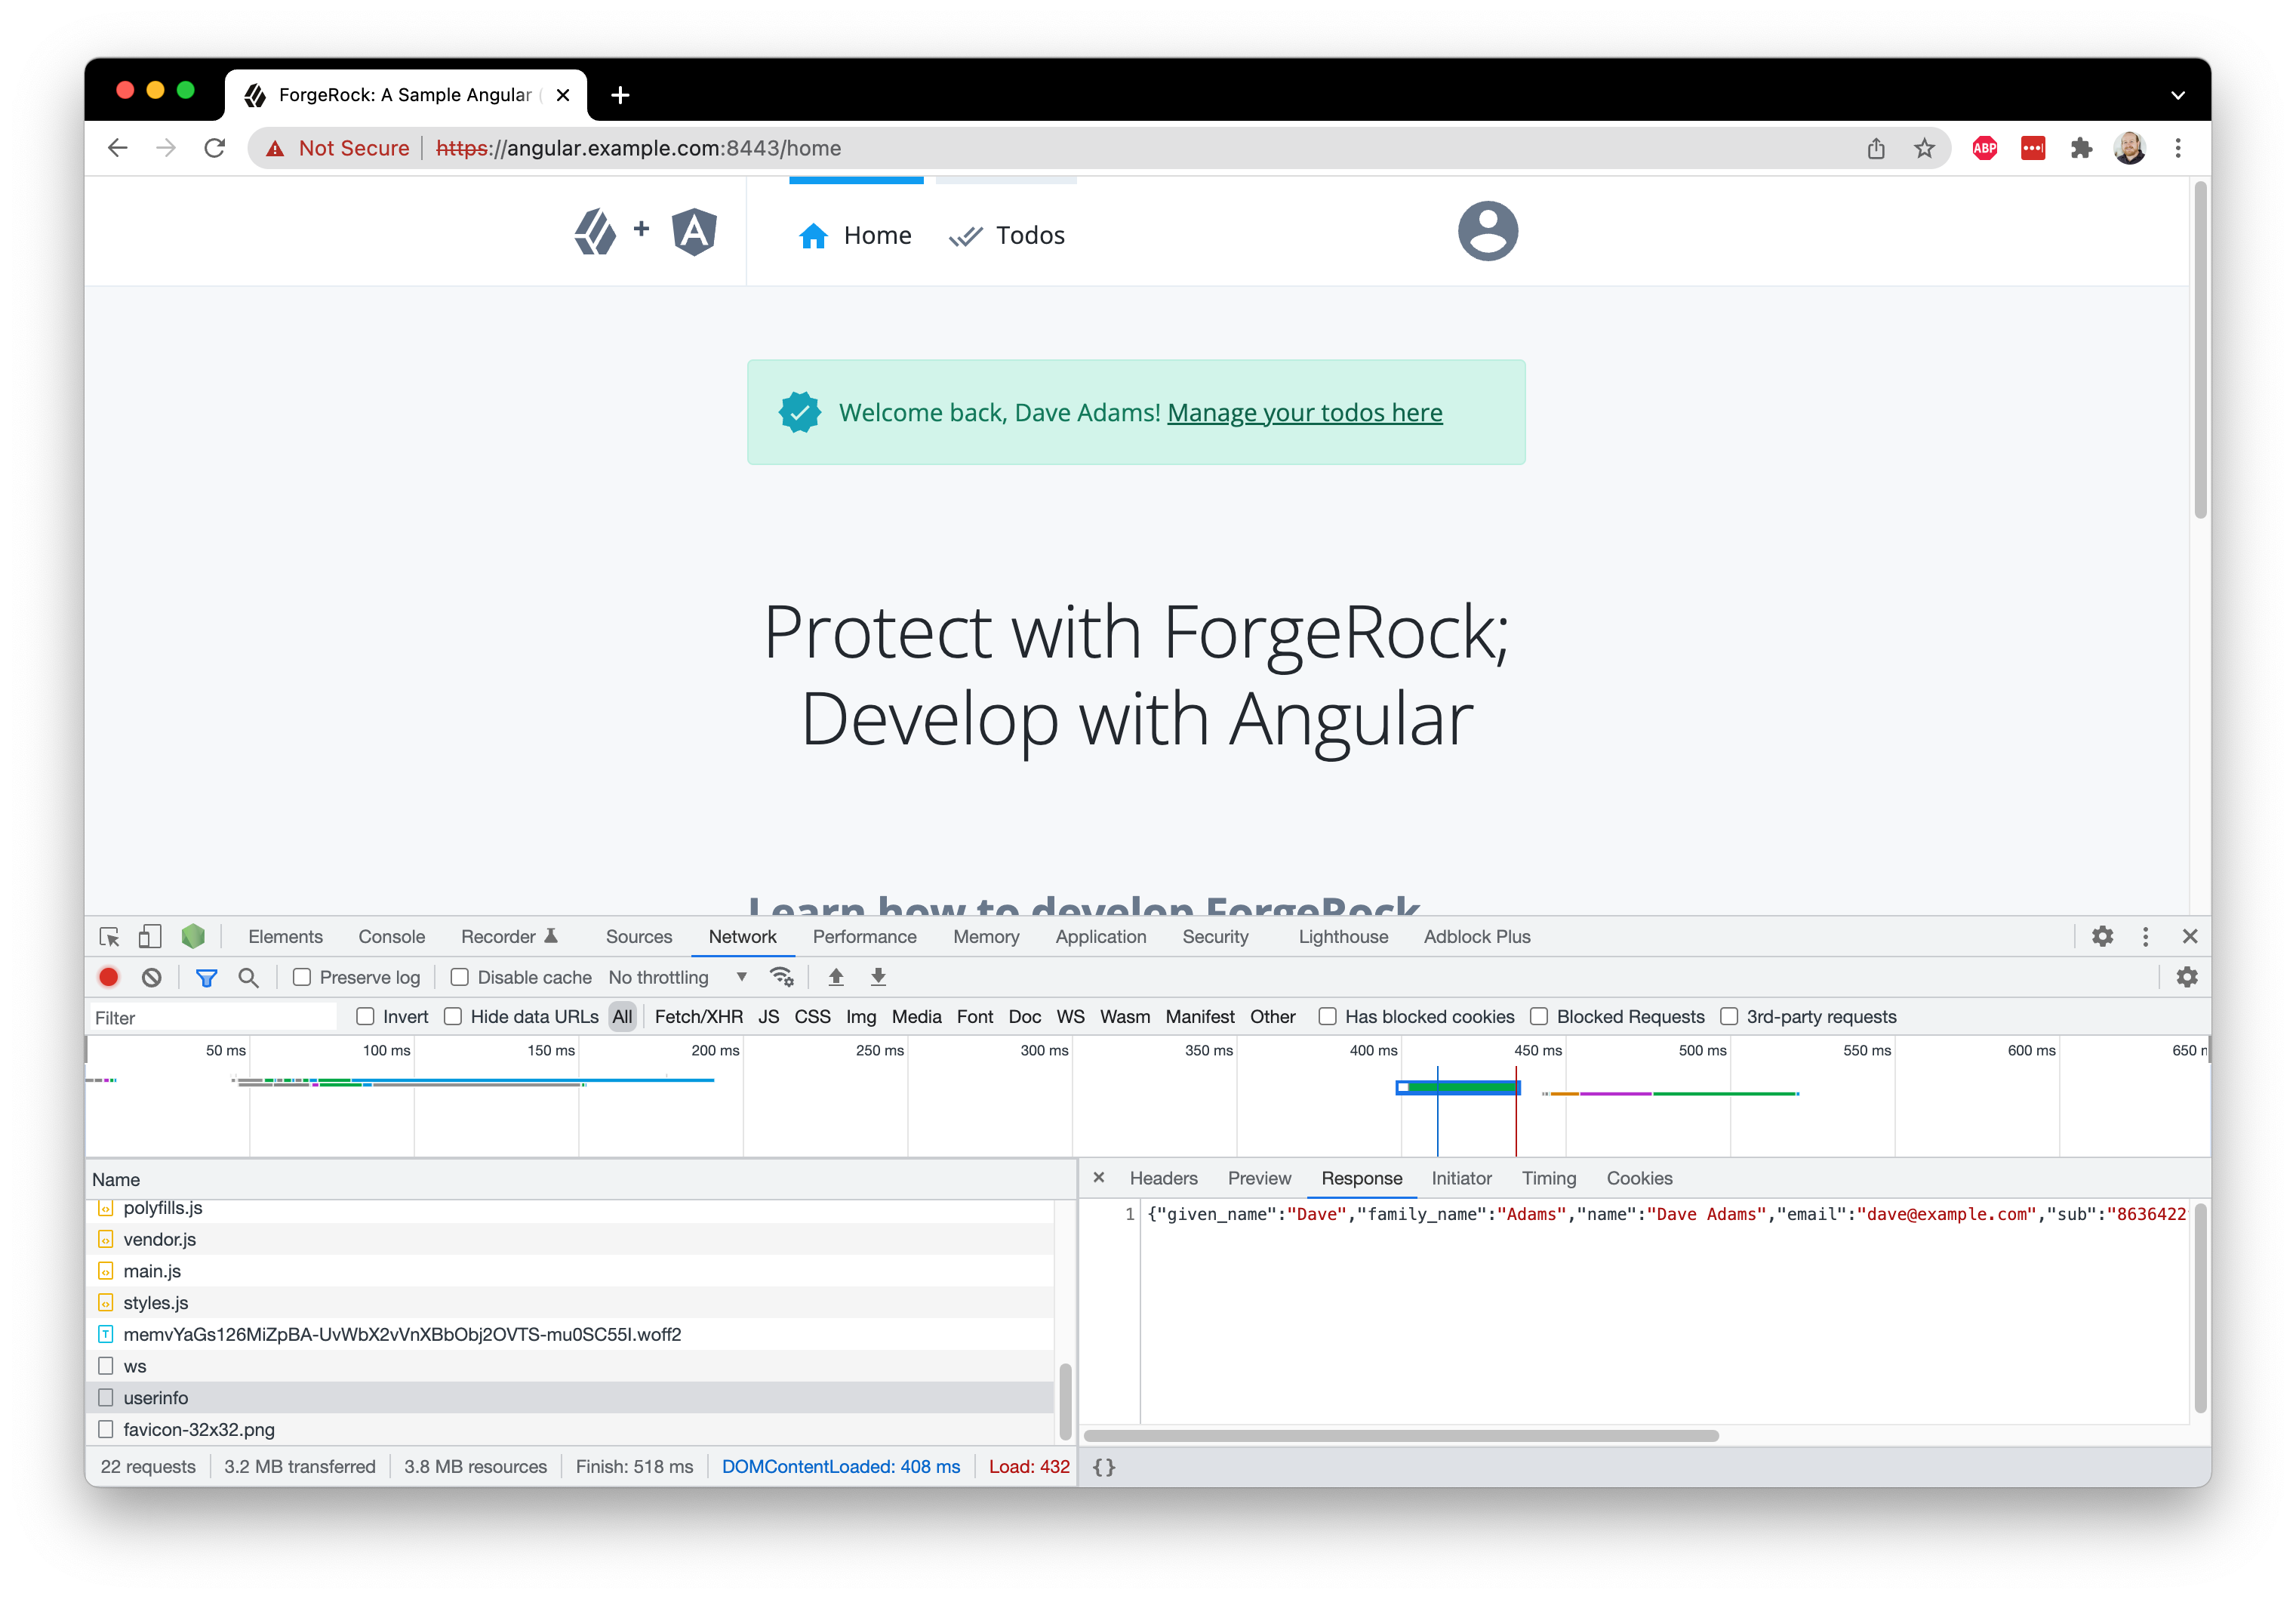
@@ collapsed @@Revisit the browser, clear out all cookies, storage and cache, and log in with your test user.
Once you have landed on the home page you should notice that the page looks slightly different with an added success alert and message with the user’s full name.
This is due to the app “reacting” to the state in the UserService that we set just before the redirection.
Step 5. React to the presence of the access token
To ensure your app provides a good user-experience, it’s important to have a recognizable, authenticated experience, even if the user refreshes the page or closes and reopens the browser tab. This makes it clear to the user that they are logged in.
Currently, if you refresh the page, the authenticated experience is lost. Let’s fix that!
If the user is logged in, there are tokens in the browser.
To ensure the tokens are valid and the user information is available to the rest of the page, we use the getCurrentUser() function of the SDK.
The function determines if the tokens are still valid.
The function also retrieves the user information for use in the rest of the app.
To do this, add the following code to the ngOnInit() function in the main component - src/app/app.component.ts.
This should provide what we need to re-initialise the user’s authentication status:
@@ collapsed @@
  async ngOnInit(): Promise<void> {

      Config.set({
        clientId: environment.WEB_OAUTH_CLIENT,
        redirectUri: environment.APP_URL,
        scope: 'openid profile email address',
        serverConfig: {
          baseUrl: environment.AM_URL,
          timeout: 30000, // 90000 or less
        },
        realmPath: environment.REALM_PATH,
        tree: environment.JOURNEY_LOGIN,
      });

+     try {
+       const tokens: Tokens = await TokenStorage.get();
+       if (tokens !== undefined) {
+         // Assume user is likely authenticated if there are tokens
+         const info = await UserManager.getCurrentUser();
+         this.userService.isAuthenticated = true;
+         this.userService.info = info;
+       }
+     } catch (err) {
+       // User likely not authenticated
+       console.log(err);
+     }
  }
@@ collapsed @@
With a global state API available to the app using UserService, different components can pull this state in and use it to conditionally render a set of UI elements.
Navigation elements and the displaying of profile data are good examples of such conditional rendering.
Examples of this can be found by reviewing src/app/layout/header/header.component.ts and src/app/views/home/home.component.ts.
Step 6. Validate the access token
The presence of the access token can be a good hint for authentication, but it doesn’t mean the token is actually valid. Tokens can expire or be revoked on the server-side.
We are now focusing on protecting a particular page in our app (todos), so we may want to be sure that the user has valid tokens.
We are currently just checking that there are tokens in the browser and redirecting to the login page.
This is a reasonable approach and is quick since there are no network requests involved.
However we have no assurance that the tokens are still valid.
We could ensure that the tokens are still valid with the use of getCurrentUser() method as we do in the main component.
However as this now requires a network request to complete before the page loads, it could impact on the speed at which the page loads.
This is a decision that you must make for your implementation, depending on your requirements.
In this example, instead of just checking for presence of tokens, we prioritize security over speed by making sure that the token is valid before the page is rendered.
To protect a route by ensuring the user has a valid access token, open the src/app/auth/auth.guard.ts file which uses the CanActivate interface, and import the UserManager from the SDK:
@@ collapsed @@
  import { UserService } from '../services/user.service';
- import { Tokens, TokenStorage } from '@forgerock/javascript-sdk';
+ import { Tokens, TokenStorage, UserManager } from '@forgerock/javascript-sdk';
@@ collapsed @@
Then, replace the code within canActivate as follows:
@@ collapsed @@
// Assume user is likely authenticated if there are tokens
const tokens: Tokens = await TokenStorage.get();
+ const info = await UserManager.getCurrentUser();
- if (tokens === undefined) {
+ if (tokens === undefined || info === undefined) {
return loginUrl;
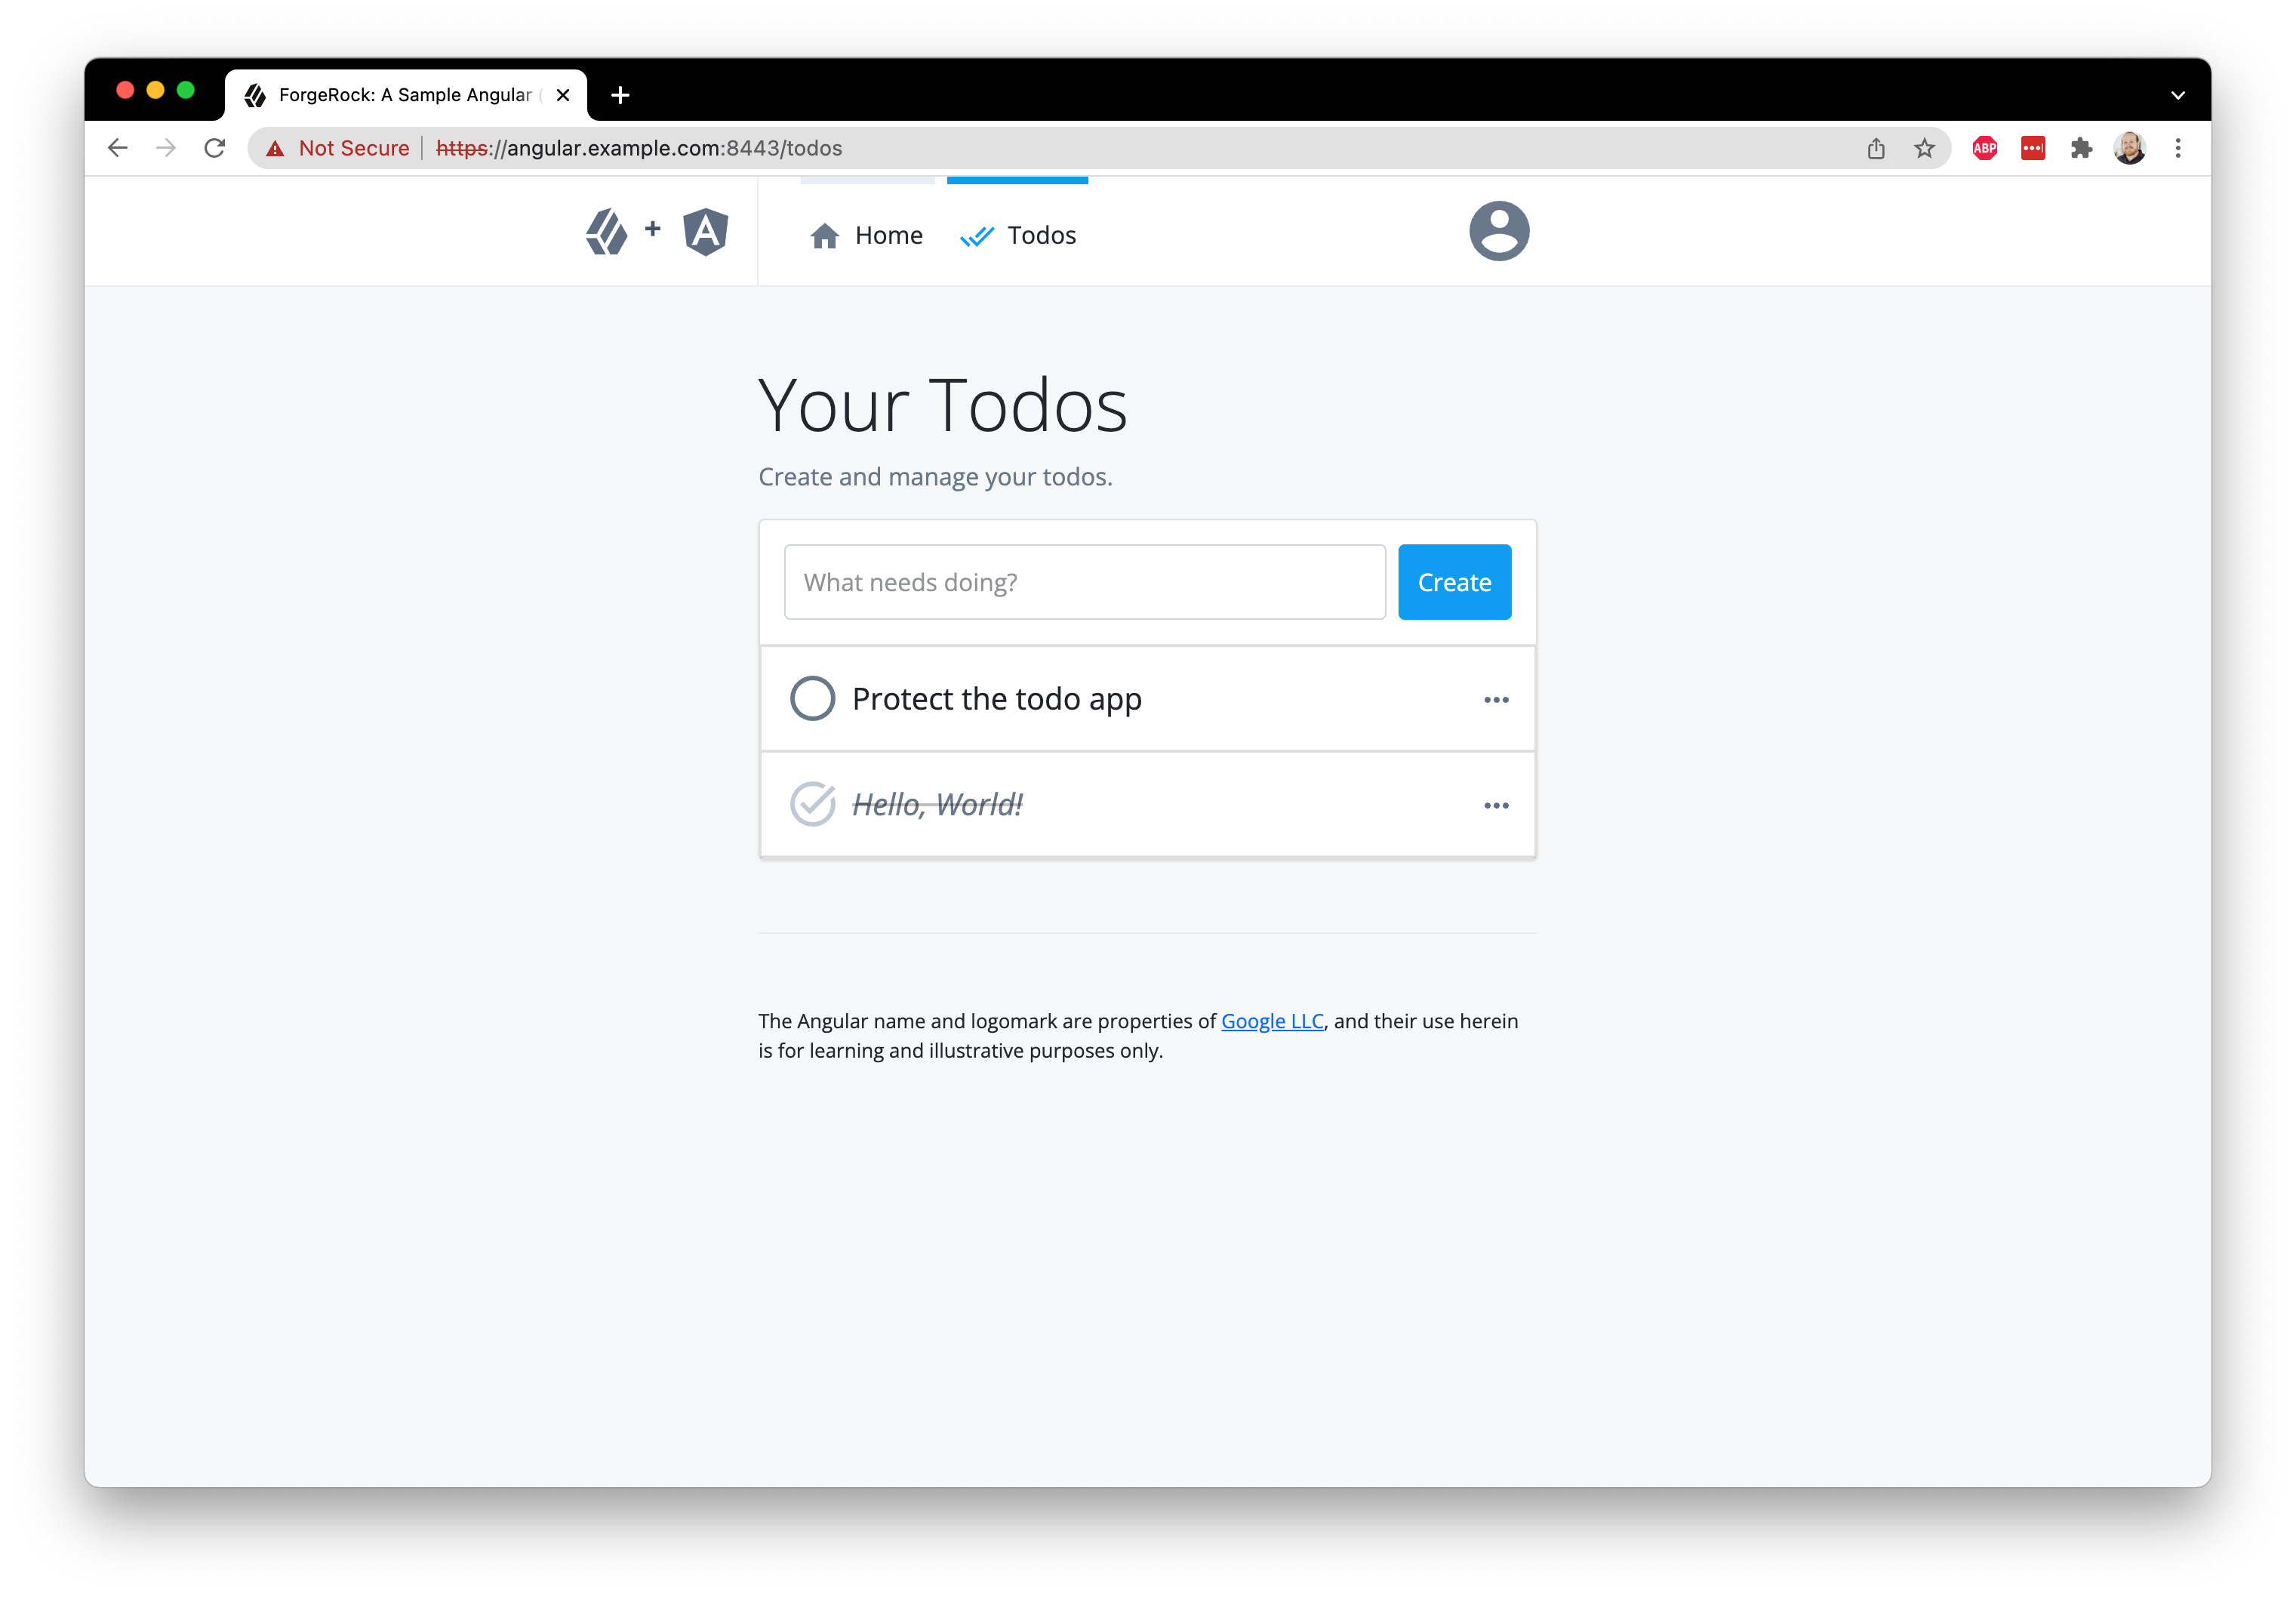
@@ collapsed @@Revisit the browser and refresh the page. Navigate to the Todos page. You should notice a quick spinner and text communicating that the app is "verifying access". Once the server responds, the Todos page renders. The consequence of this is the protected route now has to wait for the server to respond, but the user’s access has been verified by the server.
Step 7. Request protected resources with an access token
Once the Todos page renders, notice how the the Todo collection appears empty.
This is due to the request function in the TodoService being incomplete.
To make resource requests to a protected endpoint, we have an HttpClient module that provides a simple wrapper around the native fetch() method of the browser.
When you call the request() method, it should retrieve the user’s access token, and attach it as a Bearer Token to the request as an authorization header.
This is what the resource server uses to make its own request to the ForgeRock server to validate the user’s access token.
All requests to the Todos backend live in the TodoService, which is injected into the TodosComponent which renders the /todos page.
Each of the functions dedicated to a particular backend request, call the convenience function request(), which needs to use the ForgeRock SDK HttpClient.
To use the HttpClient, add the following import statement to the top of src/app/services/todo.service.ts:
  import { Injectable } from '@angular/core';
  import { Todo } from '../features/todo/todo';
  import { environment } from '../../environments/environment';
+ import { HttpClient } from '@forgerock/javascript-sdk';
@@ collapsed @@
Now, complete the request() function to use the HttpClient to make requests to the Todos backend - replace the existing return statement with the following:
@@ collapsed @@
request(resource: string, method: string, data?: Todo): Promise<Response> {
- return new Promise((resolve, reject) => reject('Method not implemented'));
+ return HttpClient.request({
+ url: resource,
+ init: {
+ headers: {
+ 'Content-Type': 'application/json',
+ },
+ body: JSON.stringify(data),
+ method: method,
+ },
+ timeout: 5000,
+ });
}
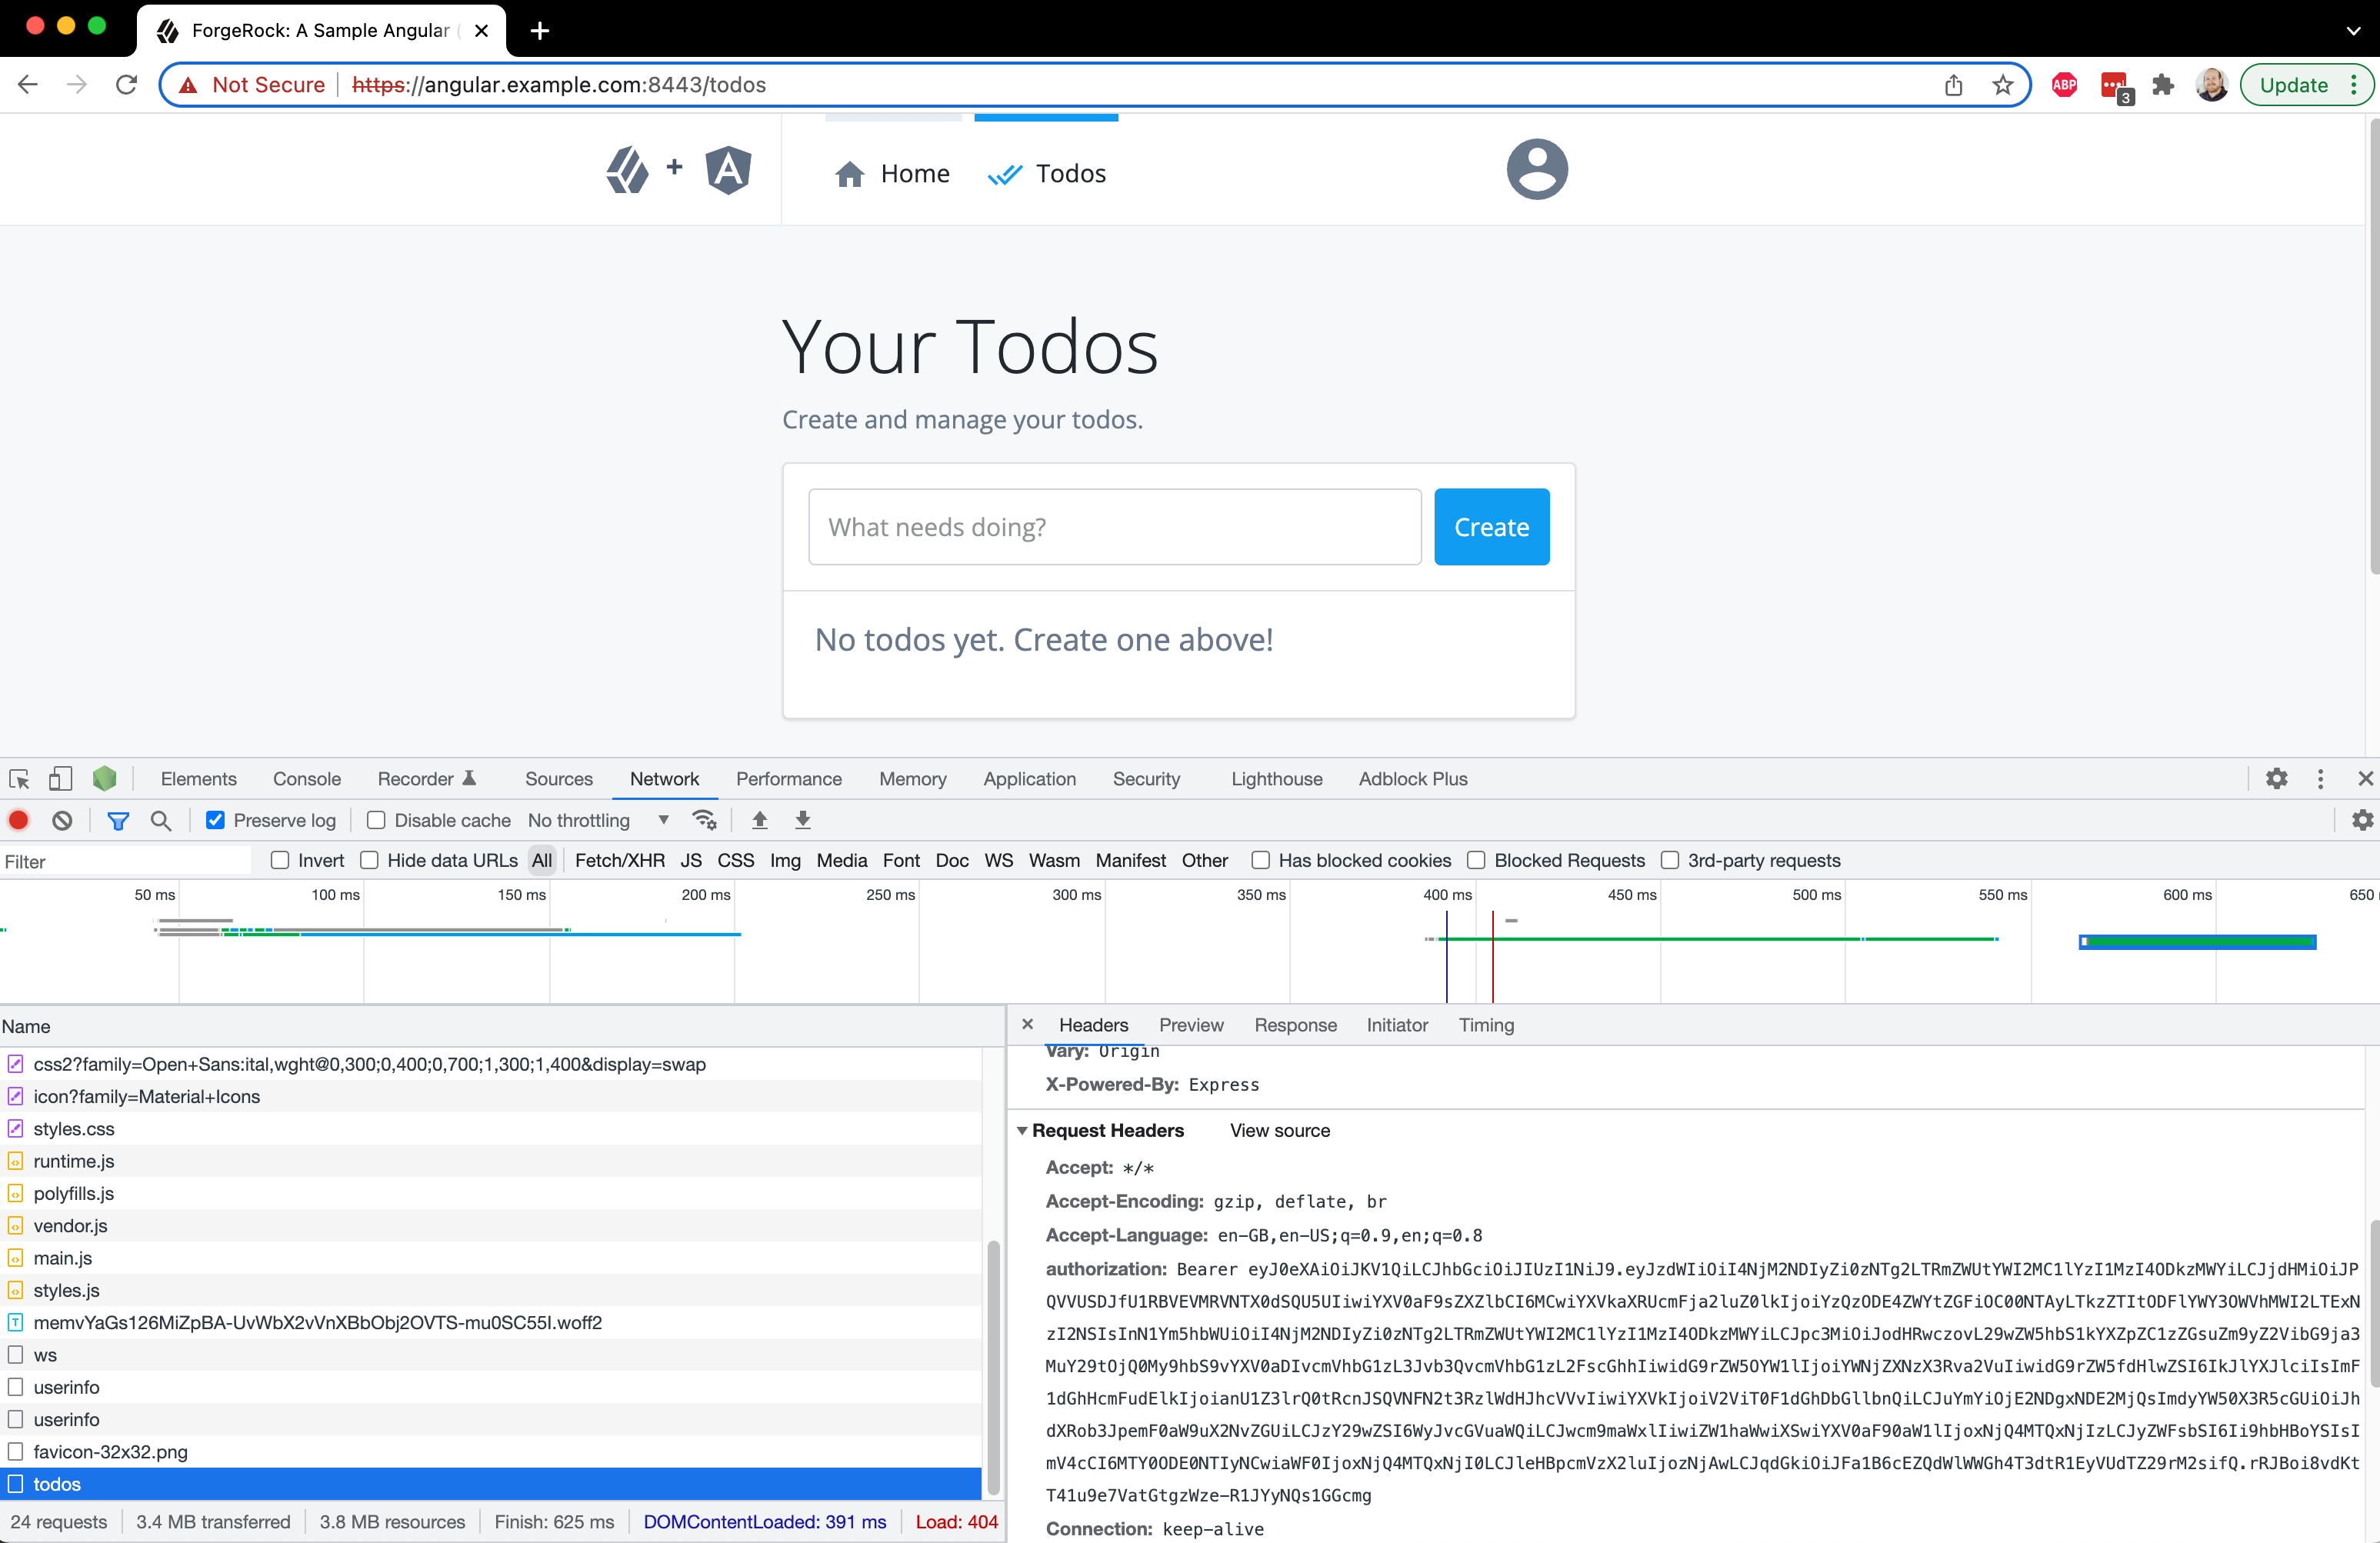
@@ collapsed @@At this point, the user can login, request access tokens, and access the page of the protected resources (todos). Now, revisit the browser and clear out all cookies, storage, and cache. Keeping the developer tools open and on the network tab, log in with you test user. Once you have been redirected to the home page, do the following:
-
Click on the “Todos” item in the navigation bar - you should see that a lot of network activity should be listed.
-
Find the network call to the
/todosendpoint (http://localhost:9443/todos). -
Click on that network request and view the request headers.
-
Notice the
authorizationheader with the bearer token; that’s theHttpClientin action.
Step 8. Handle logout request
Of course, you can’t have a protected app without providing the ability to log out. Luckily, this is a fairly easy task using the SDK.
Open up the LogoutComponent file src/app/features/logout/logout.component.ts and import FRUser from the ForgeRock SDK:
@@ collapsed @@
  import { Component, OnInit } from '@angular/core';
  import { Router } from '@angular/router';
  import { UserService } from '../../services/user.service';
+ import { FRUser } from '@forgerock/javascript-sdk';
@@ collapsed @@
Logging the user out and revoking their tokens is easy using the logout() function of FRUser.
Once this async call returns, we then remove any user information from UserService (and therefore other parts of the application since this is injected in other components).
To do this, add the following code to logout():
@@ collapsed @@
async logout() {
+ try {
+ await FRUser.logout();
+ this.userService.info = undefined;
+ this.userService.isAuthenticated = false;
+ setTimeout(() => this.redirectToHome(), 1000);
+ } catch (err) {
+ console.error(`Error: logout did not successfully complete; ${err}`);
+ }
}
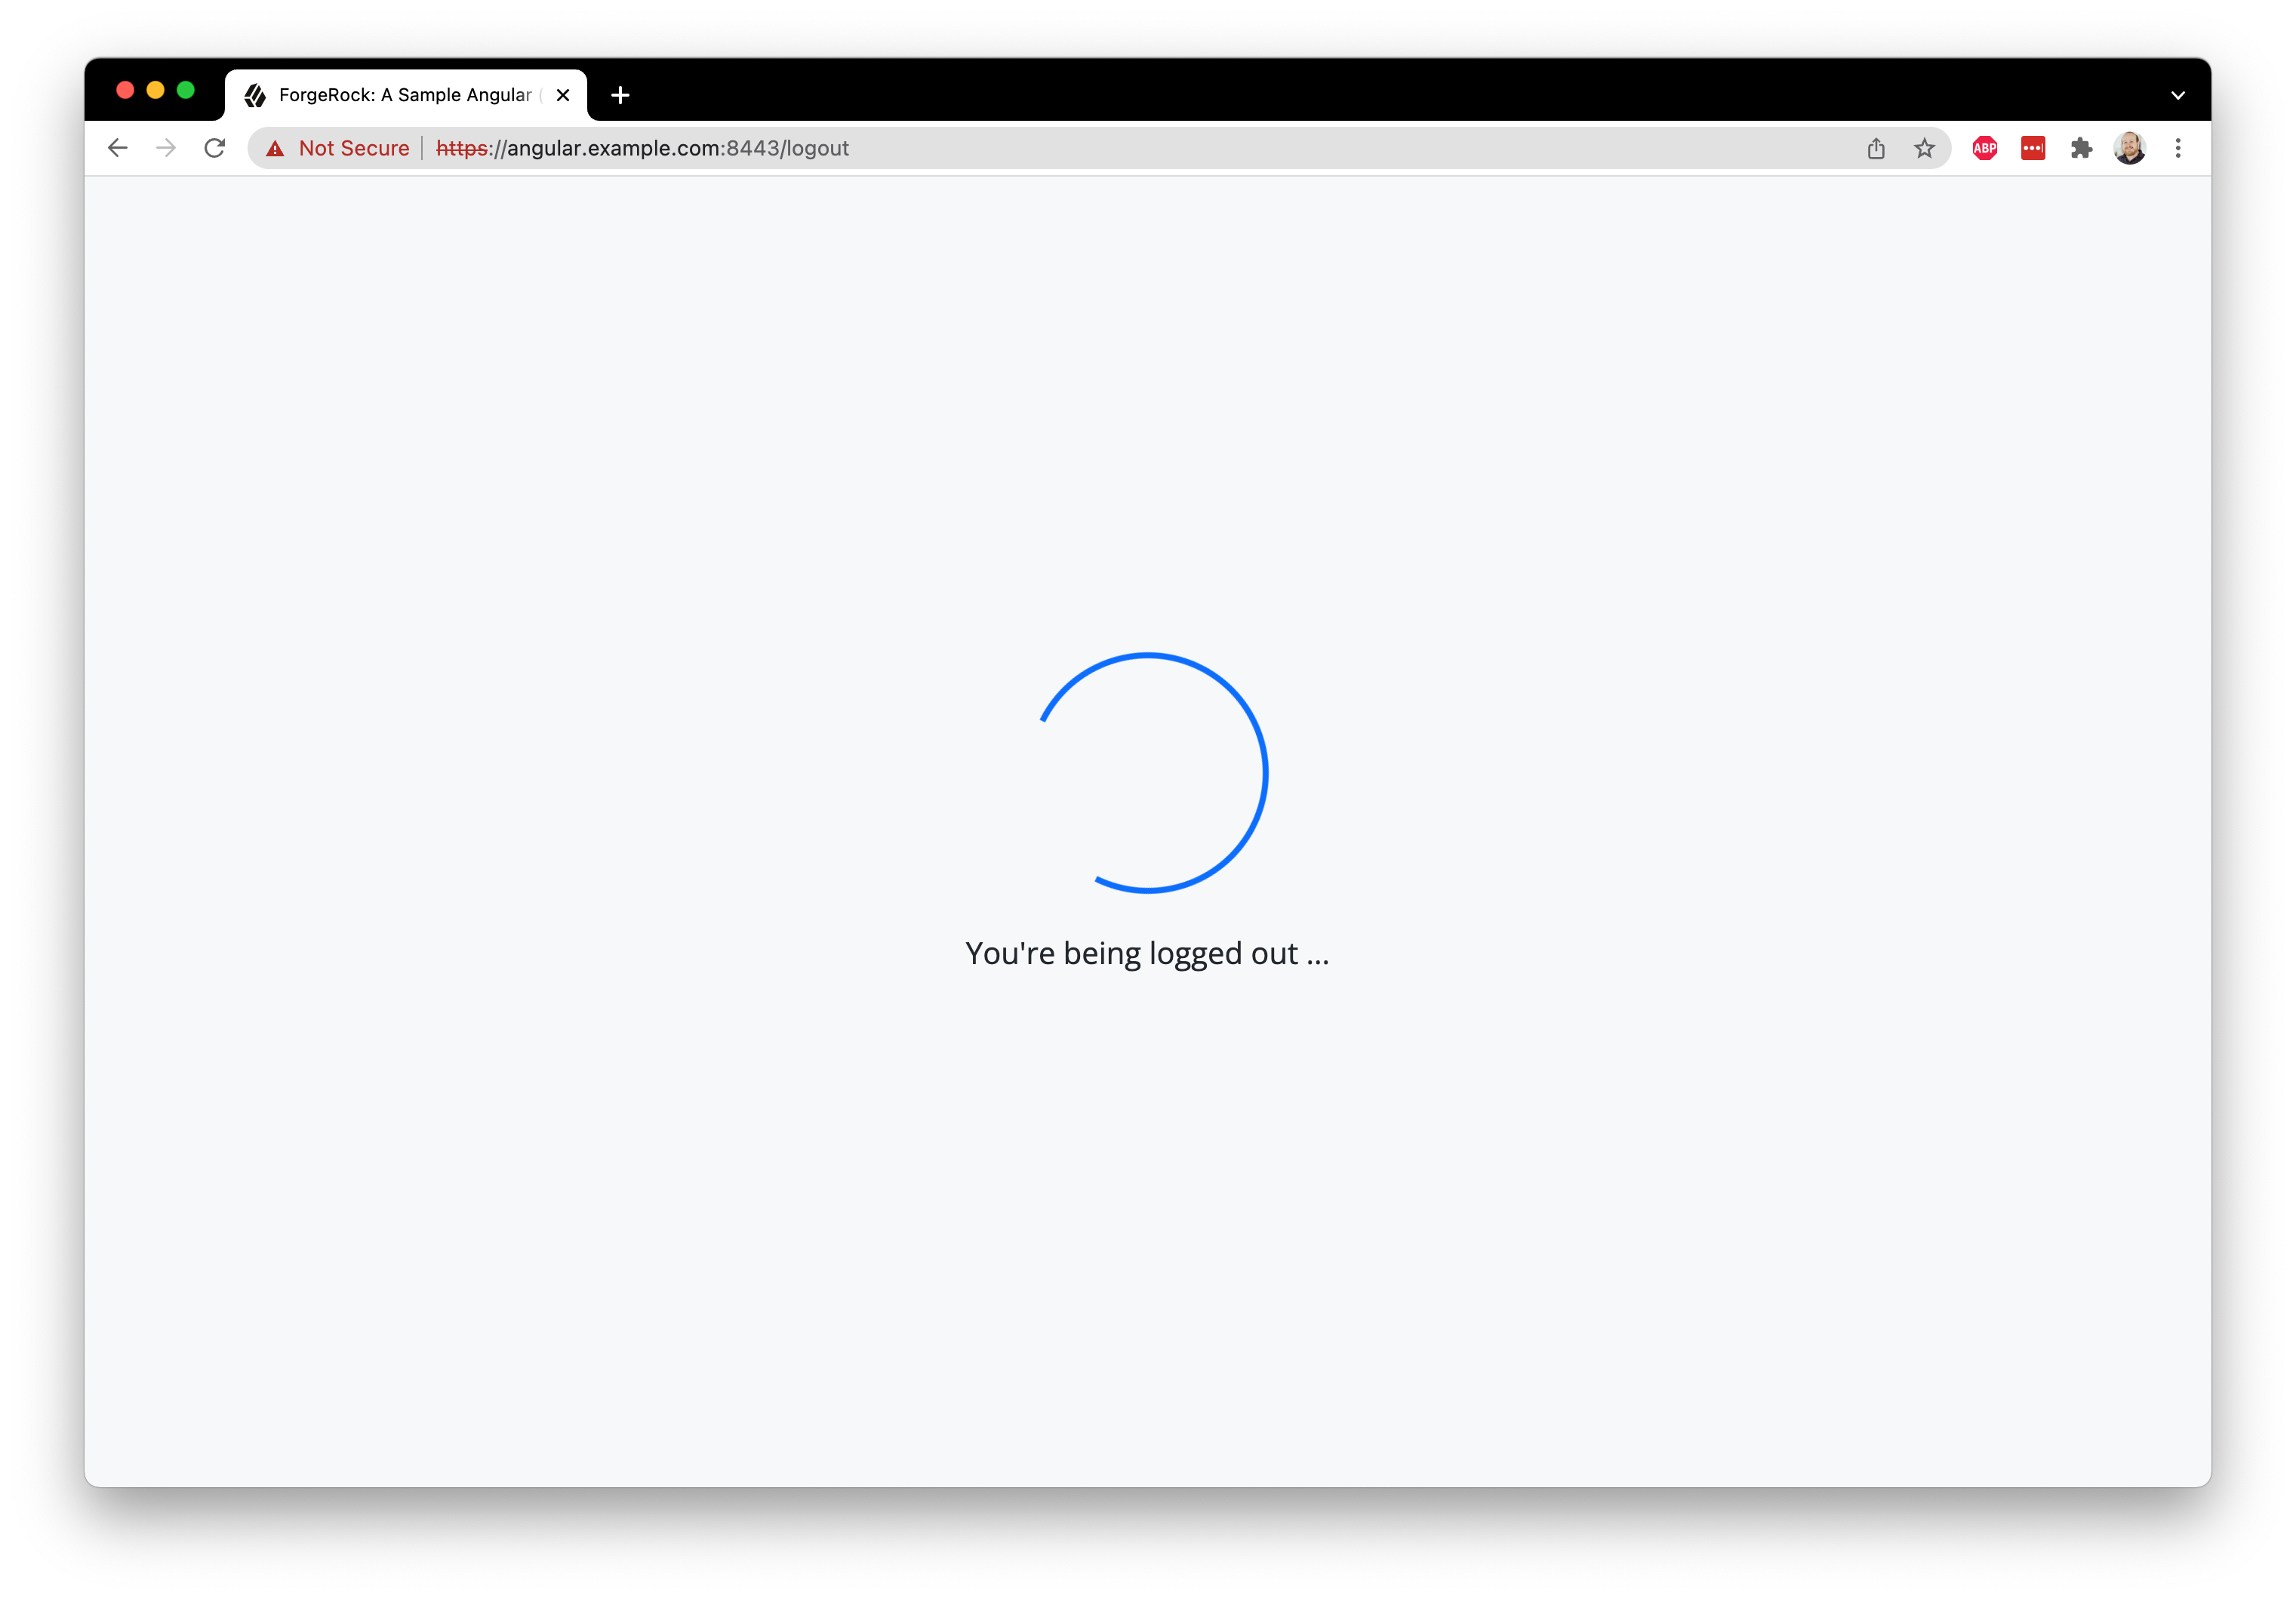
@@ collapsed @@Once all the above is complete, return to your browser, empty the cache, storage and cache, and reload the page. You should now be able to login with the test user, navigate to the Todos page, add and edit some Todos, and logout by clicking the profile icon in the top-right and clicking "Sign Out".
Congratulations, you just built a ForgeRock protected app with Angular!