Step 1. Configure the development environment
In this step, you set up your environment to create Android applications using the freely-available Android Studio IDE.
You then create a new application project and configure it to use the ForgeRock SDK for Android.
Prerequisites
- Android Studio
-
Download and install Android Studio, which is available for many popular operating systems.
- An Android emulator or physical device
-
To try the quick start application as you develop it, you need an Android device. To add a virtual, emulated Android device to Android Studio, refer to Create and manage virtual devices, on the Android Developers website.
Create a new project
-
In Android Studio, select .
-
On the New Project screen, select Empty Activity, and then click Next.
-
On the next screen:
-
In the Name field, enter
ForgeRock SDK for Android Quick Start. -
In the Package name field, enter
com.example.quickstart. -
In the Save location field, enter the location in which to create the project.
-
In the Language drop-down, select
Java. -
In the Minimum SDK drop-down, select
API 23: Android 6.0 (Marshmallow). -
Click Finish.
Android Studio creates a simple application that you can now configure to use the ForgeRock SDK for Android.
-
Configure compile options
The ForgeRock SDK for Android uses Java 8 (v1.8). Configure compile options in your project to use this version of Java:
-
In the Project tree view of your Android Studio project, open the
Gradle Scripts/build.gradlefile for the module. -
In the
androidsection, make sure the file contains the following:compileOptions { sourceCompatibility JavaVersion.VERSION_1_8 targetCompatibility JavaVersion.VERSION_1_8 }
Add build dependencies
To use the ForgeRock SDK for Android, add the relevant dependencies to your project:
-
In the Project tree view of your Android Studio project, open the
Gradle Scripts/build.gradlefile for the module. -
In the
dependenciessection, add the following:implementation 'org.forgerock:forgerock-auth:4.4.0'Exampledependenciessection after editing:dependencies { implementation 'org.forgerock:forgerock-auth:4.4.0' implementation 'androidx.appcompat:appcompat:1.5.1' implementation 'com.google.android.material:material:1.7.0' implementation 'androidx.constraintlayout:constraintlayout:2.1.4' testImplementation 'junit:junit:4.13.2' androidTestImplementation 'androidx.test.ext:junit:1.1.4' androidTestImplementation 'androidx.test.espresso:espresso-core:3.5.0' }
Enable optional clear traffic and location support
If you are not using the ForgeRock Identity Cloud but rather a local AM server that does not use the HTTPS protocol, you can edit your project manifest file to allow cleartext connections.
|
You should only configure this property during development against a local AM server. Do not configure this property in your production applications. |
-
Open the project manifest file.
For example, .
-
Add an
android:usesCleartextTraffic="true"attribute to the<application>element.
If you intend for your application to use any of the Android location services; for example, the SDK’s location matching or geofencing features, add one of the relevant properties to the project manifest file
-
Open the project’s manifest file.
For example, .
-
Add the relevant properties as a child of the
<manifest>element:-
Coarse location access
<uses-permission android:name="android.permission.ACCESS_COARSE_LOCATION"/> -
Fine location access (requires both permissions)
  <uses-permission android:name="android.permission.ACCESS_COARSE_LOCATION"/>
  <uses-permission android:name="android.permission.ACCESS_FINE_LOCATION"/>
For information about which permission to use, see Location permissions in the Google Developer Documentation.
-
AndroidManifest.xml file after editing:An example AndroidManifest.xml file with support for cleartext traffic and fine location access enabled:
<?xml version="1.0" encoding="utf-8"?>
<manifest xmlns:android="http://schemas.android.com/apk/res/android"
    xmlns:tools="http://schemas.android.com/tools">

    <application
        android:allowBackup="true"
        android:dataExtractionRules="@xml/data_extraction_rules"
        android:fullBackupContent="@xml/backup_rules"
        android:icon="@mipmap/ic_launcher"
        android:label="@string/app_name"
        android:roundIcon="@mipmap/ic_launcher_round"
        android:supportsRtl="true"
        android:theme="@style/Theme.ForgeRockSDKForAndroidQuickStart"
        tools:targetApi="31"
        android:usesCleartextTraffic="true">
        <activity
            android:name=".MainActivity"
            android:exported="true">
            <intent-filter>
                <action android:name="android.intent.action.MAIN" />

                <category android:name="android.intent.category.LAUNCHER" />
            </intent-filter>

            <meta-data
                android:name="android.app.lib_name"
                android:value="" />
        </activity>
    </application>

    <uses-permission android:name="android.permission.ACCESS_COARSE_LOCATION"/>
    <uses-permission android:name="android.permission.ACCESS_FINE_LOCATION"/>

</manifest>
Check point
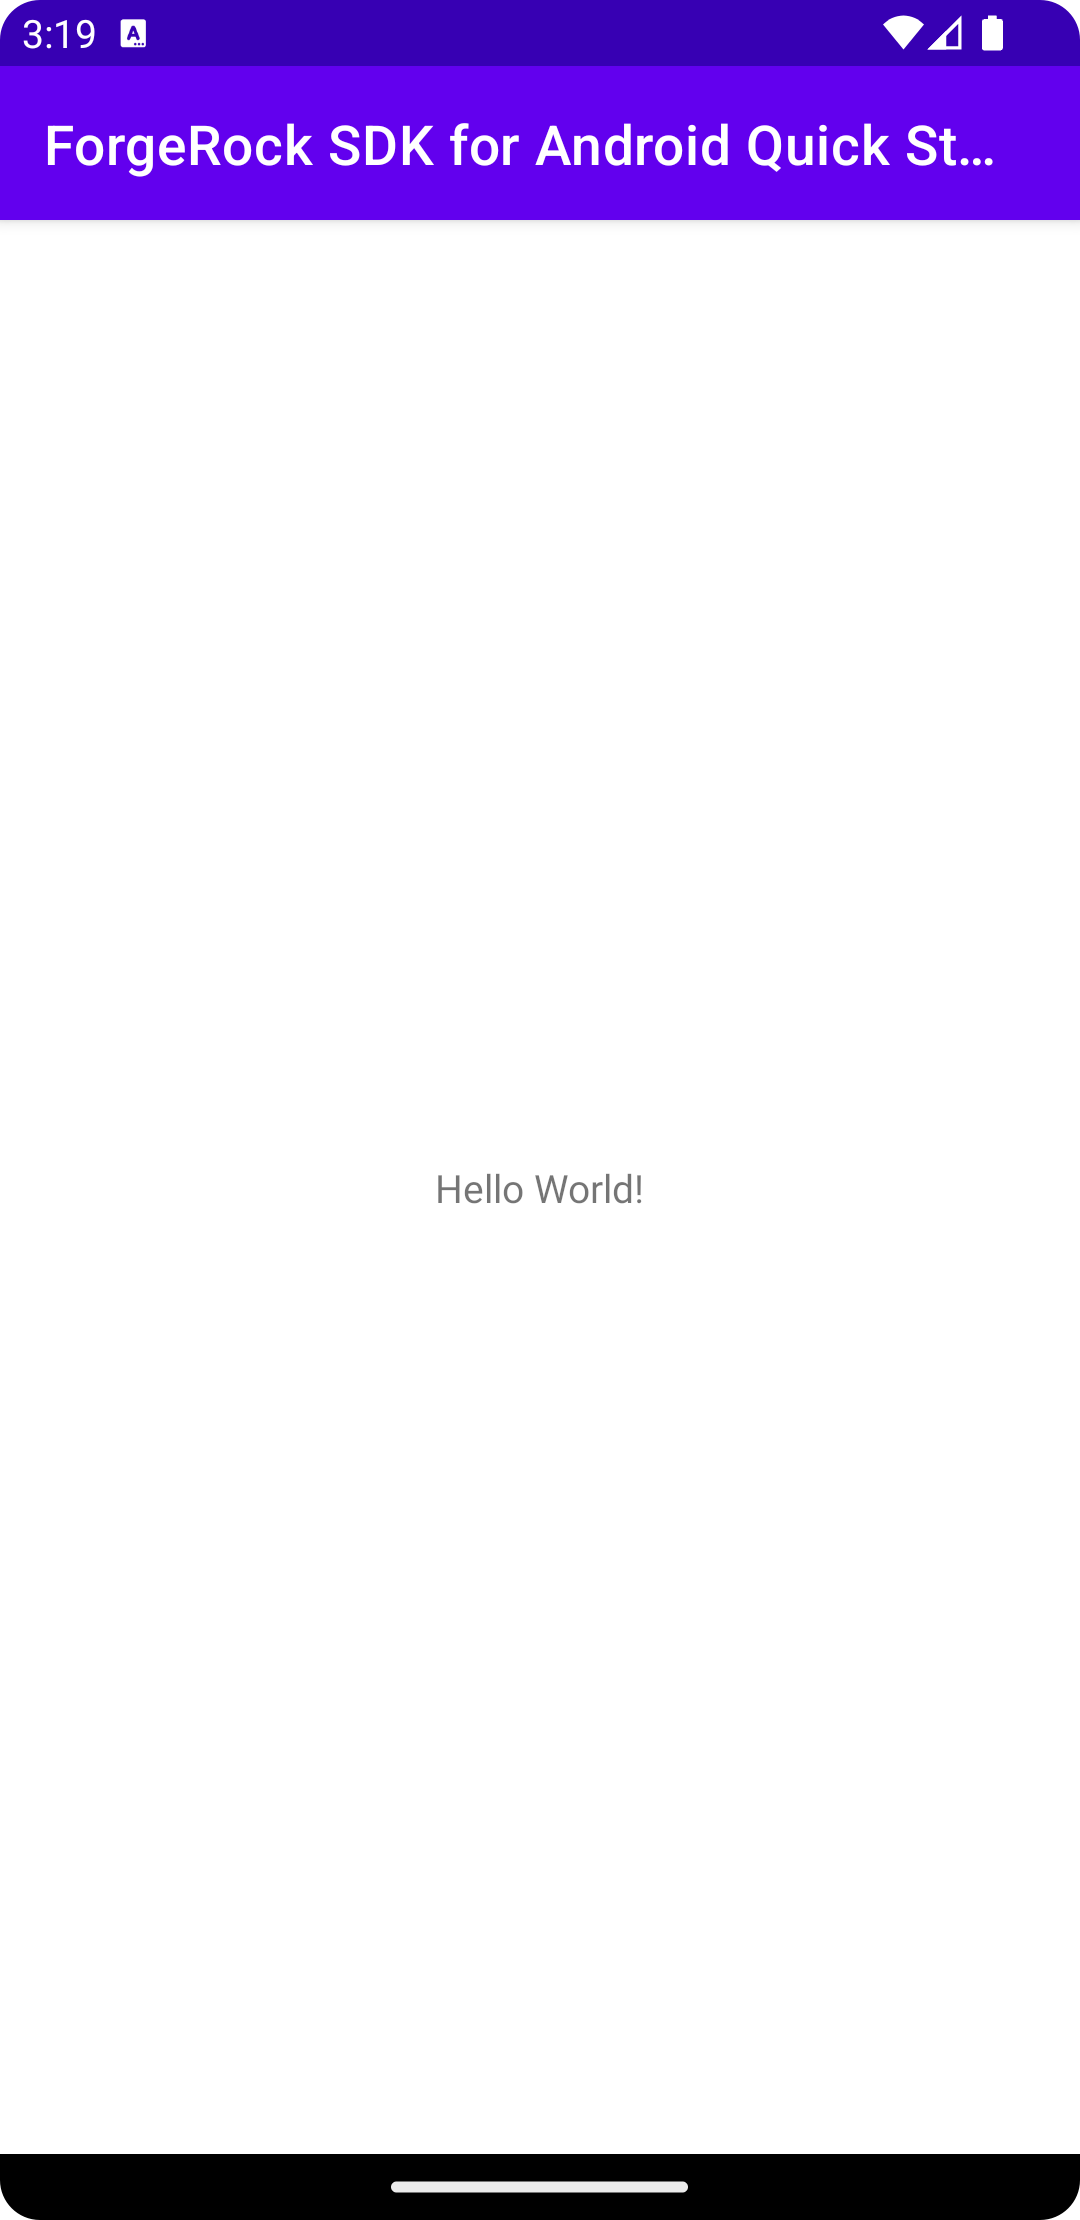
In Android Studio, select .
Android Studio builds the application and runs it in the default emulator.
As you have not yet added any UI, the app displays only "Hello World!".
You have now configured your Android app development environment, created a new project, and configured it with the required dependencies and build options.
In the next step, you configure your application with the settings it needs to connect to your ForgeRock Identity Cloud or AM instance.