Step 1. Configure Push notifications for Android
In this step, you configure Google Firebase Cloud Messaging (FCM), which handles sending the push notifications to Android devices.
You create service account that provides access to the service for third-parties.
Prerequisites
-
A Google cloud account, with access to the Firebase console.
-
An Android application into which you want to integrate push notifications.
For development purposes, you can download the Ping (ForgeRock) Authenticator module sample app from GitHub.
Create a project in Google Firebase
-
Log in to the Google Firebase console.
-
Click Add project.
-
Enter a name for the project, for example
sdk-authenticator-push, and then click Continue. -
Disable Google Analytics for the project, and then click Create project.
-
When your Firebase project is ready, click Continue.
Add your Android app to the Firebase project
-
Log in to the Google Firebase console.
-
In the left menu, in Project Overview, click the gear icon () and then click Project settings.
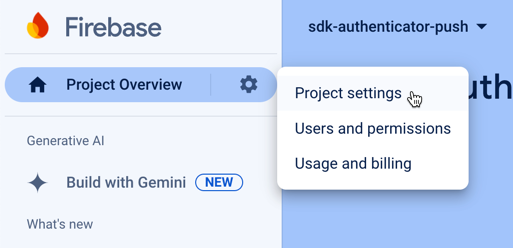 Figure 1. Opening the project settings panel in the Firebase console.
 -
In Your apps, click Add app.
-
Click the Android icon ().
-
In the Register app section:
-
In Android package name, enter the package of the app into which you are integrating push notifications.
For example,
org.forgerock.authenticator.sample. -
In App nickname, enter a user-friendly name for the app.
For example,
Authenticator Push Sample. -
Click Register app.
-
-
In the Download and then add config file section:
-
Click Download google-services.json, and keep the file somewhere safe.
You will need the file when configuring your application to access Firebase Cloud Messaging in a later step.
-
Click Next.
-
-
In the Add Firebase SDK section, click Next.
You will add the Firebase SDKs to your application in a later step.
-
In the Next steps section, click Continue to the console.
Create a key for the Firebase service account
-
Log in to the Google Firebase console.
-
In the left menu, in Project Overview, click the gear icon () and then click Project settings.
Figure 2. Opening the project settings panel in the Firebase console. -
On the Cloud Messaging tab, click Manage service accounts.
The link opens the Google Cloud IAM & Admin page, and displays the service accounts automatically generated when you created the Firebase project:
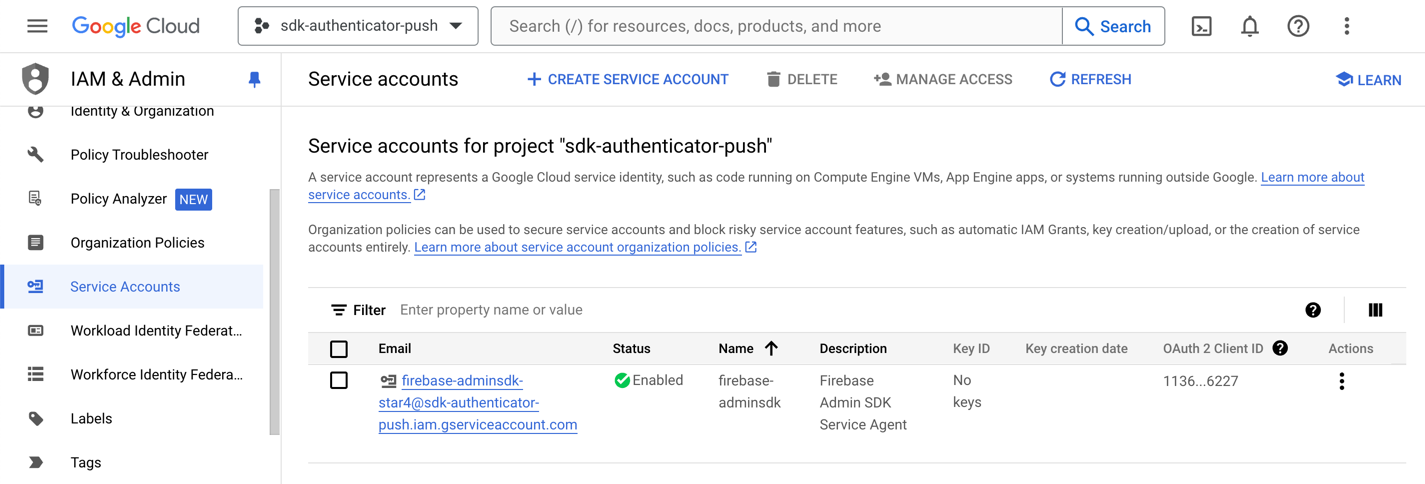 Figure 3. Google Cloud console showing the generated Firebase service account.
 -
In the Actions column, click the vertical ellipsis icon ( ) next to the service account, and then click Manage keys.
-
On the Keys page, click Add key, and then click Create new key.
-
Select JSON, and then click Create.
The page generates a key for the Firebase service account, and downloads the JSON file.
You will upload this file when you configure Push notifications in AWS.