Scopes
OAuth 2.0 flows require scopes to limit the client’s access to the resource owner’s resources.
What are scopes?
Scopes are a way to restrict client access to the resource owner’s resources, as defined in the OAuth 2.0 Authorization Framework.
Scopes are not associated with data and, in practice, they are just concepts specified as strings that the resource server must interpret in order to provide the required access or resources to the client. The OAuth 2.0 framework does not define any particular value for scopes since they are dependent on the architecture of your environment.
For example, a client may request the write scope,
which the resource server may interpret as that the client wants to save some new information in the user’s account,
such as images or documents.
A client can request one or more scopes, which PingOne Advanced Identity Cloud may display in the consent screen. If the resource owner agrees to share access to their resources, scopes are included in the access token.
For security reasons, PingOne Advanced Identity Cloud only accepts the scopes set in the Scope(s) or Default Scope(s) fields in the client profile (Realms > Realm Name > Applications > OAuth 2.0 > Clients > Client ID > Core).
If the client requests scopes, PingOne Advanced Identity Cloud checks them against the Scope(s) field in the client profile.
If the client requests a scope that is not configured, PingOne Advanced Identity Cloud returns an Unknown/invalid scope(s) error.
If the client does not request any scopes, PingOne Advanced Identity Cloud uses the scopes in the Default Scope(s) field of the client profile. If no default scopes are set in the client profile, PingOne Advanced Identity Cloud uses the scopes set in the Default Scope(s) field of the OAuth 2.0 provider.
If no scopes are configured by default, PingOne Advanced Identity Cloud returns a No scope requested error.
PingOne Advanced Identity Cloud does not use the default scopes in any other circumstance.
| You can use an access token modification script to override the allowed scopes specified at the OAuth 2.0 client level. |
The Client Registration Scope Allowlist field of the OAuth 2.0 provider restricts the scopes with which a client can register. In this sense, this field is used for OpenID Connect discovery and dynamic client registration only.
You can also use this field to configure how PingOne Advanced Identity Cloud presents the scopes on the consent screen. By default, the UI does not display scope-derived claims in the consent screen. You can configure the scopes to display.
Because scope names are arbitrary, they might not be descriptive enough for the resource owner to understand their purpose. In addition, you might not want resource owners to observe a particular scope that is for internal use only.
Display scopes in the consent screen
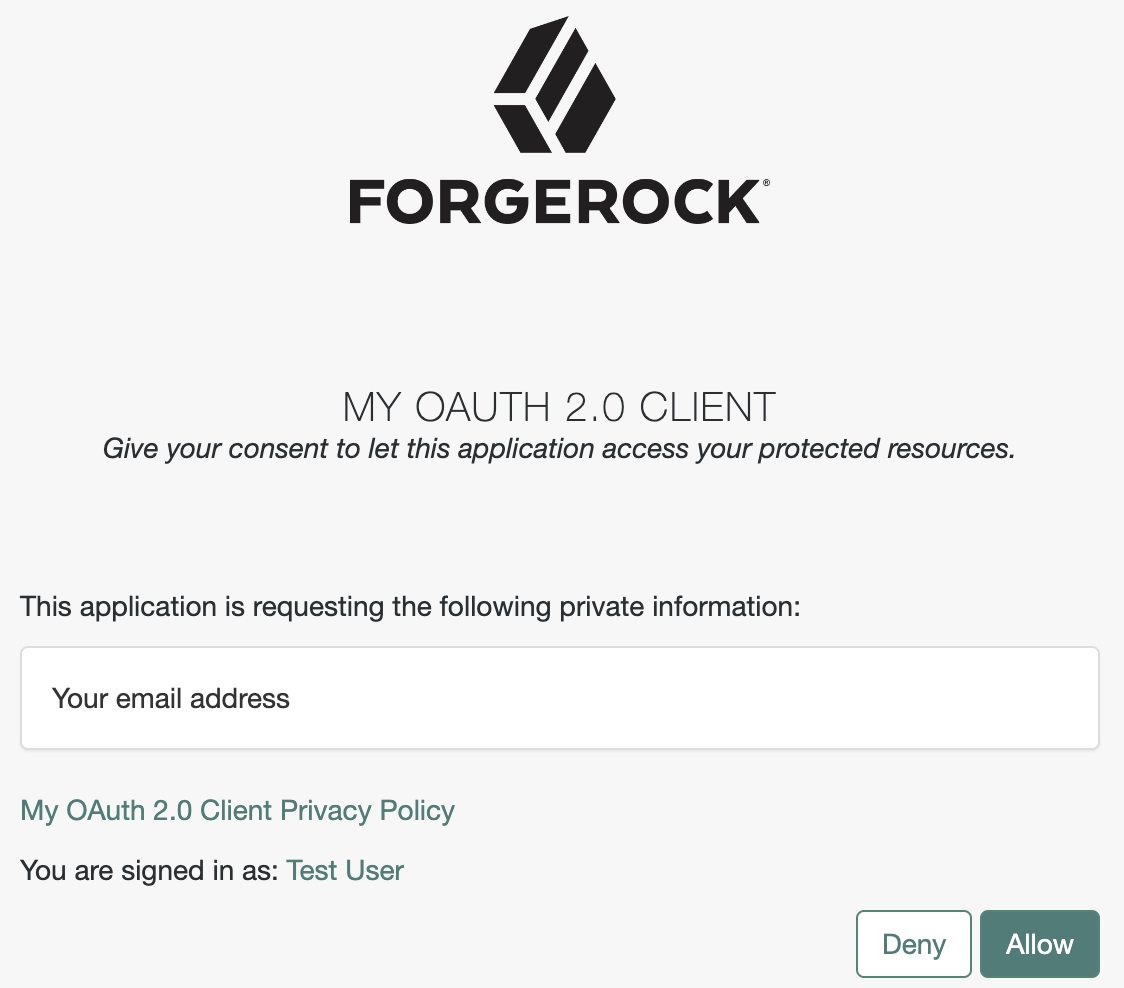
The default consent screen only displays standard claims.
For example, a client application requests scope=email read.
The email claim is standard in OpenID Connect, and a default display configuration exists.
The read scope is non-standard and no display configuration exists by default:
Client application settings
Use the Advanced Identity Cloud admin UI to customize the display of OAuth 2.0 scopes and OpenID Connect claims for individual client applications.
For OAuth 2.0 scopes:
-
Go to Applications > Client ID > Sign On > General Settings > Scopes.
-
Edit the Scopes settings using the extended scope allowlist format.
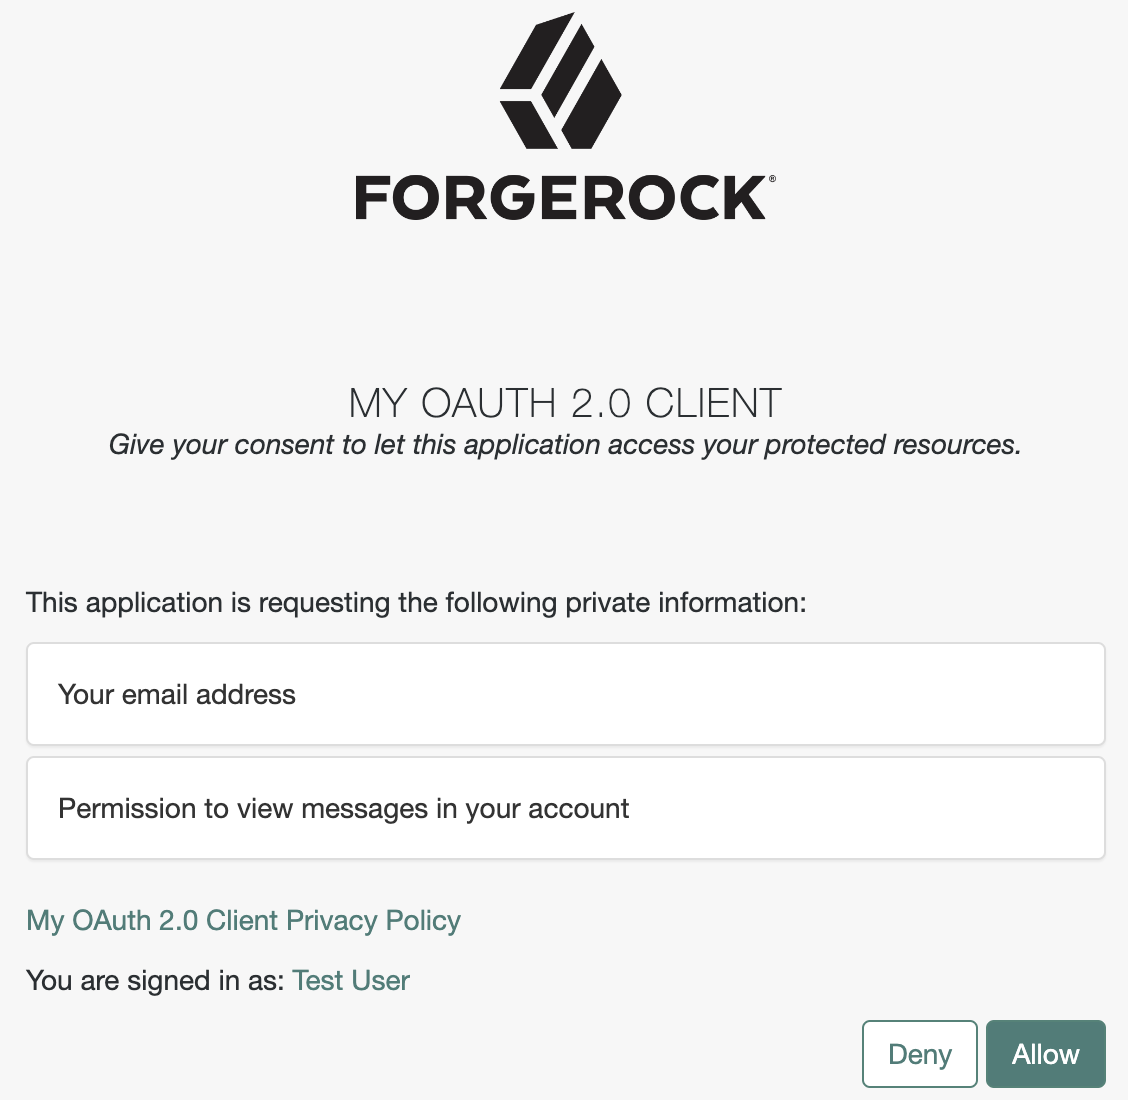
For example, include a read scope with an explanation for display to users,
read|en|Permission to view messages in your account. -
Save your work.
For OpenID Connect claims:
-
Go to Applications > Client ID > Sign On > General Settings > Show advanced settings > Access.
-
Edit the Claims settings.
-
Save your work.
The following example shows the consent screen for a client application requesting scope=email read
after you updated the client application scopes setting to include
read|en|Permission to view messages in your account:
Realm settings
Under Native Consoles > Access Management, customize the display of OAuth 2.0 scopes and OpenID Connect claims for all client applications in a realm:
-
For OAuth 2.0 scope display settings, update the OAuth 2.0 provider configuration:
-
Go to Realms > Realm Name > Services > OAuth2 Provider.
-
On the Advanced tab, edit the Client Registration Scope Allowlist settings.
-
Save your work.
-
-
For OpenID Connect claims display settings, update the OAuth 2.0 provider configuration:
-
Go to Realms > Realm Name > Services > OAuth2 Provider.
-
On the OpenID Connect tab, edit the Supported Claims settings.
-
Save your work.
-
Special scopes
PingOne Advanced Identity Cloud reserves the following special scopes that cannot be added during dynamic client registration:
- am-introspect-all-tokens
-
Add this scope to the Scopes(s) field in a client profile to let the client introspect tokens issued to other clients, as long as all clients are registered in the same realm.
For example:
-
Client A is registered in the
/customers/NArealm, and it is issued a token there. -
Client B is registered in the
/customersrealm. It cannot introspect Client A’s token because they are not in the same realm. Client B can only introspect tokens from other clients registered in the/customersrealm.
-
- am-introspect-all-tokens-any-realm
-
Add this scope to the Scopes(s) field in a client profile to let the client introspect tokens issued to other clients, as long as they are registered in the realm of the introspecting client, or in a subrealm of it.
For example:
-
Client A is registered in the
/customers/NArealm, and it is issued a token there. -
Client B is registered in the
/customersrealm. It can introspect Client A’s token because the/customers/NArealm is a subrealm of the/customersrealm.Client B can introspect tokens for any client registered in the
/customerrealm, or any subrealm of it.
-
For security reasons, give these scopes only to the clients that need them.
Related information:
-
For examples of requesting scopes from the authorization server, refer to any of the grant flows in OAuth 2.0 grant flows.
-
To configure PingOne Advanced Identity Cloud to grant scopes dynamically by evaluating authorization policies at runtime, refer to Authorization and policy decisions and Dynamic OAuth 2.0 authorization.