Configure federated access for tenant administrators
Federated access lets tenant administrators use your company’s single sign-on (SSO) to sign on to your PingOne Advanced Identity Cloud tenant environments.
By using federation to authenticate your tenant administrators to Advanced Identity Cloud, you can quickly and easily provision and deprovision users from your centralized identity provider (IdP) instead of managing them separately in each Advanced Identity Cloud tenant environment.
The groups feature allows you to add and remove tenant administrators depending on their group membership in your IdP. You can also specify the type of administrator access for an entire group of users.
Advanced Identity Cloud lets you configure federated access in two main ways:
-
You can use PingOne to configure PingOne itself as an IdP for Advanced Identity Cloud. Learn more in Configure a federation provider using PingOne.
-
You can use the Advanced Identity Cloud admin UI to configure Microsoft Azure Active Directory (Azure AD)[1] or Microsoft Active Directory Federation Services (AD FS) as IdPs, or any other IdP that’s OpenID Connect (OIDC) compliant. Learn more in Configure a federation provider using PingOne Advanced Identity Cloud.
Configure a federation provider using PingOne
You can configure PingOne as a federation IdP for PingOne Advanced Identity Cloud. To do this, configure it in PingOne itself. Learn more in Set up SSO to PingOne Advanced Identity Cloud.
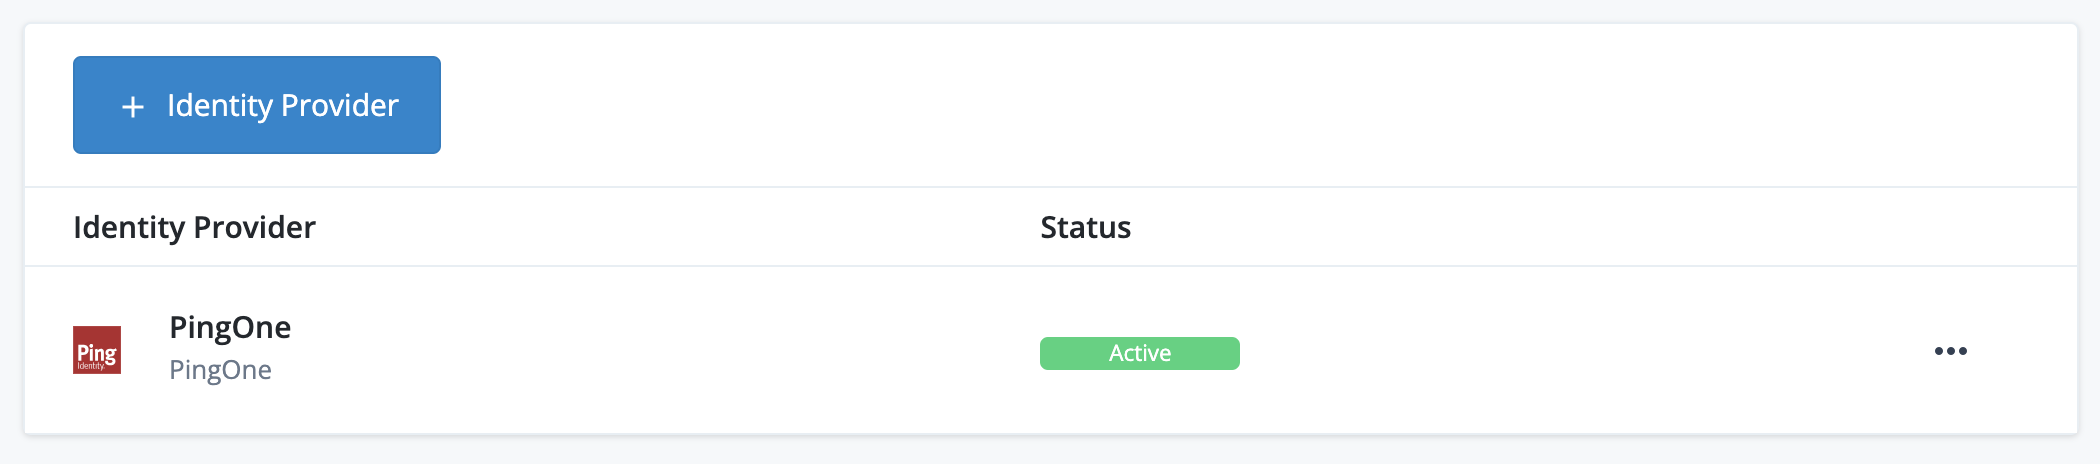
After you configure PingOne as a federation IdP, each configured tenant environment in Advanced Identity Cloud automatically displays PingOne in its list of federation IdPs:
-
Sign on to the Advanced Identity Cloud admin UI for any of the environments you configured for federated access using PingOne.
-
Go to Tenant settings.
-
Click Federation.
-
If configured correctly in PingOne, the list contains a PingOne federation IdP:
-
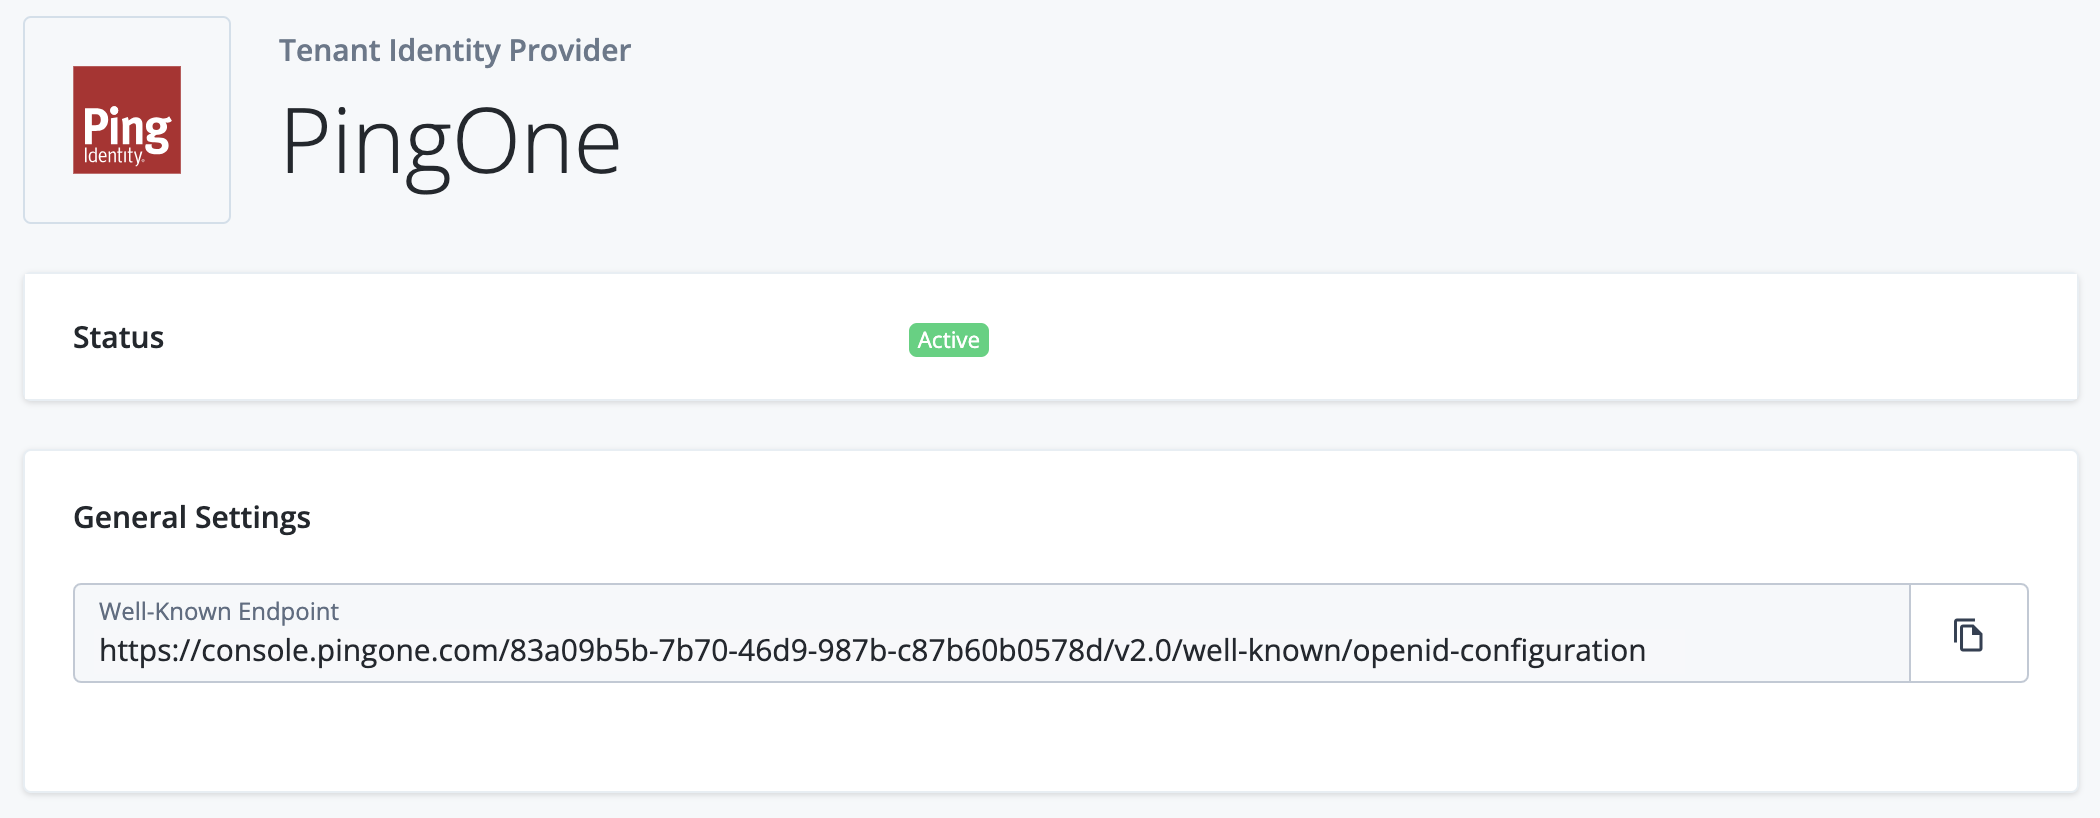
Click the PingOne list item to view its configuration settings page. For PingOne, this is a basic page containing the Status and the Well-Known Endpoint of the PingOne federation IdP:
If you configure a federation IdP in PingOne, the corresponding Advanced Identity Cloud tenant environments are configured automatically. You do not need to promote configuration changes.
Configure a federation provider using PingOne Advanced Identity Cloud
You can configure the following federation IdPs using the Advanced Identity Cloud admin UI:
-
Microsoft Azure AD[1] using OpenID Connect.
-
Microsoft AD FS using OIDC.
-
Any other federation IdP that’s OIDC compliant.
If you configure a federation IdP using the Advanced Identity Cloud admin UI, you must do so in your development environment and promote the configuration changes. You must also store the federation provider secrets for each of your environments in ESV secrets and set corresponding placeholders in your configuration. Learn more in Configure federated access across your tenant environments.
Configure federated access across your tenant environments
The high-level process to set up federated access across your tenant environments is as follows:
-
Set up a federation provider for each of your tenant environments and note the client secrets.
-
In your development environment:
-
Configure the environment to use a federation provider, entering the federation provider values for your development environment. These values will be replaced by ESVs in the following steps.
-
Create ESVs for these federation provider fields:
Federation provider field ESV type Well-known endpoint
Variable
Authorization endpoint
Variable
Token endpoint
Variable
Client secret
Secret
Redirect URI
Variable
-
Create a variable or create a secret using the API.
-
Create a variable or create a secret using the Advanced Identity Cloud admin UI.
-
-
Insert ESV placeholders into the configuration for the federation provider. Learn more in Configure a federation provider.
-
-
(Optional) If you have a UAT[2] environment, adapt the next step to suit the revised promotion order. Learn more in Additional UAT environments.
-
In your staging environment:
-
Repeat step 2b for your staging environment. Ensure the ESV names are the same as you set up in the development environment.
-
Run a promotion to move the configuration change from your development environment to your staging environment. Learn more in:
-
-
In your production environment:
-
Repeat step 2b for your production environment. Ensure the ESV names are the same as you set up in the development environment.
-
Run a further promotion to move the configuration change from your staging environment to your production environment.
-
-
(Optional) If you have a sandbox[3] environment:
-
Repeat step 2a for your sandbox environment.
-
(Optional) Repeat step 2b – d for your sandbox environment.
-
-
Configure federation login requirements in each environment.
| Ensure that the federation provider for each environment is configured with a redirect URL. If you are using the same federation provider for your sandbox[3], development, UAT[2], staging, and production environments, ensure that it is configured with redirect URLs for each environment. |
Set up a federation provider
You can find instructions for setting up a federation provider in the following guides:
Configure a mutable environment to use a federation provider
After you’ve set up a federation provider, you can configure it in a mutable environment (development or sandbox[3]) to provide federated access to tenant administrators.
| To understand how the instructions in this section fit into the process of configuring federated access across your tenant environments, refer to step 2a in the high-level process. |
-
Sign on to the Advanced Identity Cloud admin UI of your mutable environment (development or sandbox[3]) as a super administrator[4].
-
Go to Tenant settings.
-
Click Federation.
-
Click + Identity Provider.
-
Select the federation provider to use:
-
Microsoft Azure
-
ADFS
-
OIDC
-
-
Click Next.
-
Follow the steps on the Configure Application page and click Next.
-
On the Identity Provider Details page, complete the following fields:
-
Name: The name of the provider.
-
Application ID: The ID for the application.
-
Application Secret: The client secret for the application.
Set the client secret directly in the Application Secret field only for testing purposes. You must configure the client secret as an ESV before you can promote configuration. -
Well-known Endpoint:
-
If you are setting up Azure AD, this is the URL from the OpenID Connect metadata document field. In the URL, make sure to replace
organizationwith the actual tenant ID for your tenant. -
If you are setting up AD FS, this is the endpoint from the OpenID Connect section.
Values for the following fields are automatically obtained from the Well-known Endpoint field value:
-
Authorization Endpoint: The endpoint for authentication and authorization. The endpoint returns an authorization code to the client.
-
Token Endpoint: The endpoint that receives an authorization code. The endpoint returns an access token.
-
User Info Endpoint: The endpoint that receives an access token. The endpoint returns user attributes.
-
-
-
(For OIDC only): OAuth Scopes: The scopes the application uses for user authentication. The default scopes are
openid,profile, andemail. -
(For OIDC only): Client Authentication Method: Options are
client_secret_postandclient_secret_basic. The default option isclient_secret_post. -
Button Text: The text for the application button.
-
To use group membership to enable federation:
-
Set up your IdP:
-
For Microsoft Azure AD: Follow the instructions in Use group membership to enable federation in Azure AD.
-
For AD FS: Follow the instructions in Enable federation in AD FS using group membership.
-
-
Select one of the following options:
-
For Microsoft Azure AD: Enable Use Microsoft Azure group membership to allow federated login to ForgeRock.
-
For AD FS: Enable Use ADFS group membership to allow federated login to ForgeRock.
-
-
Enter the name of the group claim in the Group Claim Name field.
By default, Azure AD sends the IDof the group. You might need to configure Azure AD to send thenameof the group. -
To apply specific administrator access to a group, perform one of the following sets of steps:
-
Apply super administrator access to a group: To the left of
Super Admins, in the Group Identifiers field, enter the identifiers of the group(s). -
Apply tenant administrator access to a group: To the left of
Tenant Admins, in the Group Identifiers field, enter the identifiers of the group(s).
-
-
-
-
Click Save.
Configure federation login requirements
After you have enabled federated access to your tenant environments, you can choose how strictly to enforce it. It can be enforced for just tenant administrators or for both tenant administrators and super administrators[4]. These settings are stored in dynamic configuration, so need to be configured per environment.
| To understand how the instructions in this section fit into the process of configuring federated access across your tenant environments, refer to step 5 in the high-level process. |
-
Sign on to the Advanced Identity Cloud admin UI as a super administrator[4].
-
Go to Tenant settings, then click the Federation tab.
-
In the Enforcement section, click Edit.
-
On the Edit Tenant Federation Enforcement page, select one of the following items:
-
Optional for All Admins: Allow all administrators to use either their Advanced Identity Cloud credentials or federation to sign on.
-
Required for All Admins Except Super Admins: Allow all administrators that are not super administrators to use federation to sign in. Super admins can use their Advanced Identity Cloud credentials or federation to sign on.
-
Required for All Admins: Allow all administrators to use federation to sign on. If you choose this option, to switch to a lower enforcement level, you must submit a Backstage Support ticket.
-
-
Click Update. It can take about 10 minutes for the changes to take effect.
-
On the Change Federation Enforcement? modal:
-
To confirm your changes, click Confirm.
-
To cancel your changes, click Cancel.
-
Deactivate a federation provider
You can deactivate a federation provider and reactivate it later. For example, you might want to deactivate a federation provider if the provider is experiencing technical issues. If you deactivate all federation providers for a tenant, tenant administrators can no longer use federation to sign on to the tenant.
You can only deactivate a federation provider if one of the following is true:
-
Optional for All Adminsis selected as the federation enforcement level (learn more in Configure federation login requirements). -
More than one federation provider is enabled in the Advanced Identity Cloud tenant.
To deactivate a federation provider:
-
Sign on to the Advanced Identity Cloud admin UI of your development environment as a super administrator[4].
-
Go to Tenant settings, then click Federation.
-
Perform one of the following actions:
-
To deactivate a federation provider, click the ellipsis icon () to the right of an active federation provider, then click Deactivate.
-
To activate a federation provider, click the ellipsis icon () to the right of a deactivated federation provider, then click Activate.
-
-
Run a series of promotions to move the updated configuration to your staging and production environments.
Rotate a federation provider secret
If you have set up Microsoft Azure AD or AD FS as a federation provider, you must create and use a new client secret before the old one expires. If the client secret is stored in an ESV, you can rotate it by creating a new secret version.
For your development, staging, or production environment:
-
In the federation provider configured for the environment, create a new secret and make a note of it:
-
For Azure AD, add a new client secret to the application.
-
For AD FS, reset the client secret for the application group.
-
-
Add a new secret version to the ESV secret using the value of the new federation provider secret from the previous step. Learn more in Update an ESV referenced by a configuration placeholder.