Configure IdPs, SPs, and CoTs
This section covers configuration tasks to implement SAML 2.0 in Advanced Identity Cloud.
During setup, you share metadata for providers that you host with other providers in the circle of trust. You must also configure remote providers by importing their metadata.
In Advanced Identity Cloud, a hosted provider is one served by the current Advanced Identity Cloud tenant, and a remote provider is one hosted elsewhere.
Create a circle of trust
A circle of trust groups at least one IdP and at least one SP who agree to share authentication information.
-
Under Native Consoles > Access Management, go to Realms > Realm Name > Applications > Federation > Circles of Trust, and click Add Circle of Trust.
-
Enter a name, and click Create.
-
On the Circle of Trust page, in the Entity Providers property, select at least one IdP and one SP.
Entity providers can be added at any time. This lets you create IdPs or SPs later on and add them. -
Customize any other properties as required, and click Save Changes.
For information about circle of trust properties, refer to Circle of trust configuration properties.
Create a hosted IdP or SP
A hosted IdP or SP is a provider hosted within Advanced Identity Cloud. For example, if Advanced Identity Cloud is the authoritative source for users to a downstream application, then you would configure Advanced Identity Cloud to be a hosted IdP.
| With application management, Advanced Identity Cloud acts as a hosted IdP through intuitive screens. Learn more in Create a custom SAML 2.0 application. |
This procedure provides steps for creating a hosted IdP or SP:
-
Under Native Consoles > Access Management, go to Realms > Realm Name > Dashboard, and click SAML Applications.
-
Click Add Entity Provider > Hosted.
-
Enter an Entity ID, and verify the Entity Provider Base URL value is correct.
Advanced Identity Cloud truncates sequences of whitespace with a single whitespace character in values such as entity IDs. For example, if
ID value(with one space) exists already, a new entity with the same name but multiple spaces would result in an error because the string values are treated as identical.Advanced Identity Cloud uses the Entity Provider Base URL value for all SAML 2.0 related endpoints, so ensure other entities in your SAML deployment are able to access the specified URL.
-
In the Meta Aliases section, provide a URL-friendly value in either the Identity Provider Meta Alias, the Service Provider Meta Alias property, or both.
The aliases for providers must be unique in a circle of trust and in the realm.
-
Click Create.
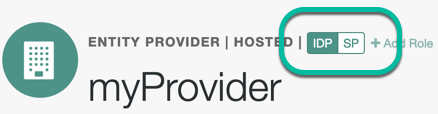
The UI only displays the configuration of a single role. To switch between SP and IdP configuration for a given provider, click on the labels to select the role view:
-
On the Assertion Processing tab, in the Attribute Mapper section, map SAML attribute names to local attribute names. The SAML attribute names are the names in an assertion.
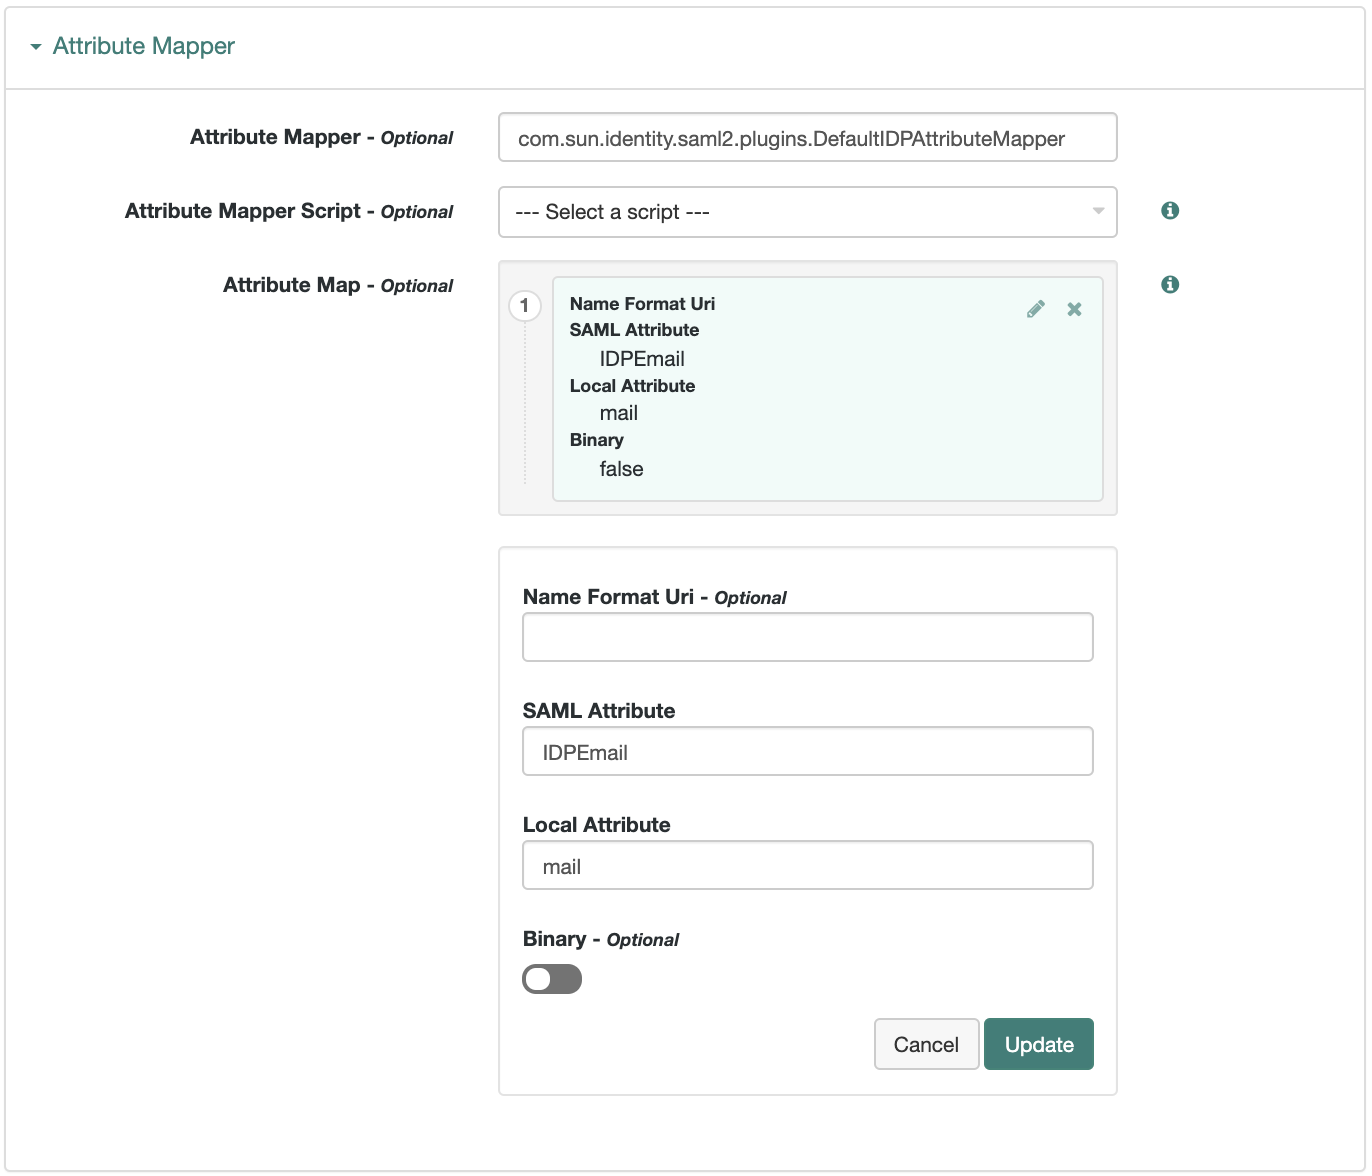 Figure 1. Mapping SAML Attributes to Local Attributes
The default mapping implementation has additional features beyond retrieving string attributes from the user profile:
-
Add an attribute that takes a static value by enclosing the profile attribute name in double quotes (
").For example, you can add a static SAML attribute called
partnerIDwith a value ofstaticPartnerIDValueby addingpartnerIDas the SAML Attribute with"staticPartnerIDValue"as the Local Attribute name. -
Select the binary option when dealing with binary attribute values; for example, values that are Base64 encoded.
-
Use the optional
Name Format Uriproperty as required by the remote provider. For example, you may need to specifyurn:oasis:names:tc:SAML:2.0:attrname-format:uri.
-
-
If you are adding a new attribute map, click Add. If you are updating an existing attribute map, click Update.
-
Customize any other properties as required, and click Save Changes at the bottom of the screen.
For in-depth information about hosted IdP and SP properties, refer to:
-
Export the XML-based metadata from your hosted provider to share with other providers in your circle of trust.
If the remote provider can read the metadata URL, you can provide the URL to the remote provider, and they can load the metadata that way instead.
Import and configure a remote IdP or SP
A remote IdP or SP is a provider outside of Advanced Identity Cloud. For example, Azure AD could be the authoritative source for a user profile in your organization. If that is the case, then Azure AD would be a remote IdP.
The following procedure provides steps for importing and configuring one or more remote IdP or SPs:
-
Obtain the remote IdP or SP metadata as an XML-formatted file and save it onto the machine where you will be interacting with the Advanced Identity Cloud tenant. Each application has different ways to obtain the file.
-
From the Advanced Identity Cloud admin UI, click Native Consoles > Access Management.
-
Go to Realms > Realm Name > Dashboard, and click SAML Applications.
-
Click the Add Entity Provider drop-down button, and click Remote.
-
On the New Remote Entity Provider page, perform one of the following steps to import the XML file:
-
Drag and drop the XML file into the dotted box.
-
Click within the dotted box to open a file browser to select the XML file.
You can import multiple remote entities in a single operation, as long as the entity ID is unique within each.
Advanced Identity Cloud truncates sequences of whitespace with a single whitespace character in values such as entity IDs. For example, if
ID value(with one space) exists already, a new entity with the same name but multiple spaces would result in an error because the string values are treated as identical.
-
-
If you have already created a circle of trust, you can add the remote providers into one or more of them by using the Circles of Trust property. If you have not created a circle of trust, refer to Create a circle of trust.
-
Click Create.
-
After you import the metadata, you can edit the configuration of an entity provider. To do this, go to Realms > Realm Name > Applications > Federation > Entity Providers, and select the entity provider to edit.
The UI only displays the configuration of a single role. To switch between SP and IdP configuration for a given provider, click on the labels to select the role view:
For in-depth information about remote entity provider properties, refer to:
Import SAML 2.0 metadata using REST
To import metadata using REST, send an HTTP POST request to the /realm-config/saml2/remote?_action=importEntity endpoint.
-
Convert the XML metadata to a
base64encoded string:-
Encode the XML metadata:
$ openssl base64 -in <metadata.xml> -out <metadata_base64.txt> -
Replace any
+symbols with-in the resulting base64-encoded string.
-
-
Import the metadata:
-
Create an access token for the appropriate realm. Learn more in Get an access token.
-
Run the following command:
$ curl \
--request POST 'https://<tenant-env-fqdn>/am/json/realms/root/realms/alpha/realm-config/saml2/remote?_action=importEntity' \
--header 'authorization: Bearer <access-token>' \ (1)
--header 'Content-Type: application/json' \
--header 'Accept-API-Version: resource=1.0' \
--data-raw '{"standardMetadata":"<base64urlencodedstring>"}' (2)
1 Replace <access-token>' with the access token. 2 Replace <base64urlencodedstring> with the XML metadata you converted to a base64-encoded string in step 1.
-