Set Session Properties node
The Set Session Properties node adds key:value properties to the user’s session on successful authentication.
|
You can access session properties using a variable in a webhook. For more information, refer to Configure authentication webhooks. |
Compatibility
| Product | Compatible? |
|---|---|
Advanced Identity Cloud |
Yes |
PingAM (self-managed) |
Yes |
Ping Identity Platform (self-managed) |
Yes |
Dependencies
Ensure the user can successfully authenticate and get a session.
If the user never gets a session, this node has no effect.
Configuration
| Property | Usage |
|---|---|
Properties |
The session properties to set.
When finished, click Save to keep your settings. |
Outputs
This node sets session properties; it does not change the shared state data.
This node cannot override system session properties, such as the principal or the authentication level. Use a different journey to re-authenticate the user rather than trying to change such properties with this node.
Outcomes
Single outcome path: when the journey completes successfully, this node sets the configured session properties.
Examples
The following example uses the Set Session Properties node to update the successURL session property.
-
A first platform journey updates the session property on successful authentication:

-
The Page node containing the Platform Username node and Platform Password node prompts for credentials.
-
The Data Store Decision node validates the username-password credentials.
-
The Increment Login Count node updates the number of successful authentications in the user profile.
-
The Set Session Properties node, sets the
successURLsession property.Configure the Properties to add a
successURLproperty with the URL of your choice.
When the journey completes successfully, PingOne Advanced Identity Cloud updates the
successURLin the user’s session data. -
-
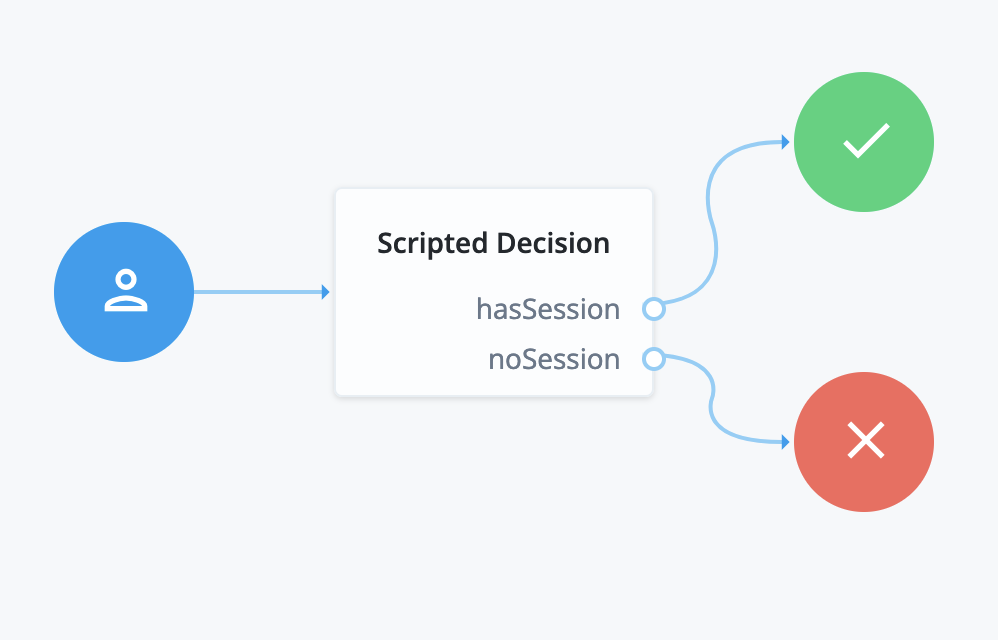
A second journey uses a script to display the session properties after the user authenticates:

The Scripted Decision node calls the following script to inject the session properties into the shared state data so the journey can display them though a debug popup:
if (typeof existingSession !== 'undefined') {
  nodeState.putShared('session', existingSession)
  action.goTo('hasSession')
} else {
  nodeState.putShared('session', null)
  action.goTo('noSession')
}
The second journey has Debug mode and Enable Debug Popup selected.
Follow these steps to try the example:
-
Create both journeys using the journey editor.
-
Sign in through the first journey with a test user account.
The browser shows the user profile page.
-
In the same browser window, browse to the URL for the second journey.
The debug popup window displays the shared state data including session properties:
{
    "transactionId": "...",
    "session": {
        "successURL": "<your-success-url>",
        "...": "..."
    },
    "realm": "/alpha",
    "authLevel": 0,
    "username": "test"
}
The
successURLproperty is set to <your-success-url>, the one you configured as the value in Properties of the Set Session Properties node. -
Sign out as the test user.
-
Sign in through the default journey as the test user.
The default journey doesn’t use the Set Session Properties node with your configuration, so it uses the default value for the
successURLsession property. -
In the same browser window, browse to the URL for the second journey again.
The debug popup window displays the shared state data, including session properties with the default
successURLvalue.