Manage configuration placeholders using the UI
PingOne Advanced Identity Cloud lets you add placeholders to your configuration so you can reference the value of an ESV variable or an ESV secret instead of defining a static value.
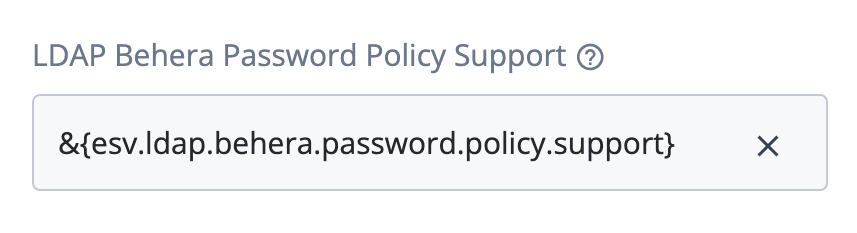
For example, if you created an ESV variable named esv-ldap-minimum-password-length, you
could reference its value in a journey by adding the placeholder &{esv.ldap.minimum.password.length}
to the Minimum Password Length field of an LDAP Decision node.
UI support for configuration placeholders
The Advanced Identity Cloud admin UI has full support for viewing and removing placeholders; however, it supports adding placeholders only to journey configuration. To add placeholders to configuration outside the journey editor, use the API. Learn more in Manage configuration placeholders using the API.
The following table summarizes the Advanced Identity Cloud admin UI support for placeholders:
| UI action | Journey configuration | Non-journey configuration |
|---|---|---|
Add placeholder |
Yes |
No (use API) |
View placeholder |
Yes |
Yes |
Remove placeholder |
Yes |
Yes |
| Even if you enter a placeholder in non-journey configuration in the UI and the UI renders it as a read-only field, it is not valid and won’t work as expected. |
Add a configuration placeholder to a field
| If you create a new ESV in a separate tab or window, you may also need to reload the page you are working on to display the new ESV in a field’s variable list. |
-
(Optional) Create a new ESV by following steps 1a and 1b in Set up configuration placeholders to reference an ESV.
-
In the Advanced Identity Cloud admin UI, identify the insertable placeholder field to which you want to add a placeholder.
-
Click on the field’s token icon ().
-
The UI displays a list of ESVs with a compatible variable type for the field; for example, for a field that expects a boolean value, the list contains only ESVs with a
booltype: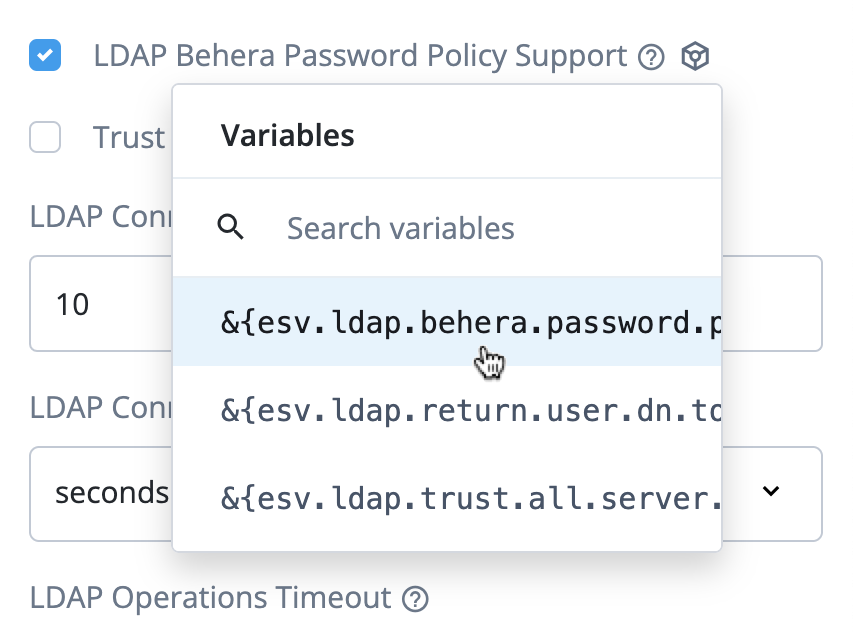
The UI combines secrets and stringtype variables into one list. This combined list displays for password fields and for text fields that expect a string value. -
(Optional) To filter the ESVs displayed in the list, enter a value in the field with a search icon ().
-
Select an ESV from the list.
-
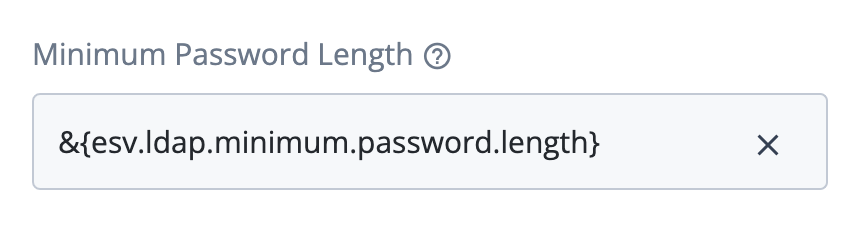
The UI displays the selected placeholder and changes the field to a read-only placeholder field.
-
(Optional) To edit the placeholder:
-
Click on the field’s clear icon ().
-
The UI reverts the field to an insertable placeholder field.
-
Repeat steps 2–7 above.
-
-
Save the page that contains the field. This adds the placeholder to your configuration.
Delete a configuration placeholder for a field
-
In the Advanced Identity Cloud admin UI, identify the read-only placeholder field for which you want to delete a placeholder.
-
Click on the field’s clear icon ().
-
The UI reverts the field to an insertable placeholder field.
-
(Optional) Set a new regular input value for the field.
-
Save the page that contains the field. This removes the placeholder from your configuration and replaces it with a regular input value.
Placeholder field states
Insertable
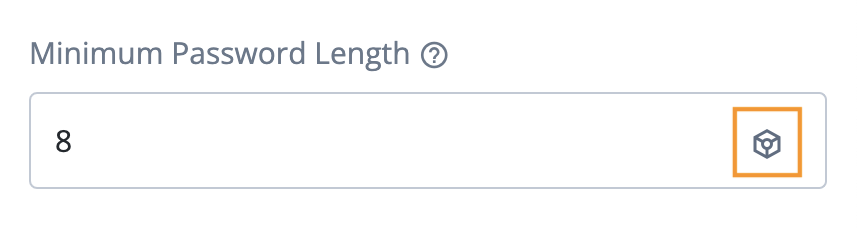
Fields into which you can add a placeholder are insertable. If a field is insertable, a token icon () displays when you hover your cursor over the field or when you focus on the field:
-
For text, password, select, and tag fields, the icon is displayed inside the field on the right-hand side:
-
For checkboxes, the icon is displayed outside the field to the right-hand side:

-
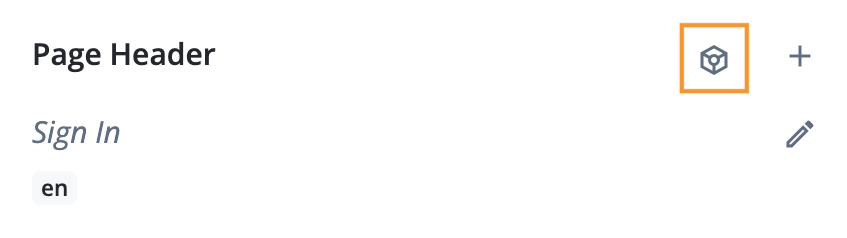
For key-value fields, the icon is displayed to the right-hand side of the key-value field name:
Until you add a configuration placeholder, insertable placeholder fields behave the same as regular input fields.
Read-only
When you add a configuration placeholder to a placeholder field, it becomes read-only:
-
For text, password, select, and tag fields, the placeholder displays inside the field, the field is grayed out, and the field value cannot be edited. The only part of the field that is interactive is the field’s clear icon () on the right-hand side:
-
For checkboxes, the checkbox is replaced with a read-only text field below the checkbox label:
-
For key-value fields, the field name, controls, and summary are replaced entirely with a read-only text field. The read-only text field includes the key-value field name above the placeholder:
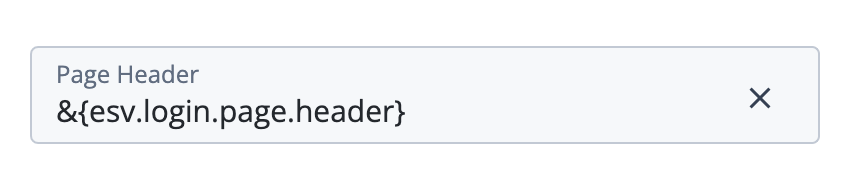
Key-value field conversion example
An example of a key-value field is the Page Header field in the Page Node.
The following screenshot shows the Page Header field populated with en and fr keys containing locale-specific messages:
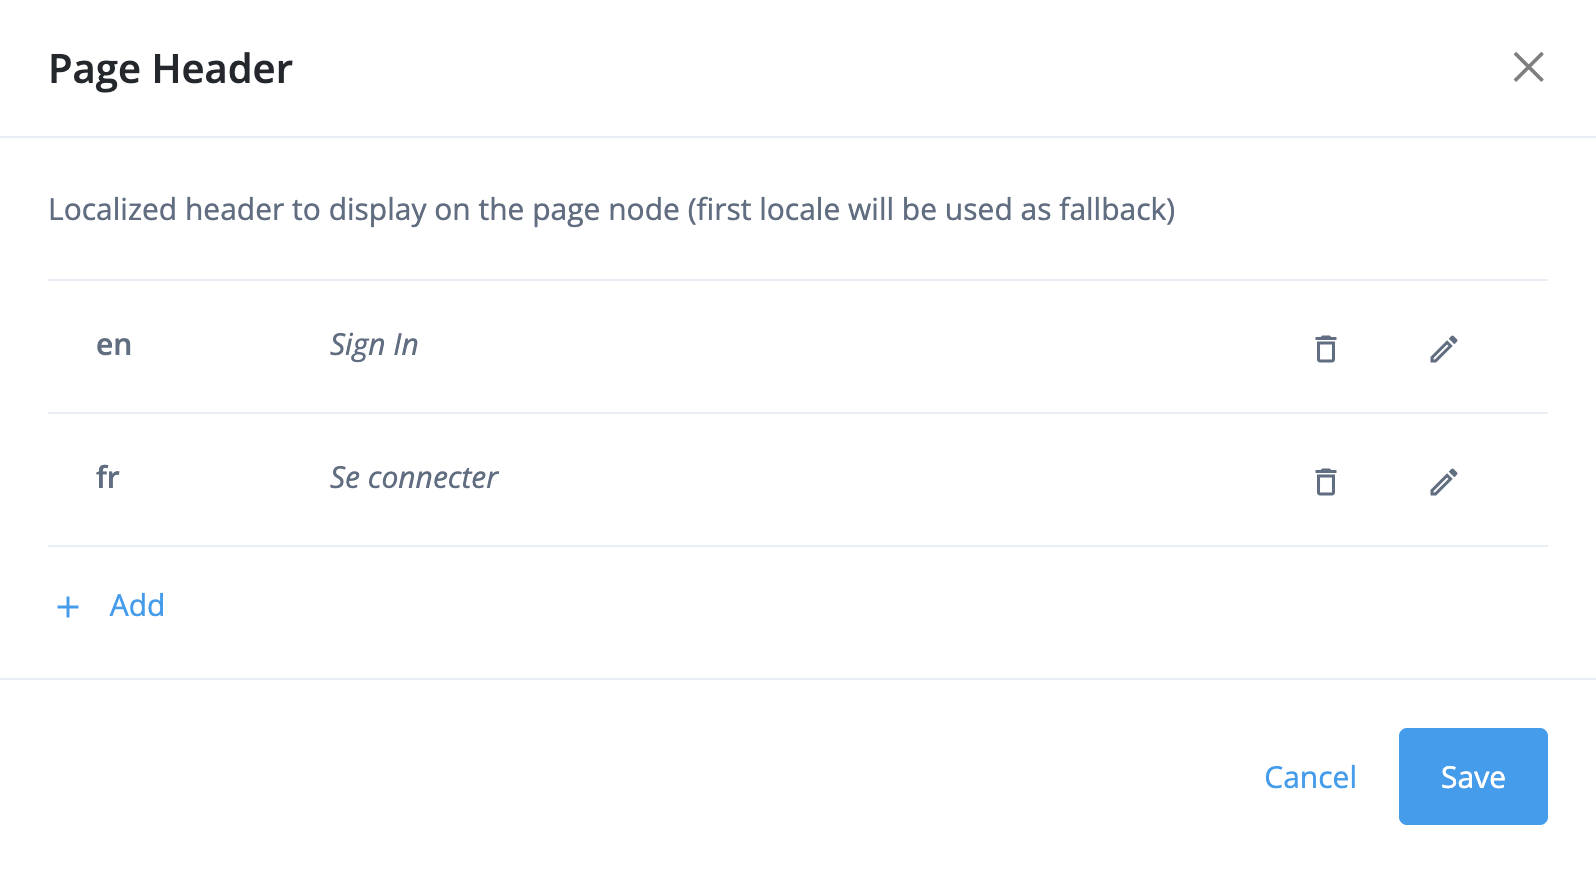
To convert this data to an ESV, use the object type ESV variable and set the value as a JSON object:
{
    "en":"Sign in",
    "fr":"Se connecter"
}