Configure server-side sessions
By default, PingOne Advanced Identity Cloud realms use server-side sessions.
PingOne Advanced Identity Cloud uses two types of tokens that represent an exchange of information, usually interactive, between PingOne Advanced Identity Cloud and a user or entity:
-
Authentication sessions, which PingOne Advanced Identity Cloud uses to manage authentication journeys before a user has authenticated successfully.
-
Sessions, which PingOne Advanced Identity Cloud creates after a user has authenticated successfully. Sessions let PingOne Advanced Identity Cloud manage the user’s or entity’s access to resources.
You can configure PingOne Advanced Identity Cloud to use client-side or server-side authentication sessions and sessions.
This page covers how to configure PingOne Advanced Identity Cloud to use server-side authentication sessions and sessions if the default realm settings have changed.
Server-side authentication sessions
-
Under Native Consoles > Access Management, go to Realms > Realm Name > Authentication > Settings.
-
Switch to the Trees tab.
-
From the Authentication session state management scheme drop-down list, select
CTS. -
In the Max duration (minutes) field, adjust the maximum life of the authentication session in minutes.
-
Save your changes.
When Advanced Identity Cloud creates tenant environments, it generates signing secrets: unique, secure, random values for signing authentication sessions.
To override the generated signing secret:
-
On the Authentication - Settings page, switch to the Security tab.
-
In the Organization Authentication Signing Secret field, enter a base64-encoded HMAC secret at least 128 bits long.
If you choose to override the generated signing secret, specify different values in your development, staging, and production tenant environments, so development sessions are not valid in your production environment, for example. -
Save your changes.
Server-side sessions
-
Under Native Consoles > Access Management, go to Realms > Realm Name > Authentication > Settings.
-
Switch to the General tab.
-
Clear Use Client-Side Sessions.
-
Save your changes.
Verify server-side sessions
You can find server-side sessions:
-
Authenticate to the realm configured for server-side sessions as a non-administrative user:
$ curl \ --request POST \ --header 'Content-Type: application/json' \ --header 'X-OpenAM-Username: <non-admin-username>' \ --header 'X-OpenAM-Password: <non-admin-password>' \ --header 'Accept-API-Version: resource=2.0, protocol=1.0' \ 'https://<tenant-env-fqdn>/am/json/realms/root/realms/alpha/authenticate' { "tokenId":"<token-id>", "successUrl": "/enduser/?realm=/alpha", "realm":"/alpha" } -
Under Native Consoles > Access Management, go to Realms > Realm Name > Identities > Username to find the user identifier at the top of the profile page; for example:
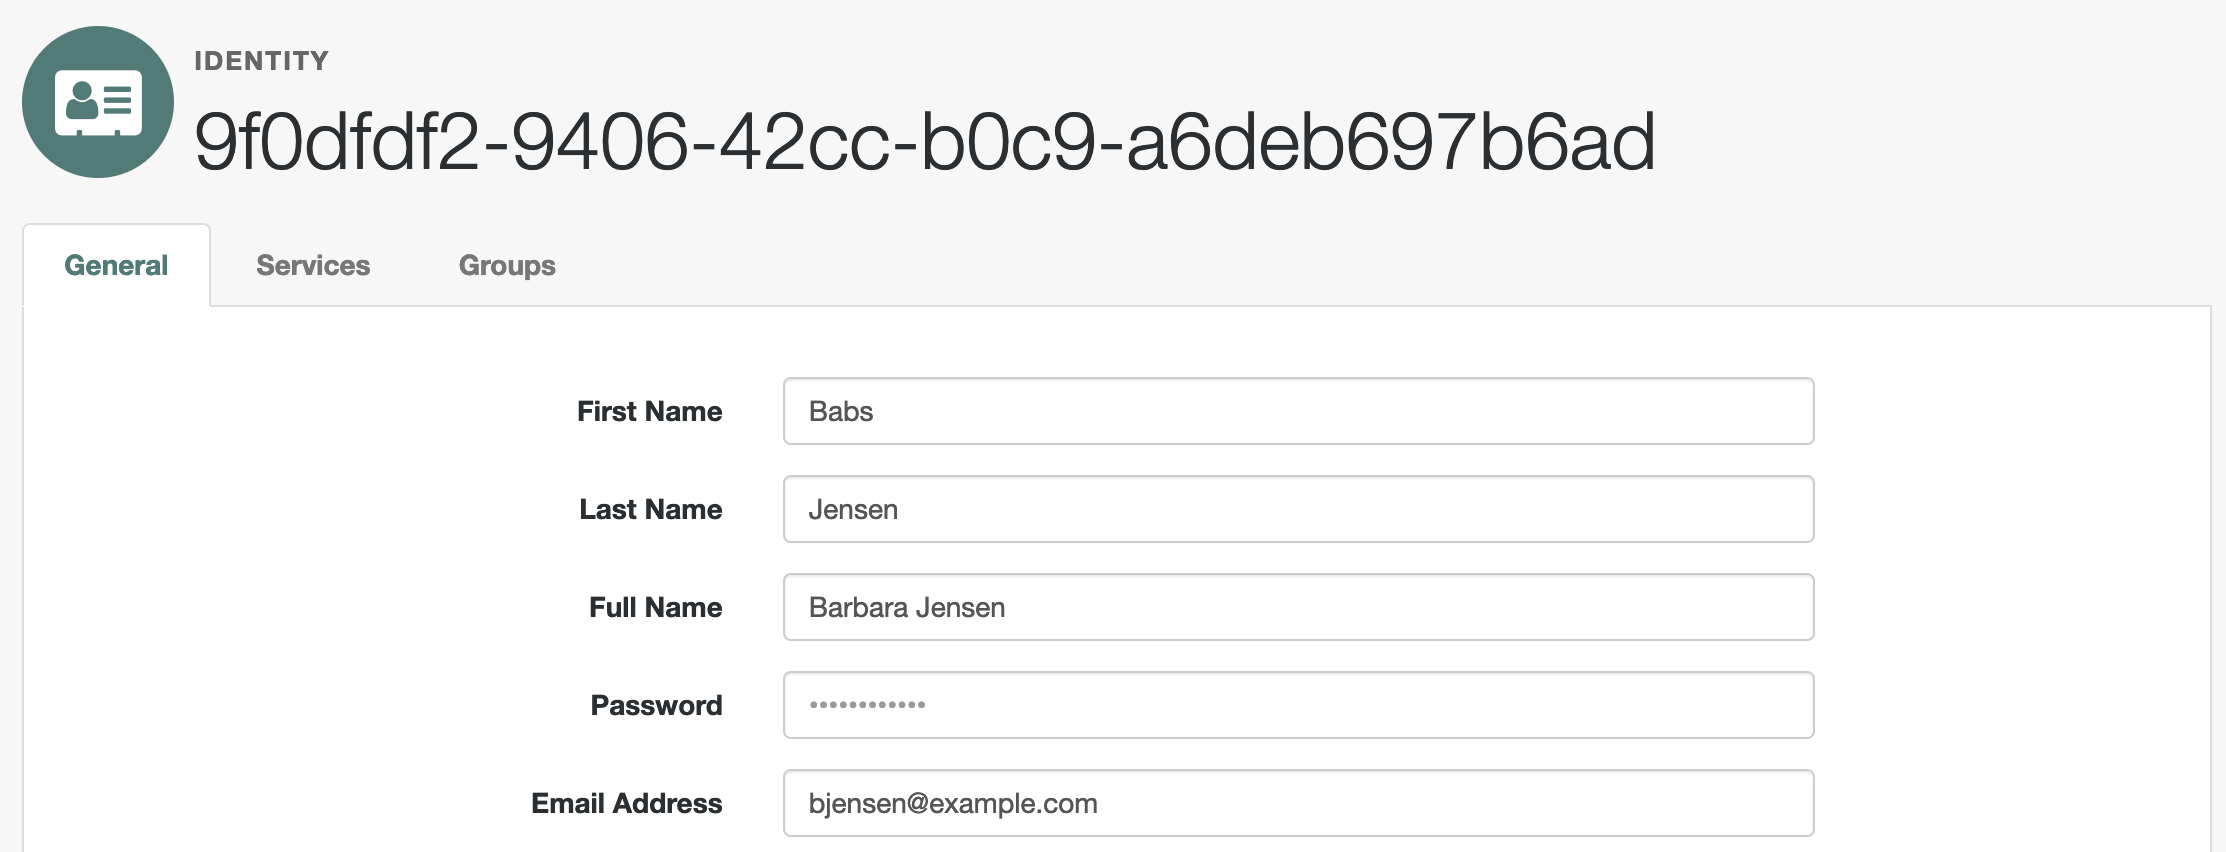
-
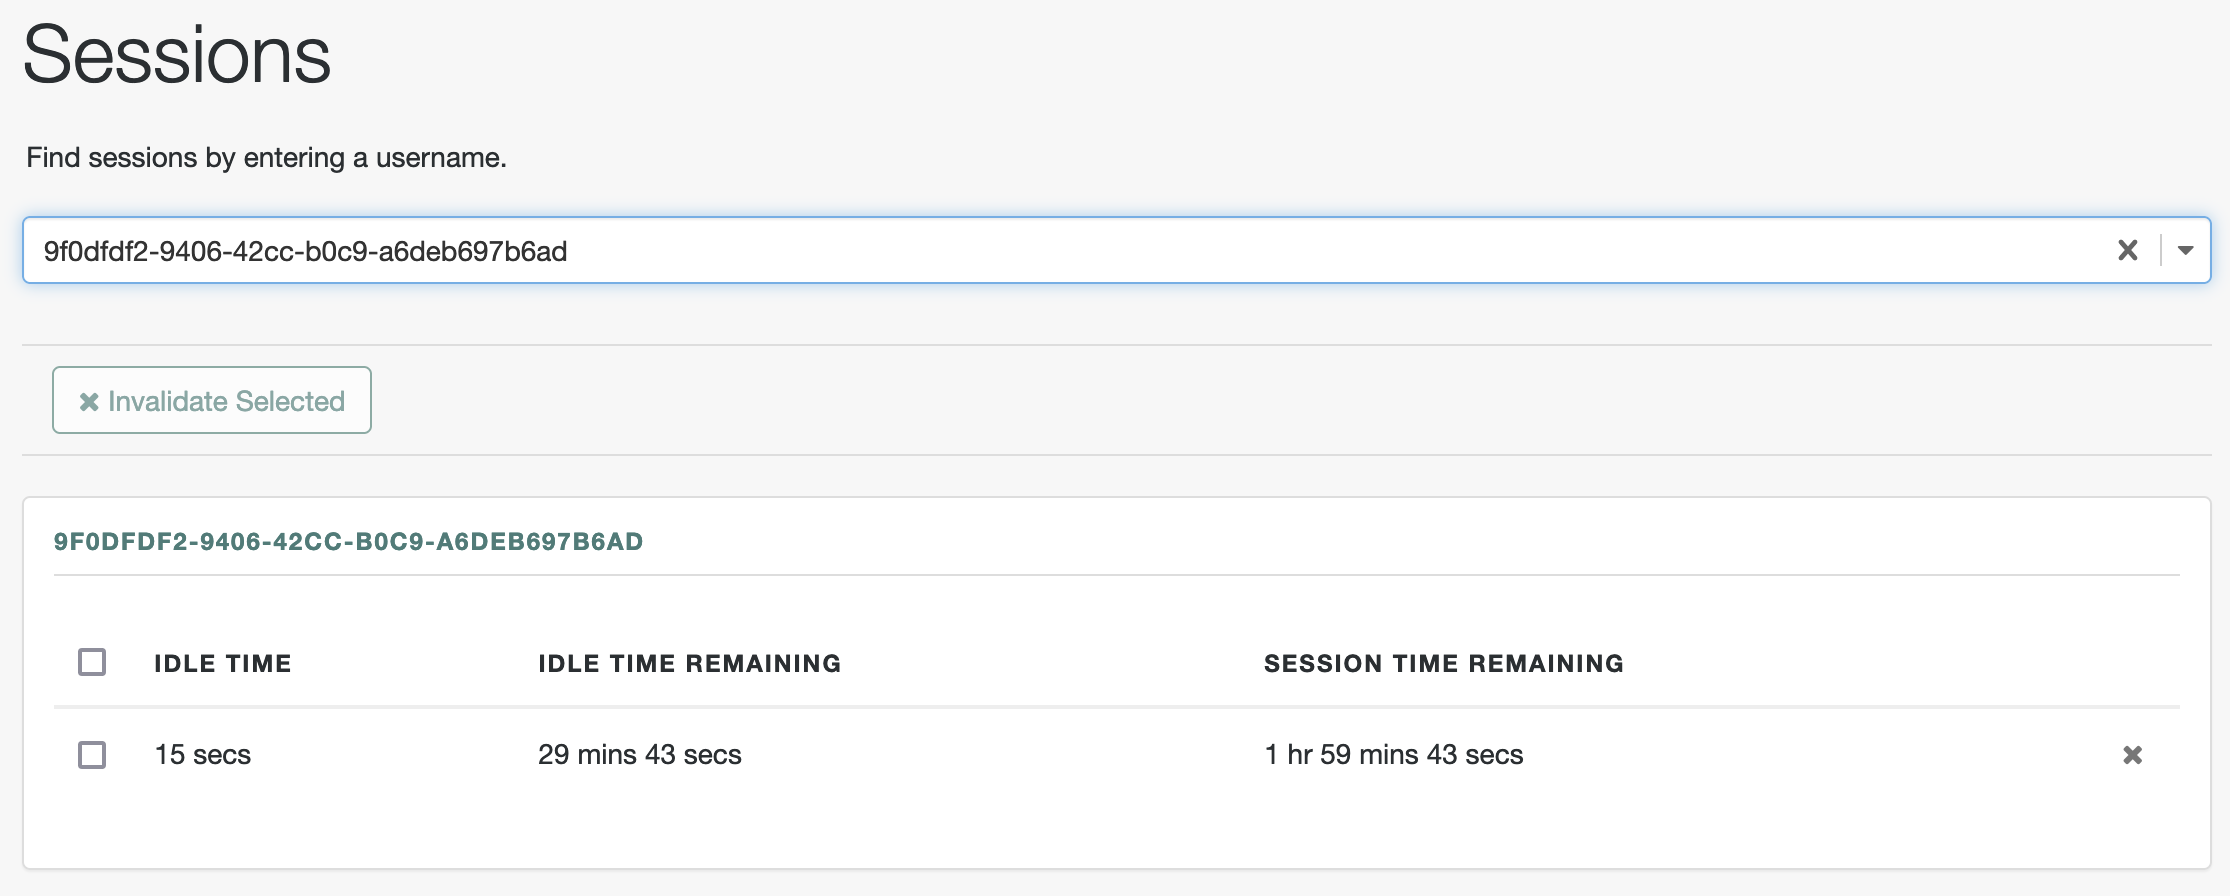
Go to Realms > Realm Name > Sessions.
With the user identifier, search for the session. You should find the session for the non-administrative user: